In order to test the partner area, we recommend you to add a test partner (see here how to add partners), and to add yourself in the user accounts.
To access the partner area from the CMS, go to the login tab and click on "Partner workspace"

Access to the various sections of the partner workspace is via the menu on the left: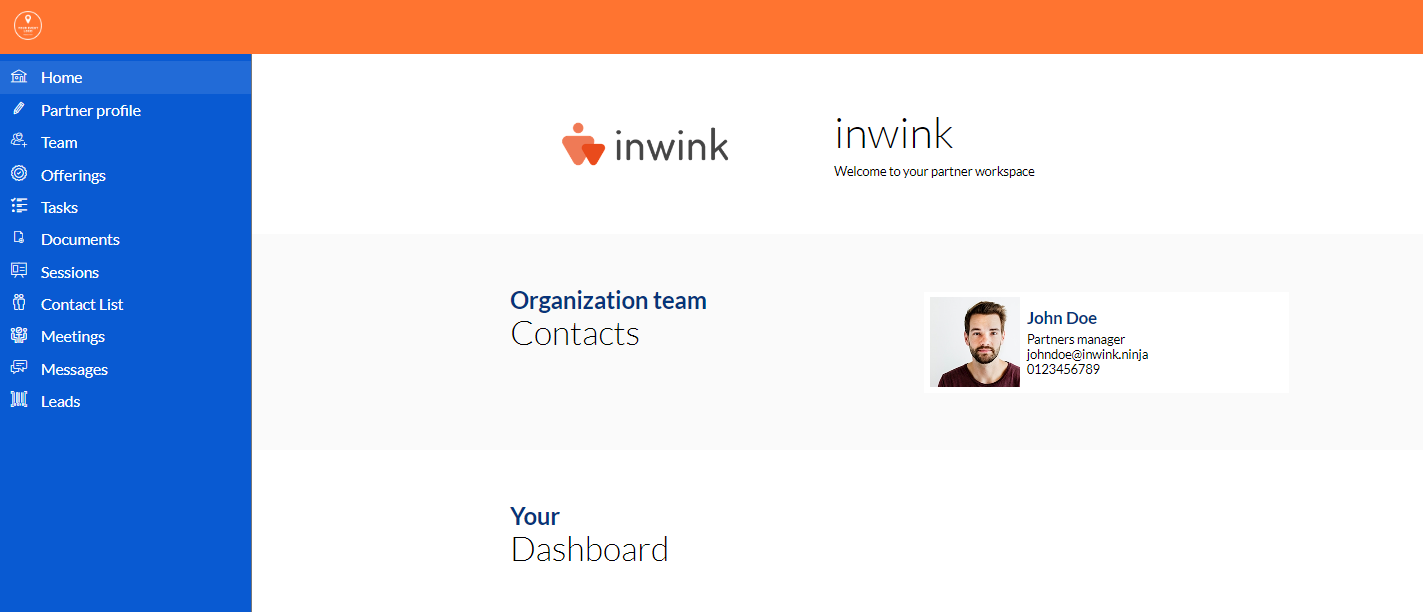
Edit the burger menu
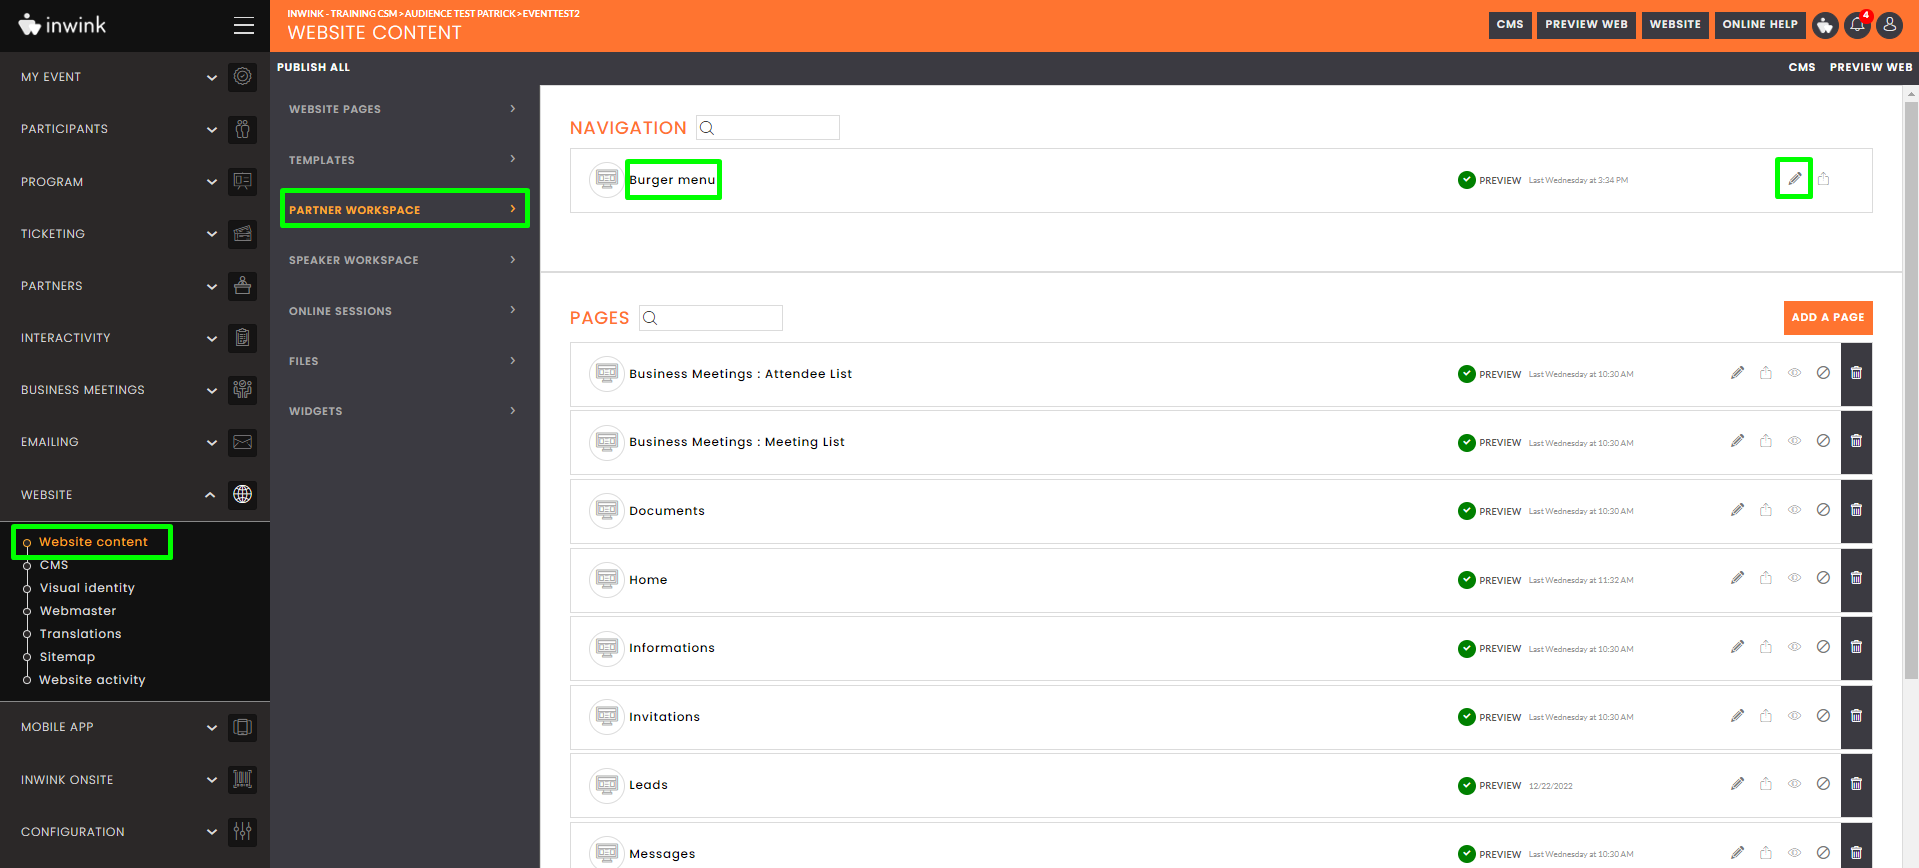
To choose, modify or create the tabs to be made available in the burger menu, edit it from the CMS or by going to the back office of your event: Website > Website content > Partner workspace> Navigation > Burger menu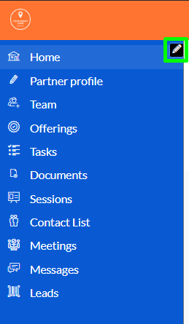
The possible actions are :
- change the appearance of the menu
- add a new tab (item)
- activate or deactivate a tab, modify it, delete it
- change the order
The pages of the partner workspace
Adding a new tab (above) requires the presence or creation of the corresponding page.
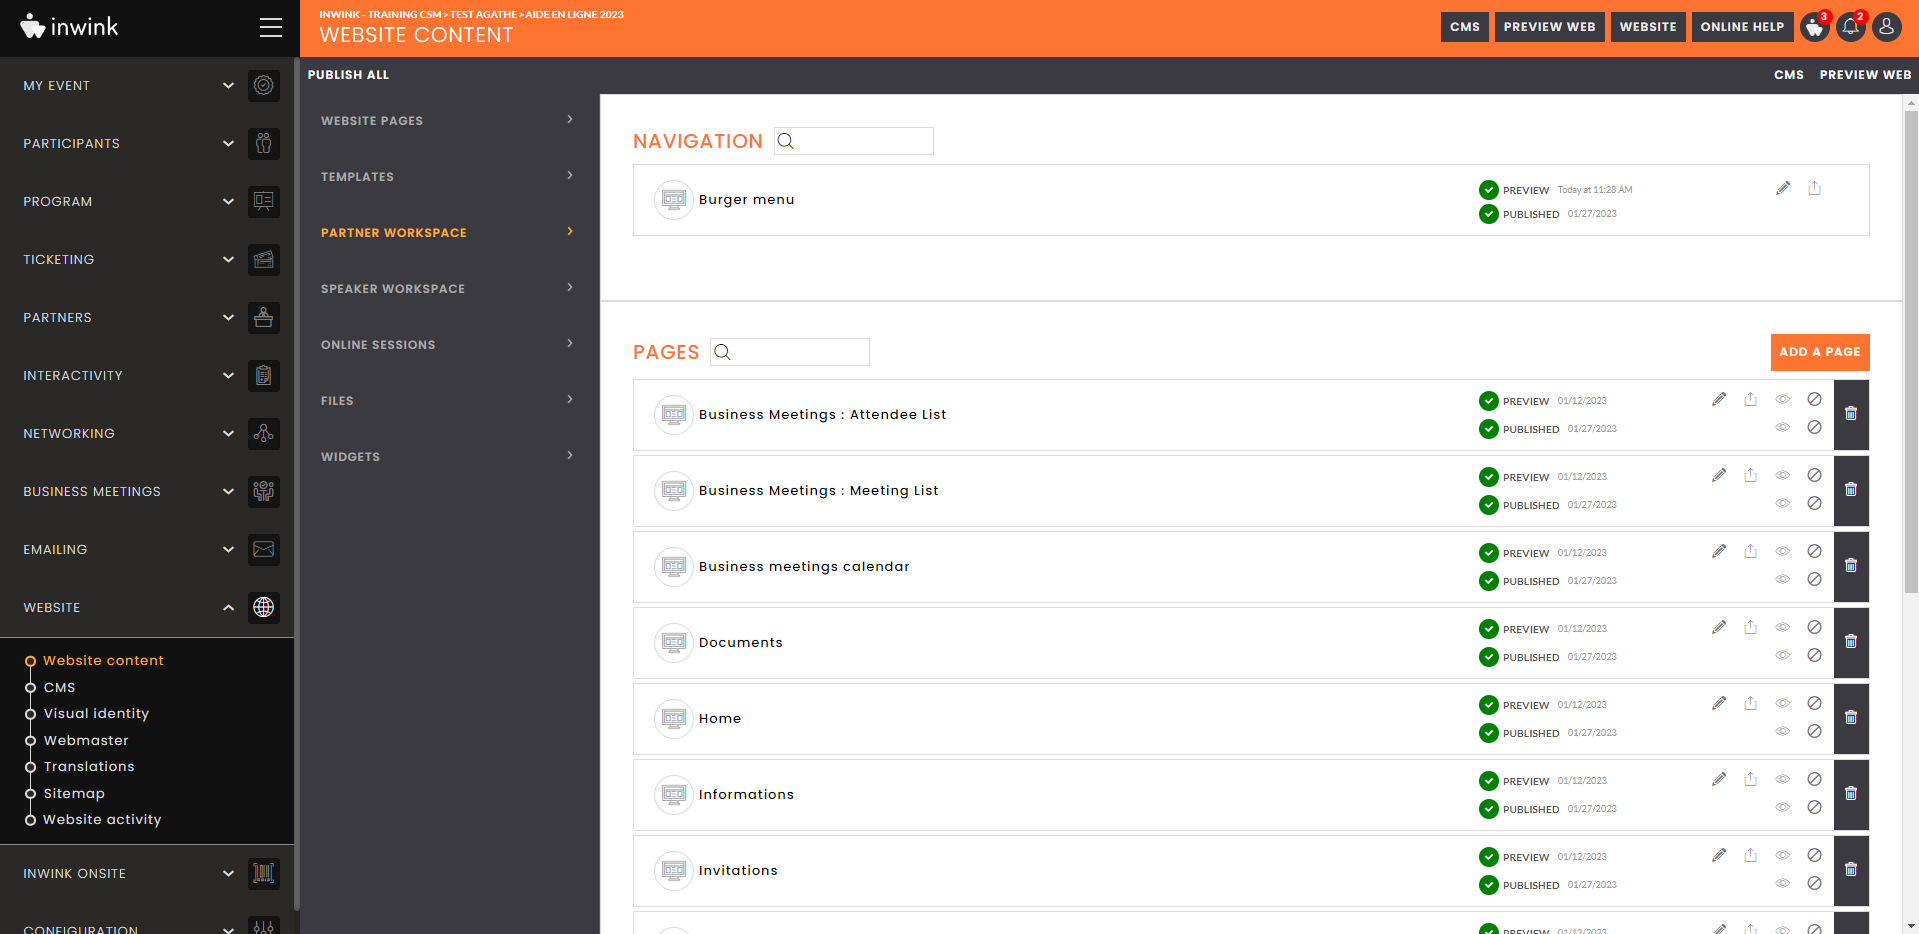
The partner workspace pages are created in the back office of your event > website tab > website content > partner area.
⚠️ATTENTION :
In the back office > Website & App > Site content > Website pages
In the list of pages is a page called ‘Partner Area’.
Although this page is not in the Partner Area menu itself, you should keep it there.
It is in fact an intermediary page that acts as a bridge between the site and the partner area. It is the page that is called up first when the website access tab is clicked.
Deleting it means that the entire partner area is inaccessible, and it must be reinstalled/published in order to access it again.
Translated with DeepL.com (free version)
Presentation of the default tabs:
1. Homepage
The logo and title are inherited from the partner's file (below).It is possible to fill in the contacts of the organizing team and to add elements to the dashboard.
2. Partners page (information page in the Back-Office)
The form in this tab allows the partner to fill in the various fields of their company, which will automatically update their partner detail page.If you wish to add/remove items via the CMS, click on the icon
The "Content" tab will allow you to modify the partner profile form.
3. Team
You can add collaborators/team members and assign them the following roles:
- Administrator: access to the entire partner workspace and all menus
- Business contact:
- is added to the partner's online profile
- is the main contact for business meetings
- does not have access to the partner area
The possibility, from his participant space, to manage his own business meetings (if you allow it).
You can find more information about this role in this article: The role of the business contact for a partner -
Registered to the event: has a badge assigned to access the event, but does not have access to the partner area
When editing the block from the CMS, you can modify the form for adding a collaborator and activate the option "Show badges" to make it possible for partners to download badges (more information on this online help).
4. Offerings
The partners have the possibility to fill in offers, visible or not on the site.
5. Tasks (more information here about assigning tasks to partners)
Displays the tasks assigned to the partner.They are separated into completed and active (waiting for answers).
6. Documents (more information here to allocate documents to partners)
This tab allows you to consult the documents previously assigned to the partners. It is possible to view the document and download it.The documents are separated into those consulted and those awaiting consultation.
7. Sessions
On the partner side:
In this tab, the partner can find the session(s) he/she is leading.They can complete the information and add their speakers (previously added in the "Team" tab) by clicking on the EDIT button.
➡️ The partner can also filter the sessions, a video tutorial is available on the inwink training website
On the organization side, you must first have created the session(s) and assigned it/them to the partner.
From the CMS, in the "Content" tab it is possible:
-
- Put "Display the number of attending persons" ON
- Put "Display the number of registered persons" ON
8. Contact list
The partner can find the list of participants and arrange meetings with them in the “Business Meetings” tab. More information about it in this article9. Meetings
In the "Meetings" tab, the partner can find the list of persons he has invited from the Business Meetings tab. More information about it in this article
10. Meetings calendar
Here, the partner has the possibility to configure his appointment spaces and time slots. More information on this topic can be found in this online help.
11. Voucher codes
In the case of a paying event with ticketing, this tab allows the partner to have an overview of the use of its promotional codes (it is up to you, as administrator, to add this tab, which is not present by default in the partner workspace).
-
- Information on buyers and participants
- Attendance or not of the participant on the day of the event
See the Voucher codes online help for more information
12. Leads
- It is recommended to activate this tab when the mailing about partner scan is sent (15 days before the event at the earliest)
- The partner can find the list of scans (=leads) done during the event in the “Scans” tab. The partner can export the list of people scanned by his team. From the partner area, in the Leads tab, he just has to click on the DOWNLOAD button.
You also have access to 4 informative tabs, in your partner area > Leads :
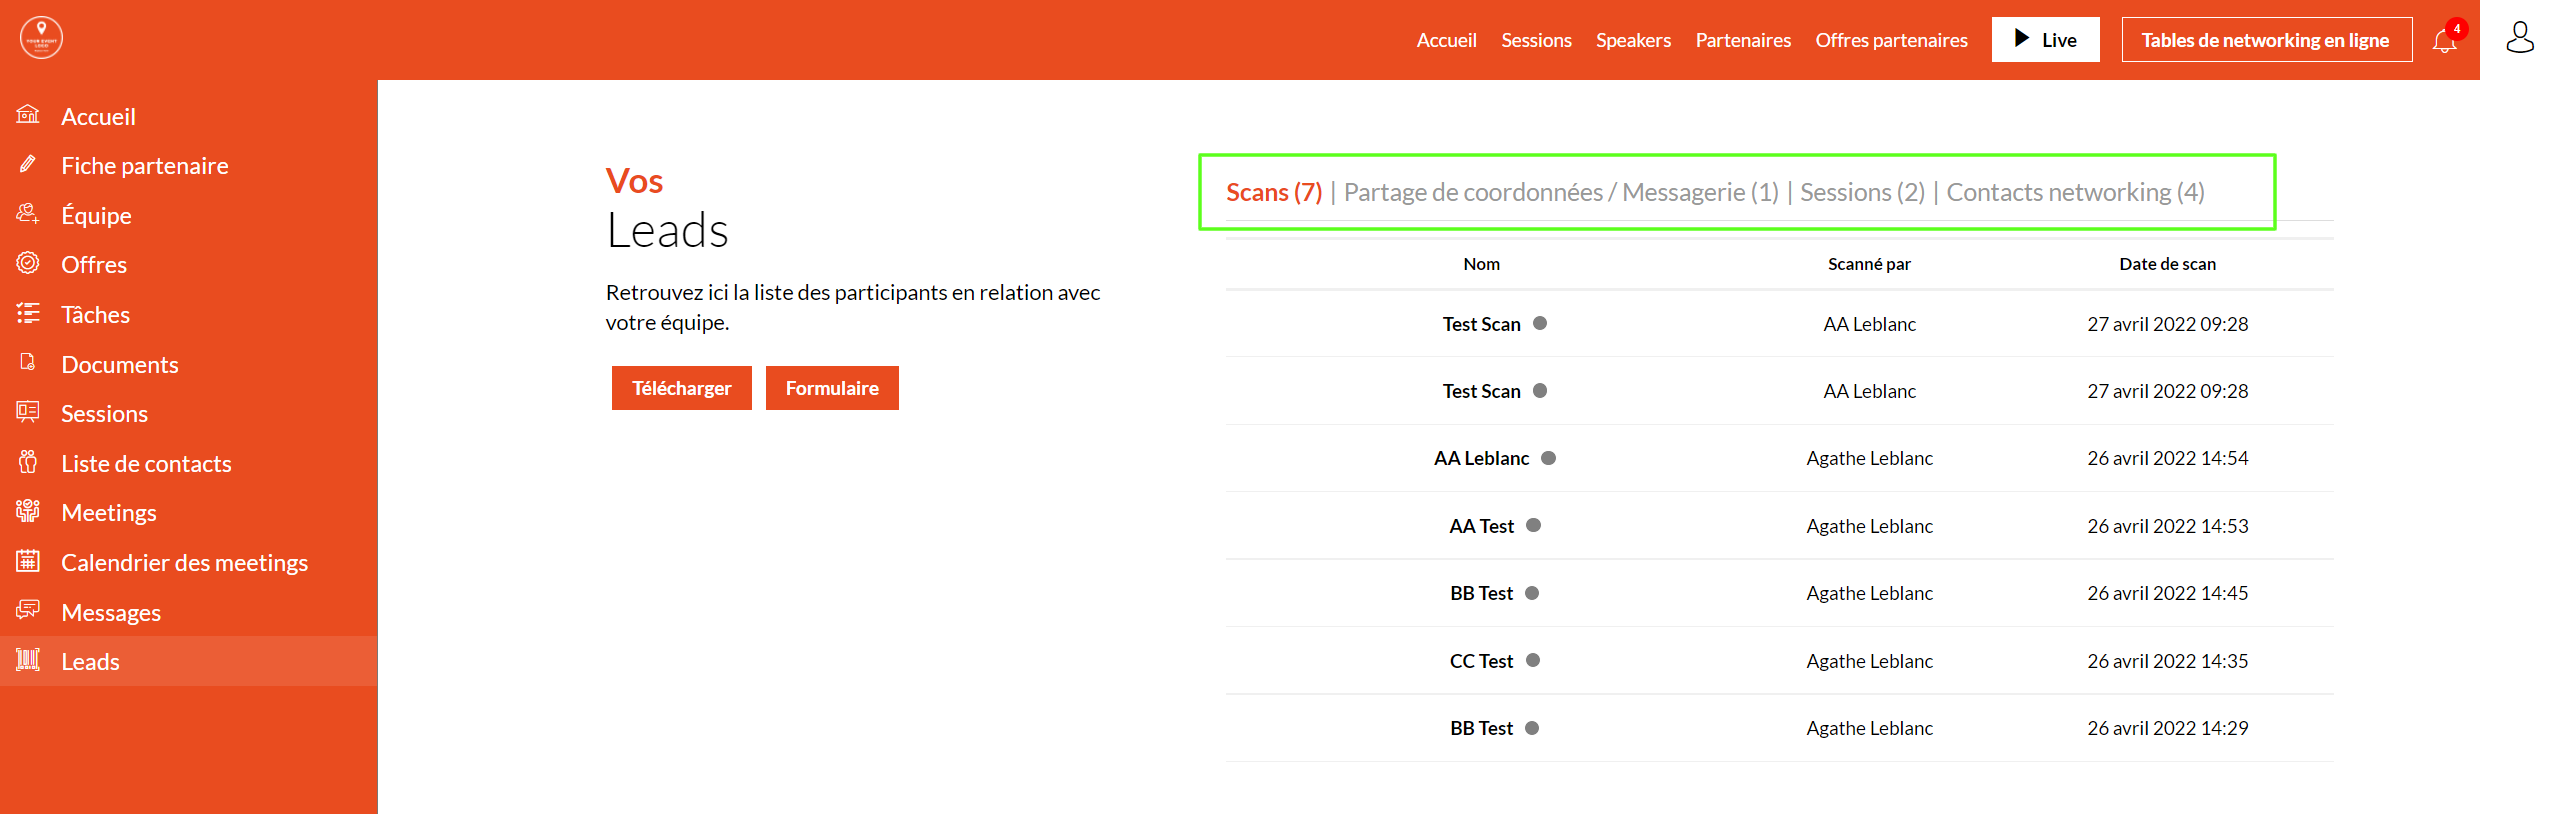
-
Scans: you will find the total number of people scanned with their first and last name, by whom they were scanned and when.
-
Sharing contact information and messaging: If the partner is contacted by a participant and the participant agrees to share their contact information, then they will find the contact information of the partner in this tab.
If a partner sends a message to the participant, then the participant will be able to accept or not to provide his contact information.
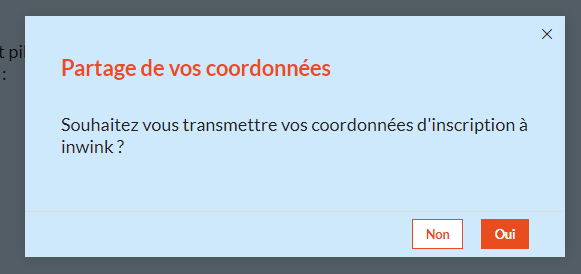 Sharing of contact information from a participant to a partner
-
Sessions: Here you will find a list of participants who have attended a session of the partner in question.
-
Networking contacts: The data of the person you have been in contact with will be shown in this tab.
- Meeting: (Business meeting appointments)
In the case of Meetings, all appointment requests made by participants to the partner are included, even if the partner has not validated the meetings.
All this information will also be present in the exported file, via tabs of the same name.
See the Activate partner scans online help for more information
Access to the exhibitor space
It is possible to give partners access to the space once it is configured.
Here are the steps to follow:
- Add an administrator per partner
- Send an access email to all the partners with a connecting link
- Configure an automatic trigger for every person added to a space after the opening