Widgets
With inwink widgets, you can share inwink blocks into iframes on other websites:
- A teaser of the speakers of your event
- A teaser of the sessions of your event
- A teaser of the agenda of your event (if you use the agenda feature)
- A teaser of the partners of your event
- A teaser of the main themes of your event
When users of the websites where you use widgets click on an element contained in the widgets, they will be redirected to your event website. For instance, if they click on the a speaker in a widget containing a teaser of the speakers of your event, they will be redirected to the detail page of this speaker.
1. Create a widget
Go to the back-office of your event, in WEBSITE > Website content > Widgets:
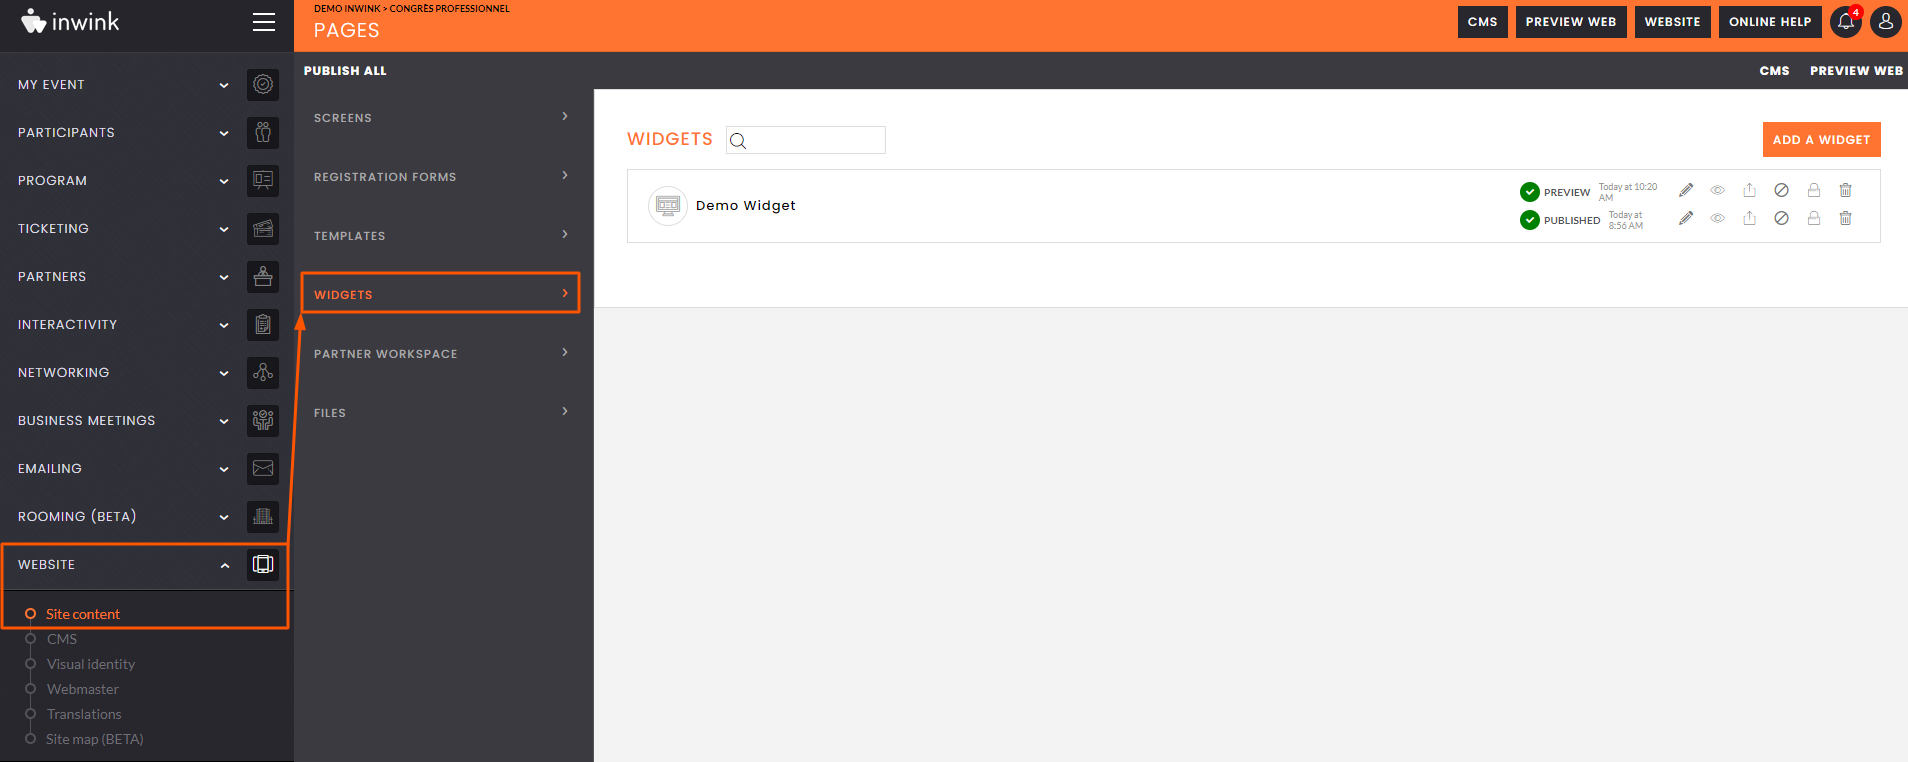 The widget menu
Click on ADD A WIDGET at the top right corner of the screen. A widget gallery appears:
- click on EMPTY WIDGET to create a whole new widget
- click on IMPORT WIDGETS FROM AN EXISTING EVENT to import a widget from an already existing event
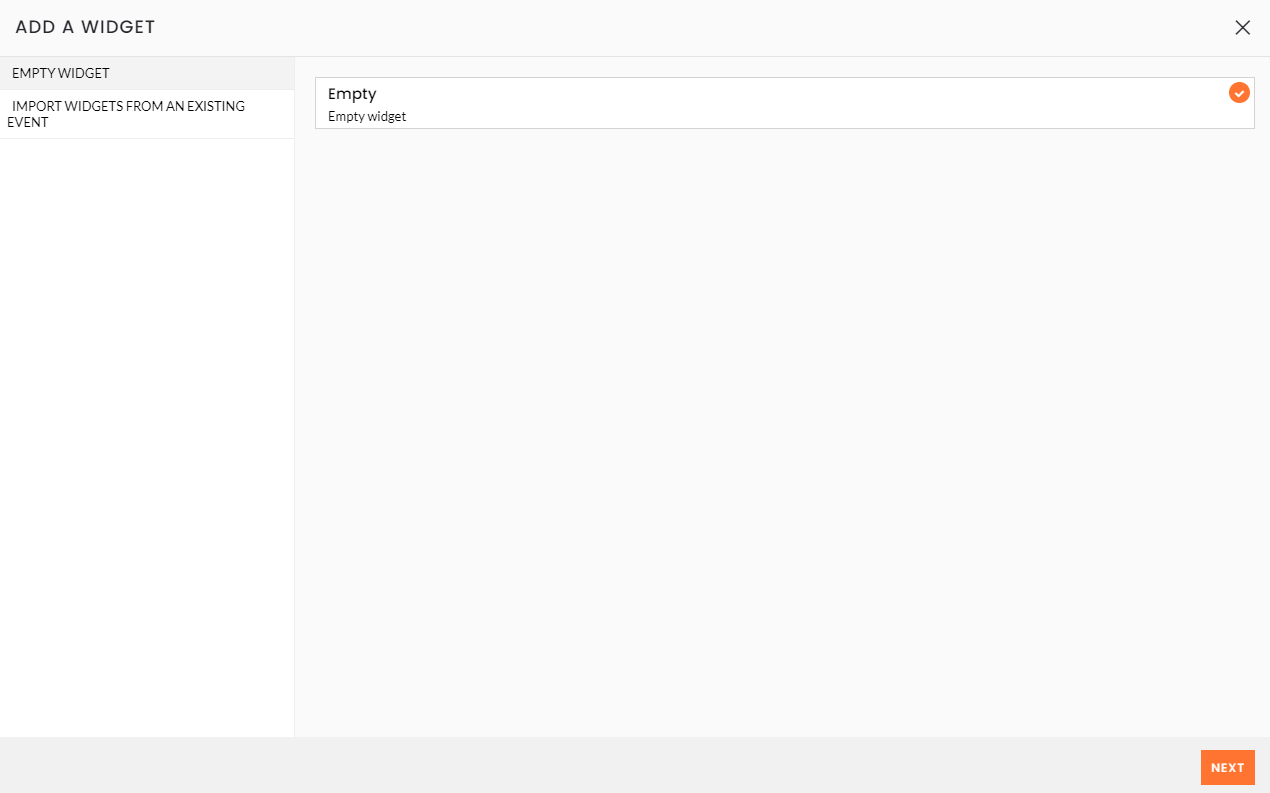 Widget gallery
Click on NEXT at the bottom left corner of the window.
Give a title to your widget, and a description.
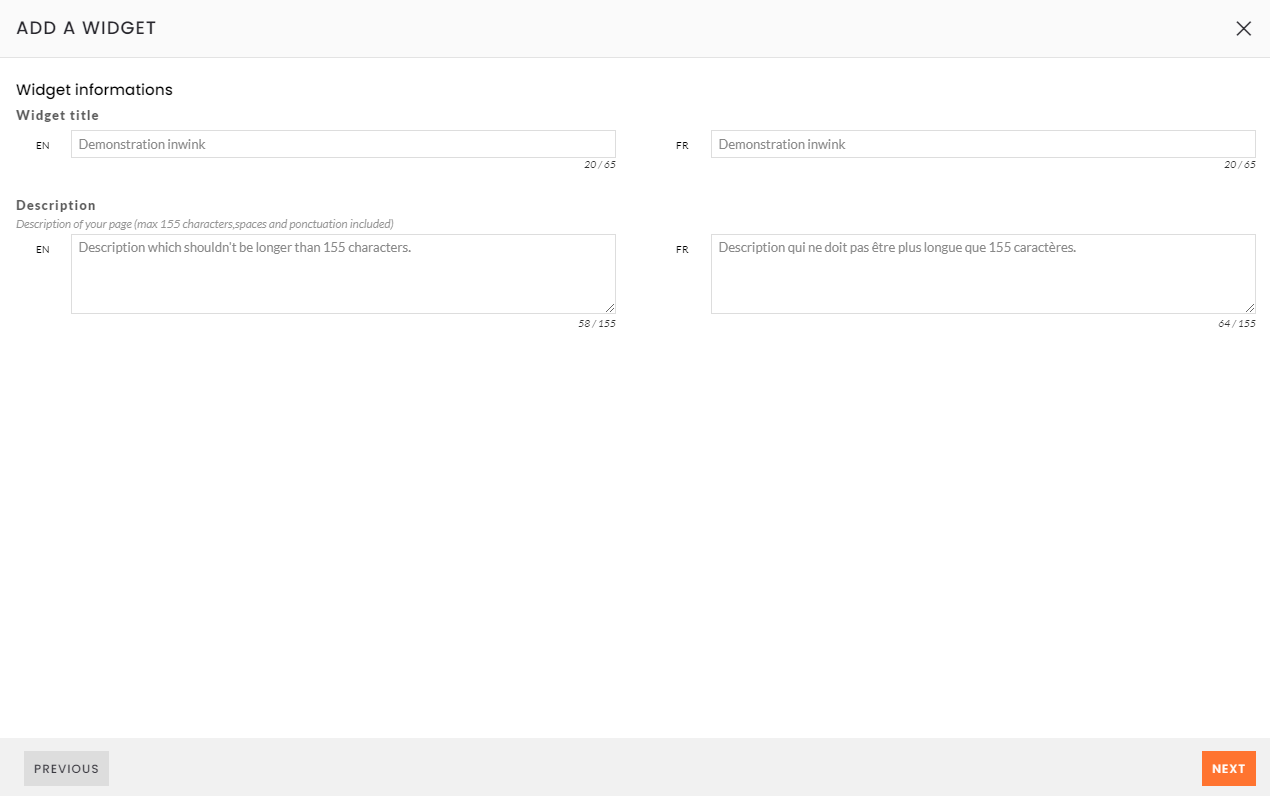 Widget title and description
Click on NEXT at the bottom left corner of the window.
Validate the URL code of your widget :
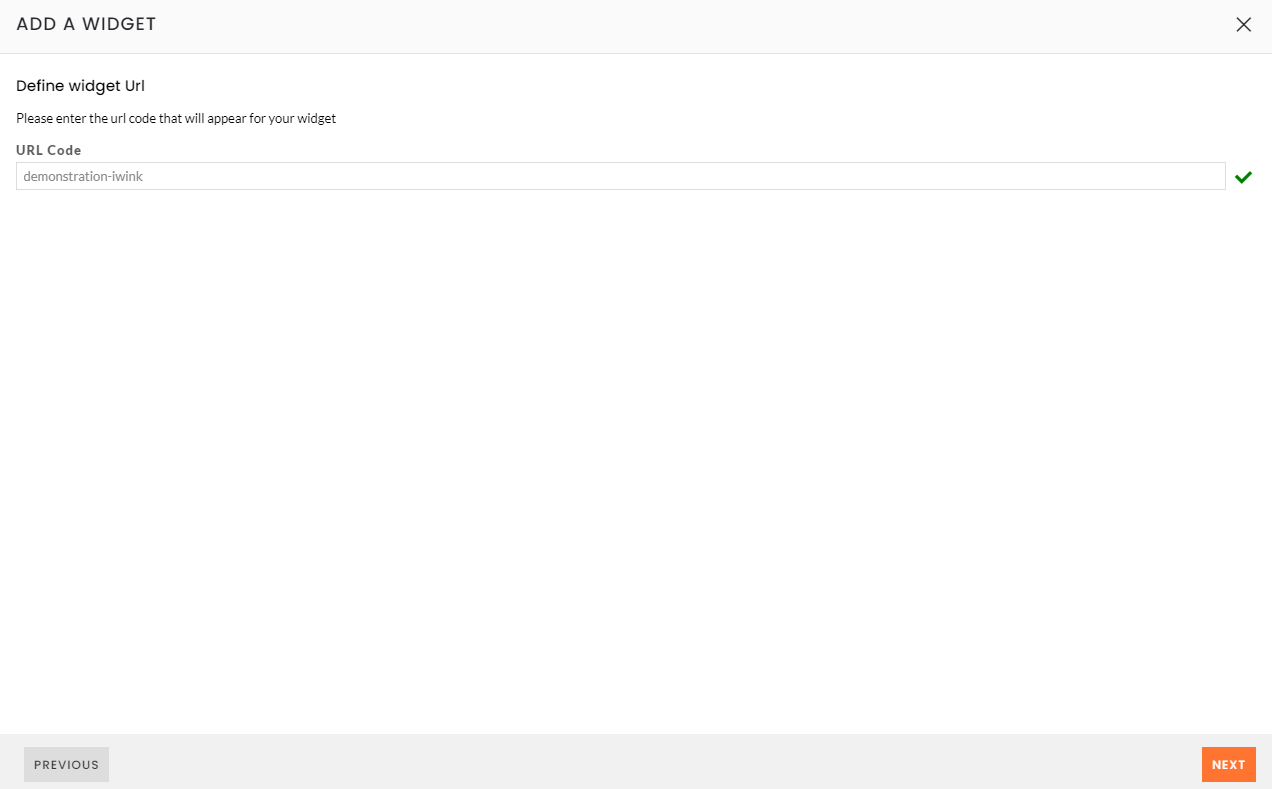 URL Code
Click on NEXT at the bottom left corner of the window.
Validate the security options of your widget:
- if you want your widget to work on any website, turn the Authorize all domains option ON
- otherwise, you can specify one or several domains on which the widget you're creating will be allowed to work
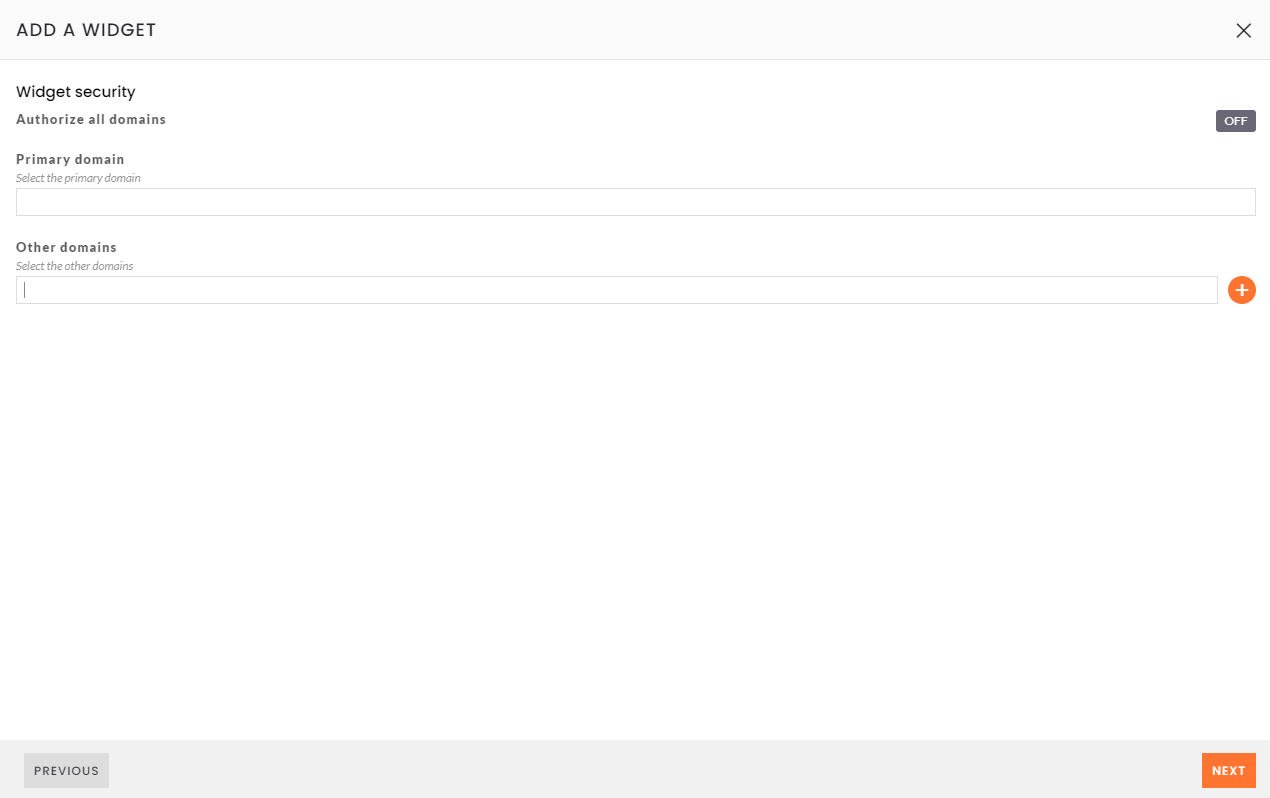 Widget security
Click on NEXT at the bottom right corner of the window, then on CREATE WIDGET.
Your widget is created.
2. Edit a widget
Widgets can be edited in the back-office of your event the same ay as you would edit pages, except:
- you can only add the following kinds of blocks:
- Speaker teaser
- Session teaser
- Theme teaser
- Agenda teaser
- Partner teaser
- in Widget Infos at the top left corner of the edition page, you can change the configurations you entered when you first created the widget (title, description, security)
You can preview your widget, and once your widget is set up, publish it.
Important:
- Make sure, if you publish a widget, that all the content it uses is published. For instance, if you publish a widget containing a speaker teaser, make sure the speaker template it uses is published also.
- If your event website requires users to log in before accessing content, the widgets will still display content without requiring the viewers to be logged in. However, when the users click on an element in the widget, they'll be redirected to the website, and they will need to log in in order to view the content of the website.
3. Integrate a widget in your website
Once you widget is ready and published, yu can integrate it in your website.
In inwink, open the published version of your widget, and copy the URL.
Then, on your website, integrate the following code, with in URL you previously copied instead of YourURL:
<iframe title="Mon widget" src="YourURL" width="100%" height="500px"></iframe>
You can then adapt the size of the widget in your site by configuring the iframe.
