Quick access
1. Template overview
2. Modify default template
3. Template options
4. Adding templates
1. Template overview
A template is a model for displaying content within blocks on the pages of a site.
When a site is created, the list of templates required to display pages by default is automatically created and visible in the back-office in:
Website > Website content > Templates
For an event:
For a community:
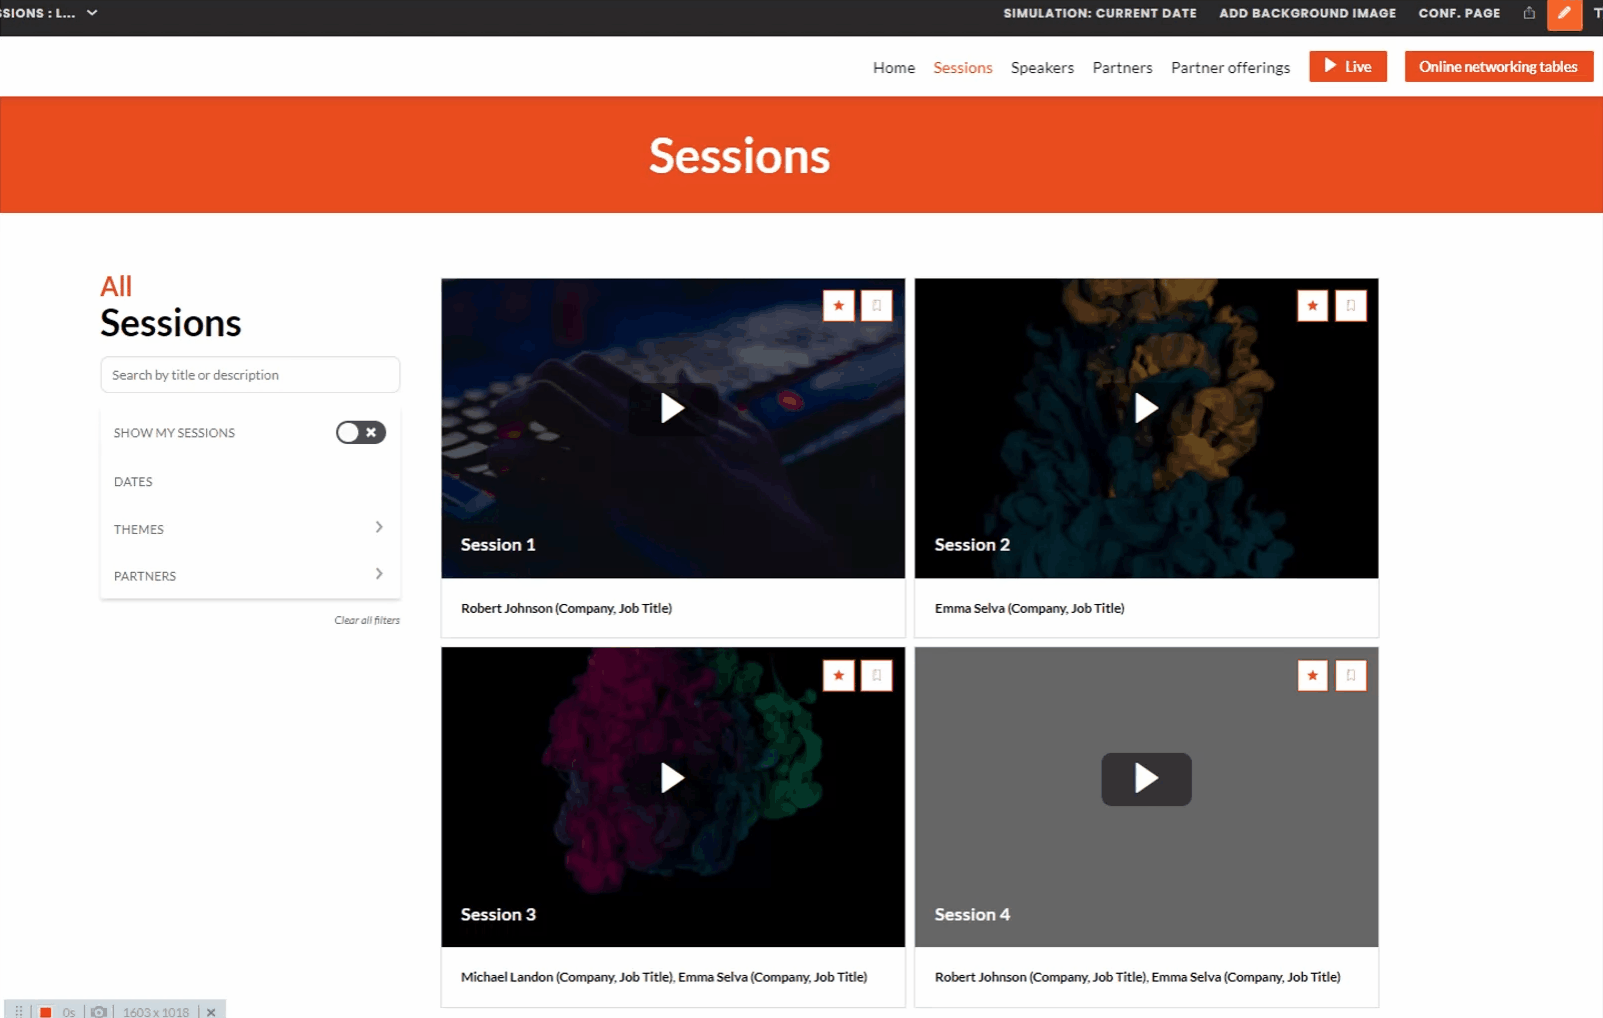
Example of use for displaying a "Sessions : List" page on an event (the operation is similar for an event or a community).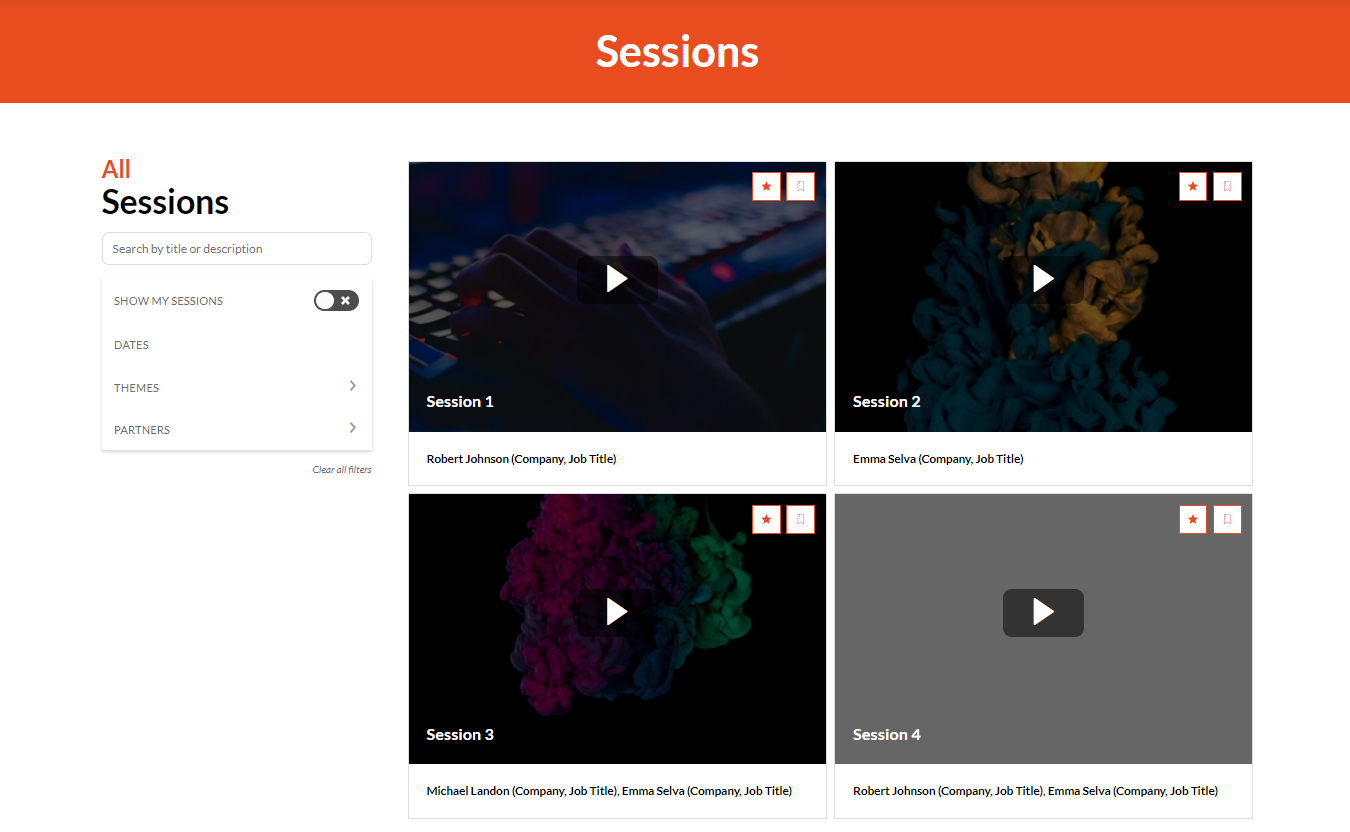
On this page, the default template used is "[Session] Background image with speaker (text)'" :
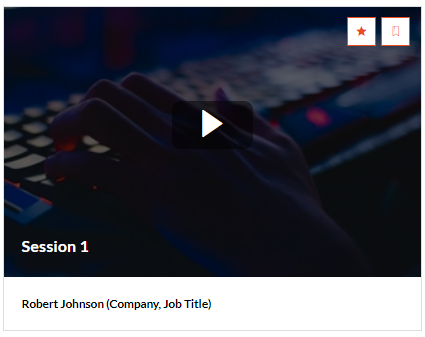
On it, you will find:
Top right: "Evaluate'"![]() and "Add to my agenda'" buttons
and "Add to my agenda'" buttons![]()
In the centre, the visual and the name of the session.
At the bottom, the speaker's name, company and job title.
2. Modify the default template
To adapt the template to your needs, different versions are available depending on the type of entity (sessions, speakers, partners, themes, etc.).
When you modify a template on a block, the modification applies to all blocks that use it.
If the need is to have a different template for several blocks of similar entities, for example for two "session teaser" blocks positioned in different places on the site. The first with an A template, and the second with a B template.
In this case, it is necessary to create these templates in advance in the back office.
To find out how, click here: Adding templates
Remember to publish the template after any creation/modification, so that the changes can be applied to the site.
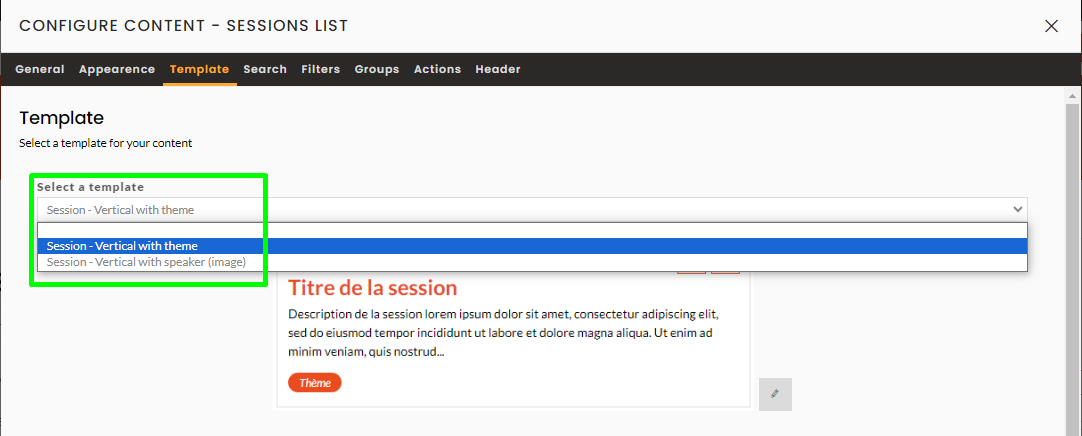
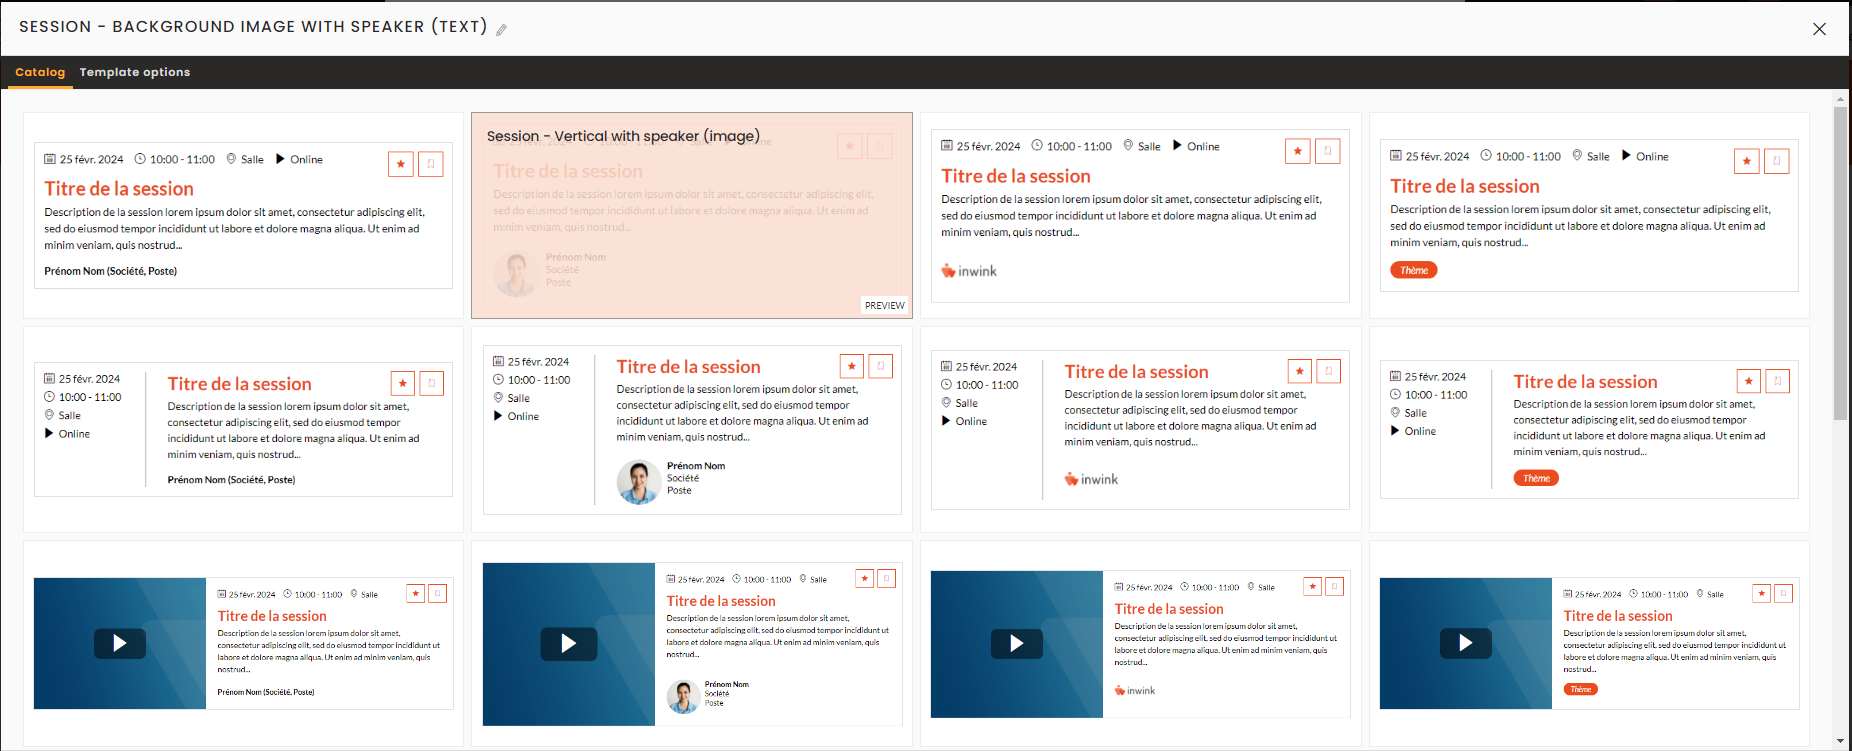
To access the catalogue of available templates for the entity concerned, in CMS view, edit the content, go to the "Template" tab, then edit the template:
In the catalogue, browse the list of available templates, select the template you want and save.
For this example, the template selected is "Session - Vertical with speaker (image)":
The selected model and the preview have been updated: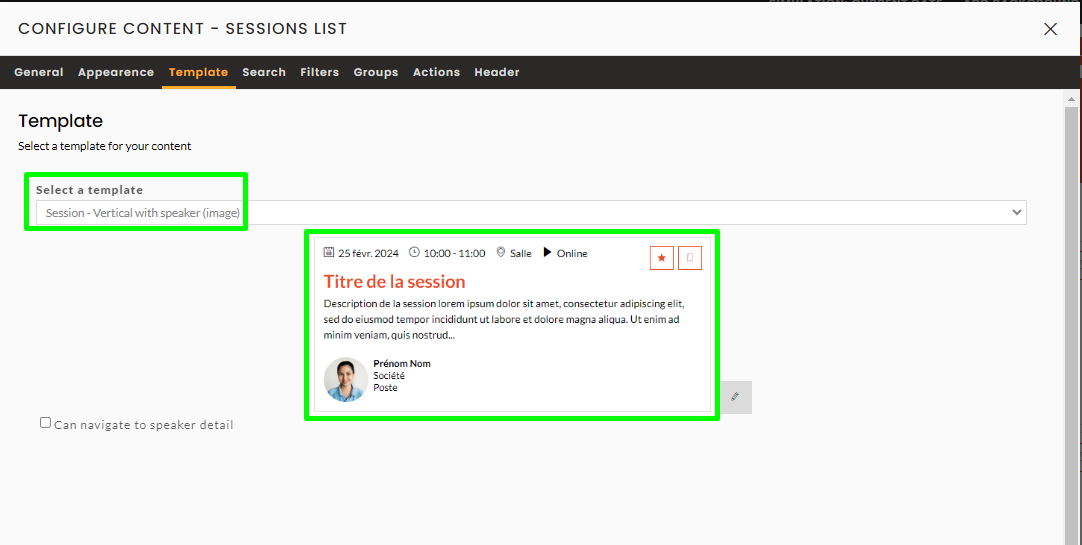
The drop-down menu shows the name of the selected template "[Session] Vertical with speaker (image)" (we'll see below how to add several templates to this list).
Validate, the template has been modified: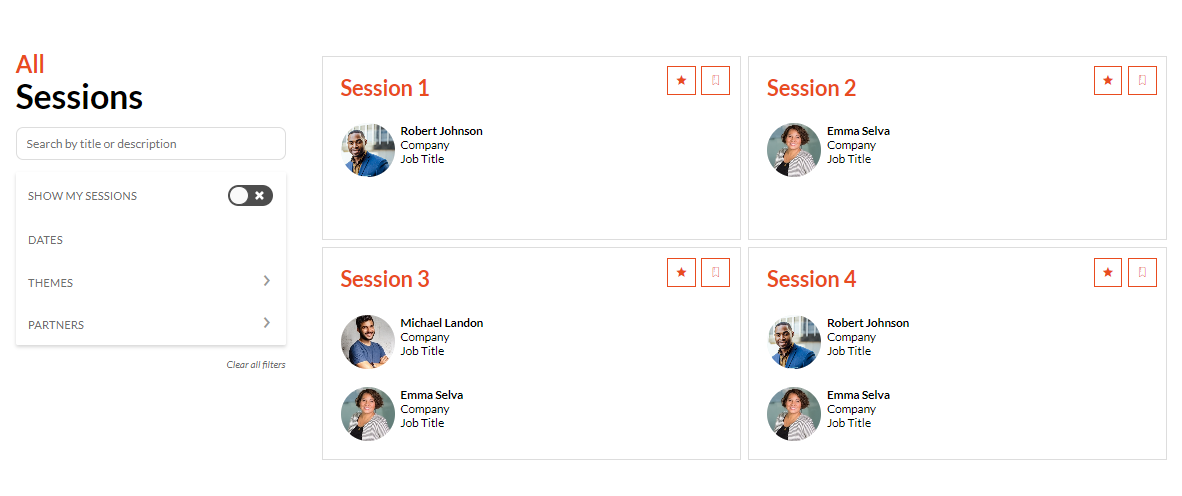
3. Template options
Depending on the template model and the corresponding entity, several options are available.
To access them, go to the "Template options" tab, which is visible when you edit the template:
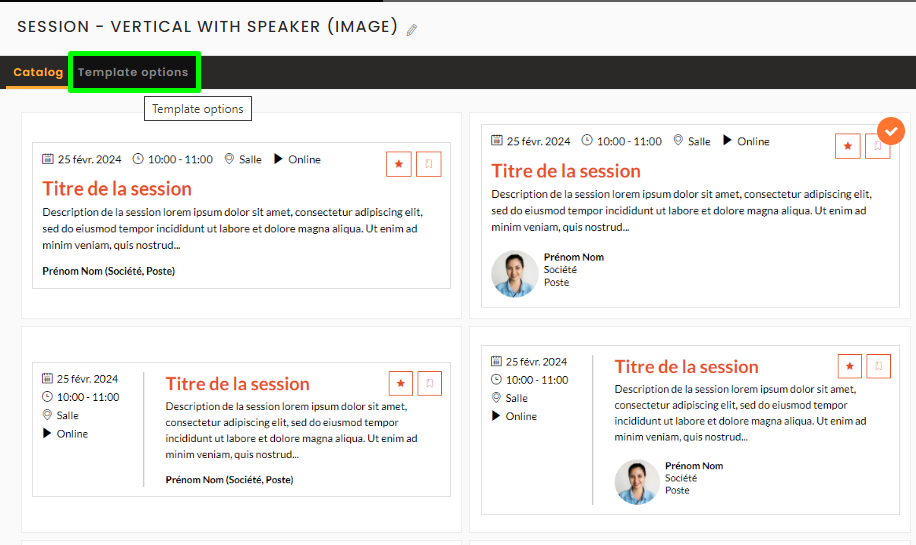
This "Session - Vertical with speaker (image)" template has the following options (checkboxes):
- Redirect to the video (if the session is online)
- Hide the date
- Hide the room
- Hide the 'Online' display (if the session is online)
- Hide the pictograms
- Hide the description
- Hide the name of the speaker's company
- Hide the job title of the speaker
- Add to favorite button display options (icon/text)
- Display add to favorite button as secondary
- Hide the add to favorite button
- Evaluate session button display options (icon/text)
- Display evaluate session button as secondary
- Hide the evaluate session button
For this example,
"Hide the name of the speaker's company" is ticked,
"Add to favorite button display options"(=Add to my calendar) is switched to text mode, and
"Hide the evaluate session button" is ticked: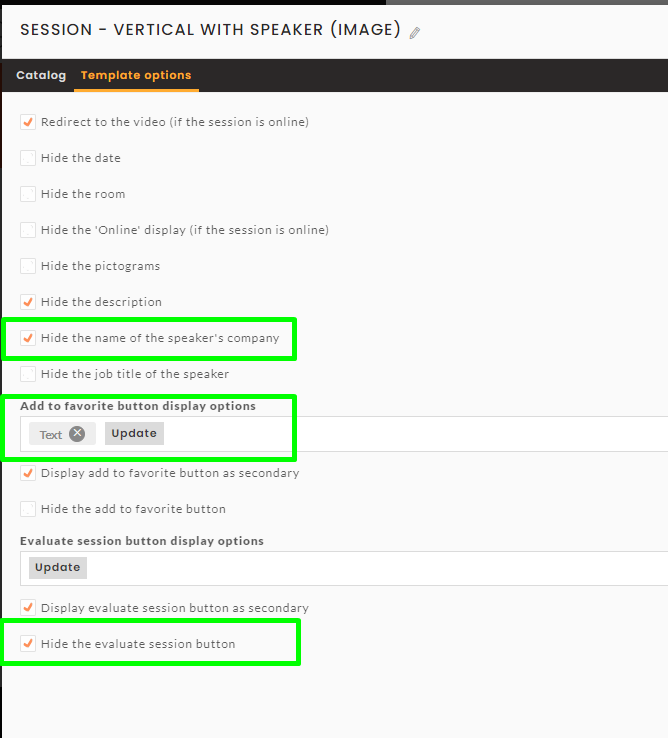
Once you have chosen the options, saved and confirmed (the preview is not modified), the template is updated automatically:
A final option is available here for session templates with a speaker: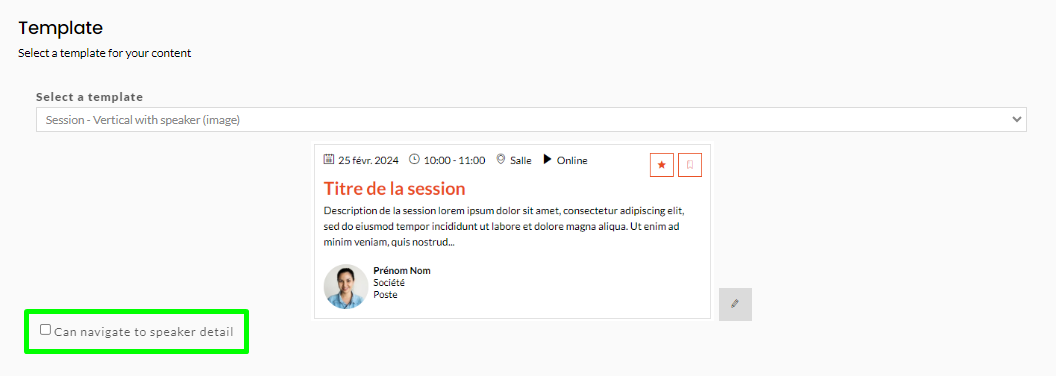
"Can navigate to speaker detail", i.e. allow access to speaker details by clicking on their information.
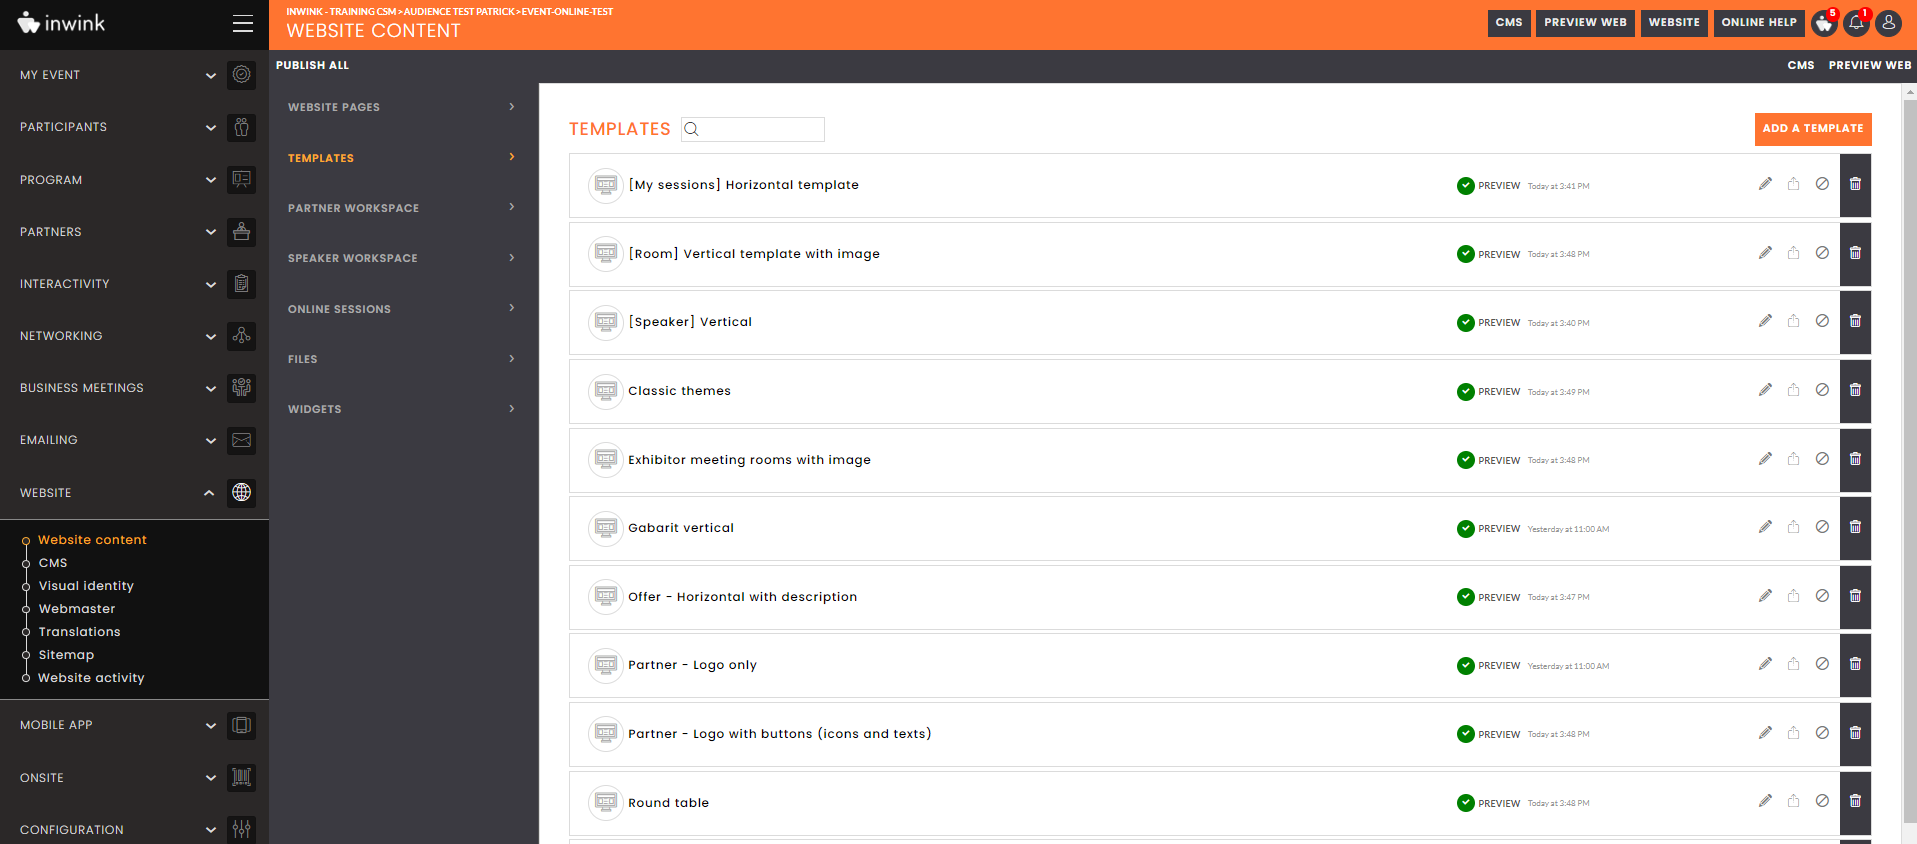
4. Add templates to the drop-down menu (list of available templates)
To have several templates directly accessible via the drop-down menu, you need to add the desired templates beforehand.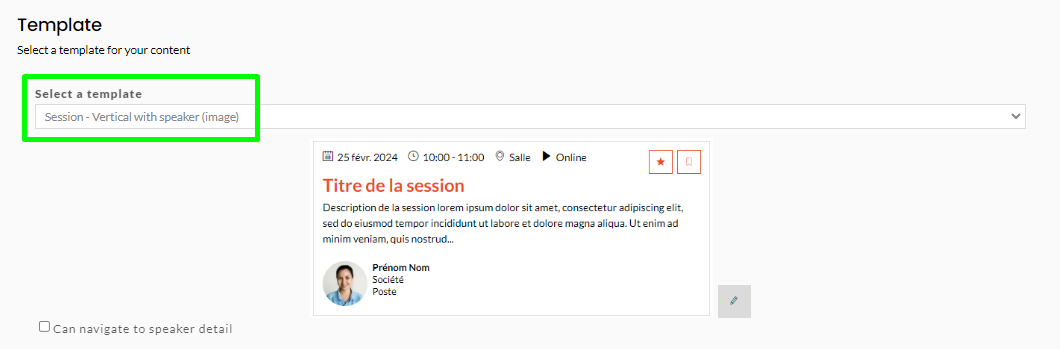
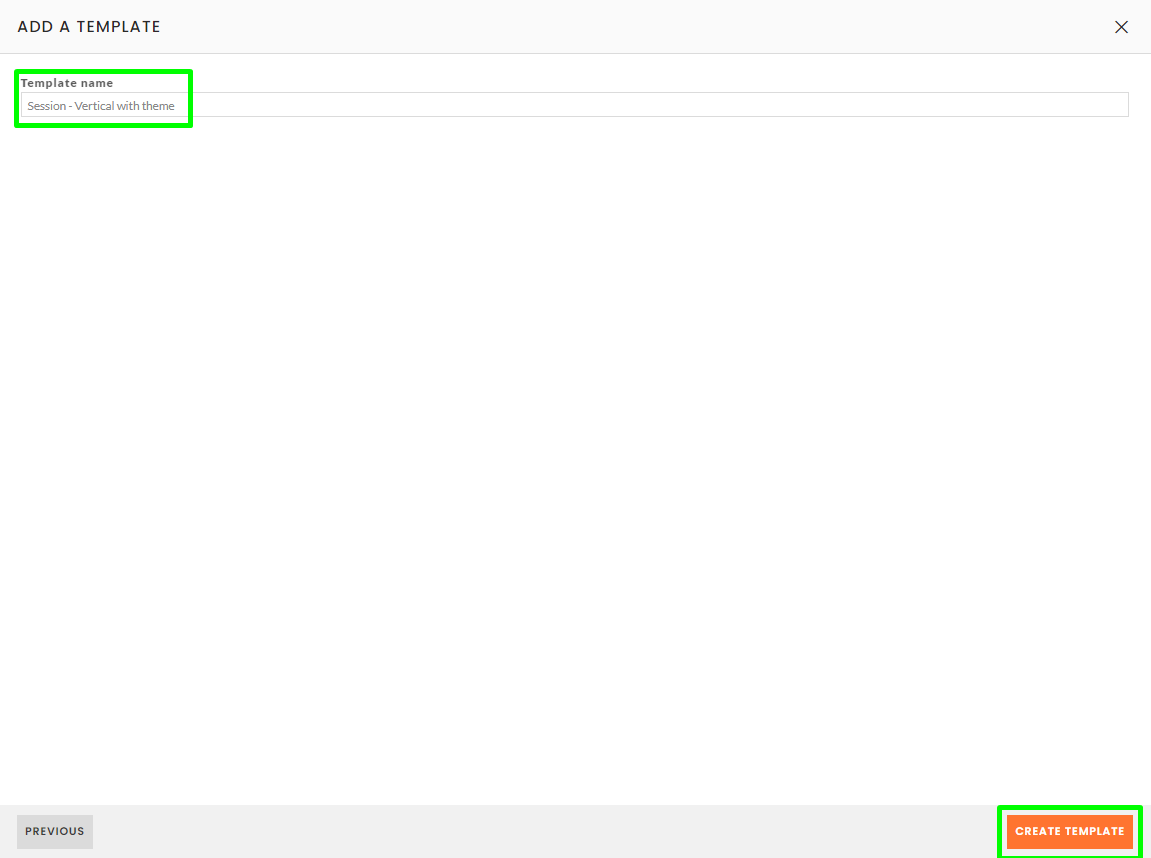
To do this, go to the back office Website > Website content > Templates and click on "Add a template":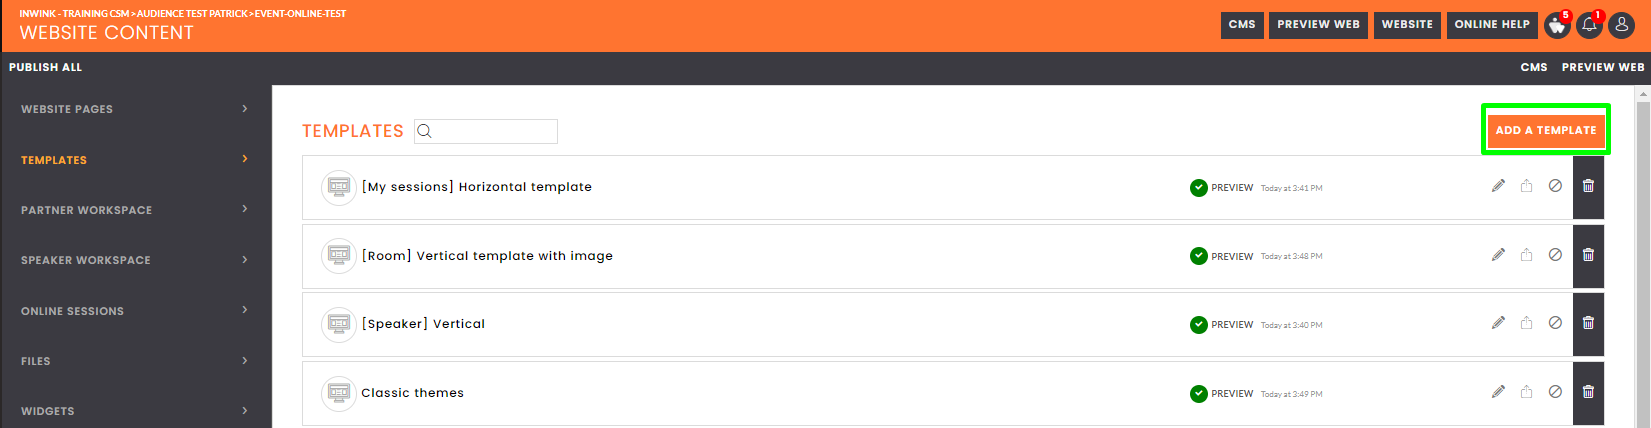
Templates are listed here by category: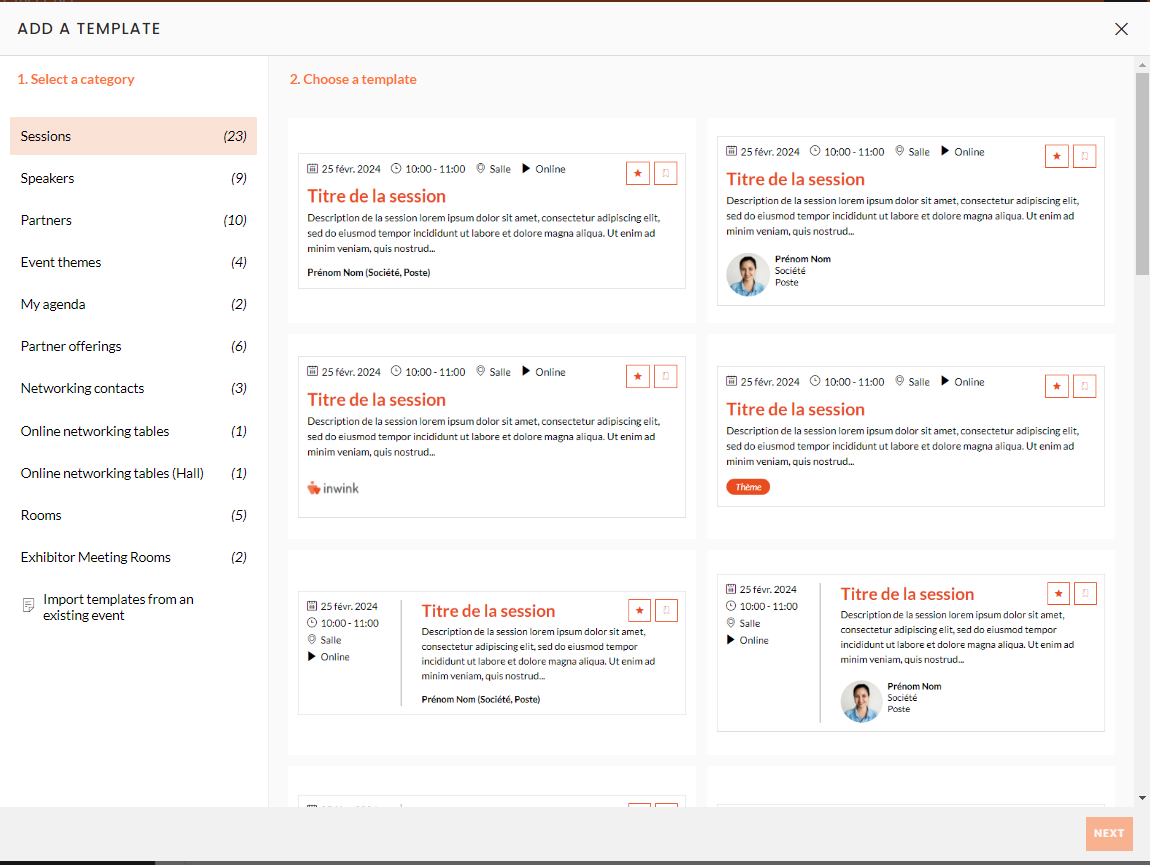
To add a "Sessions" category template, simply select the template, for example "Session - Vertical with theme":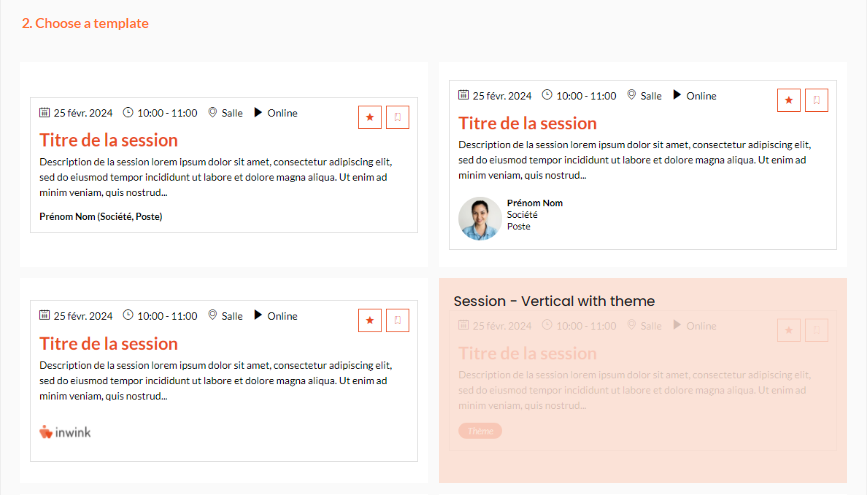
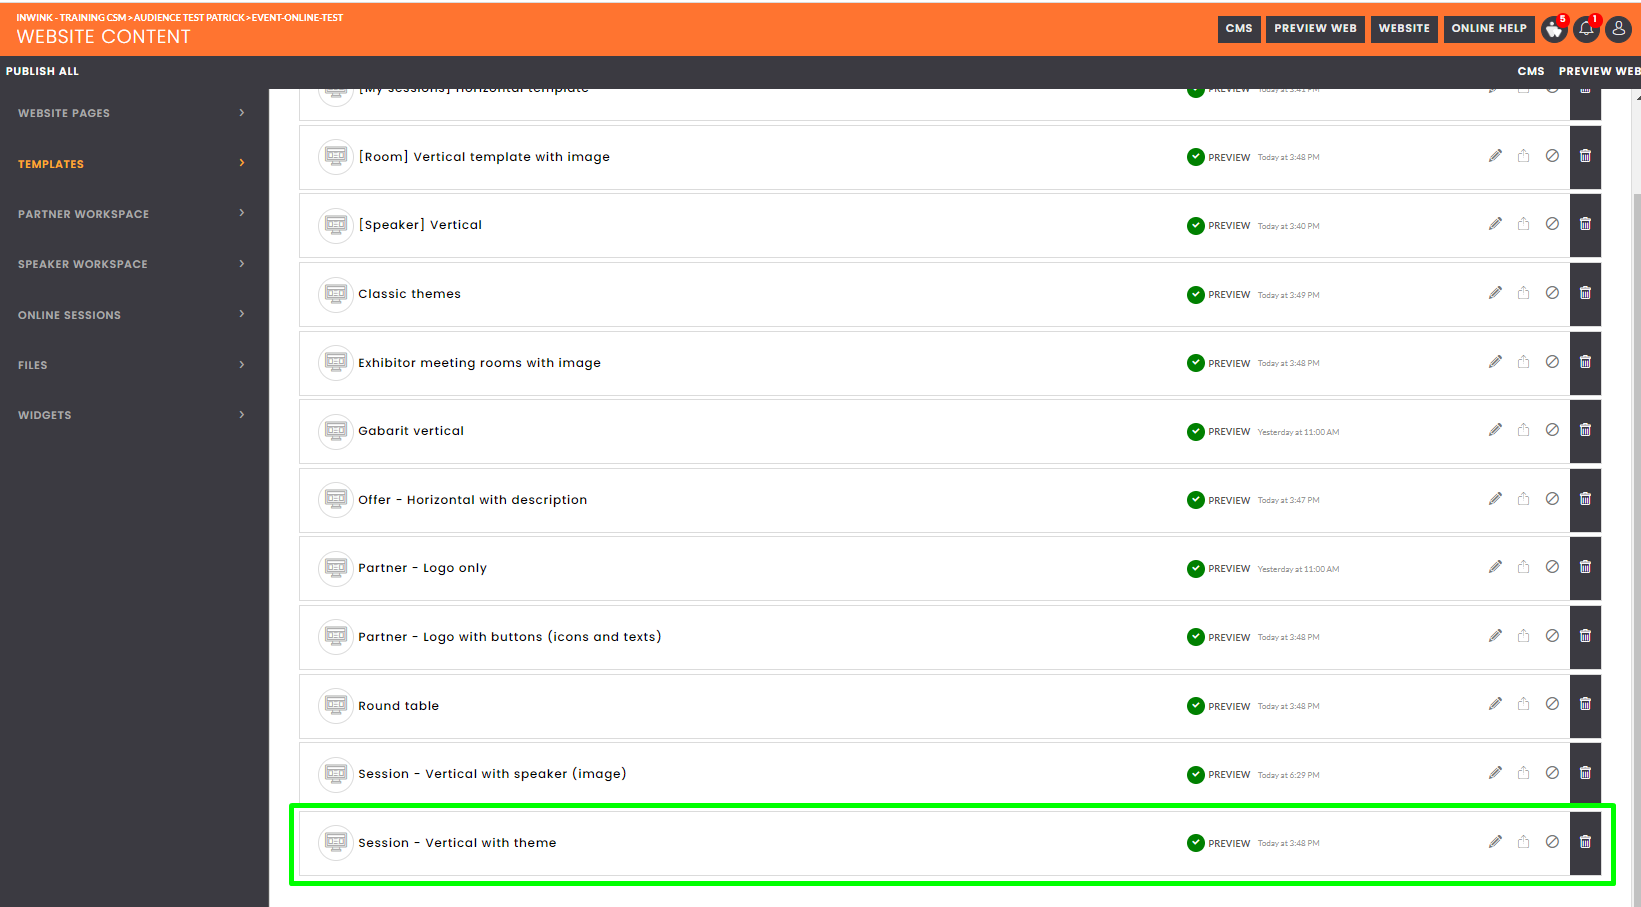
The new template has been added to the list in the back office:
The template drop-down menu now contains a second choice for the "Session" category: