Quick access :
The Meetings feature allows two participants to meet on the event and to add the meeting in their personal agenda.
Two ways to set up a meeting:
- Networking area booking
- For example: “Networking room 2, Table 3”, from 14:30 to 15:00
- Free meeting
- For example: “At my stand”, from 14:00 to 16:30
- For example: “At my stand”, from 14:00 to 16:30
Setting up the Networking Area
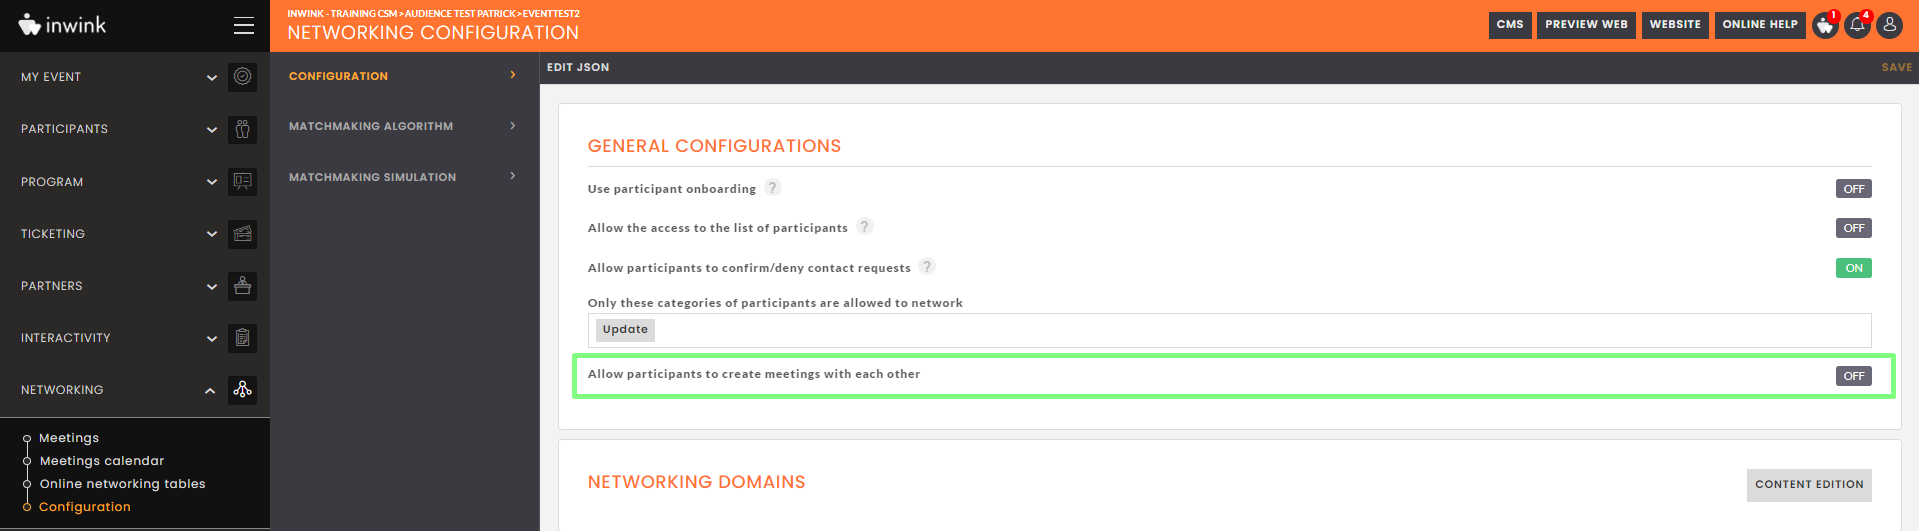
In order to give participants the possibility to access specific areas (rooms / tables / others), it is necessary to activate the functionality in the inwink back-office.
Go to Networking / Configuration- Activate the option Allow participants to create meetings with each other by turning the button ON:
- Then activate the option Use dedicated meeting areas and time slots for networking meetings by turning the button ON:
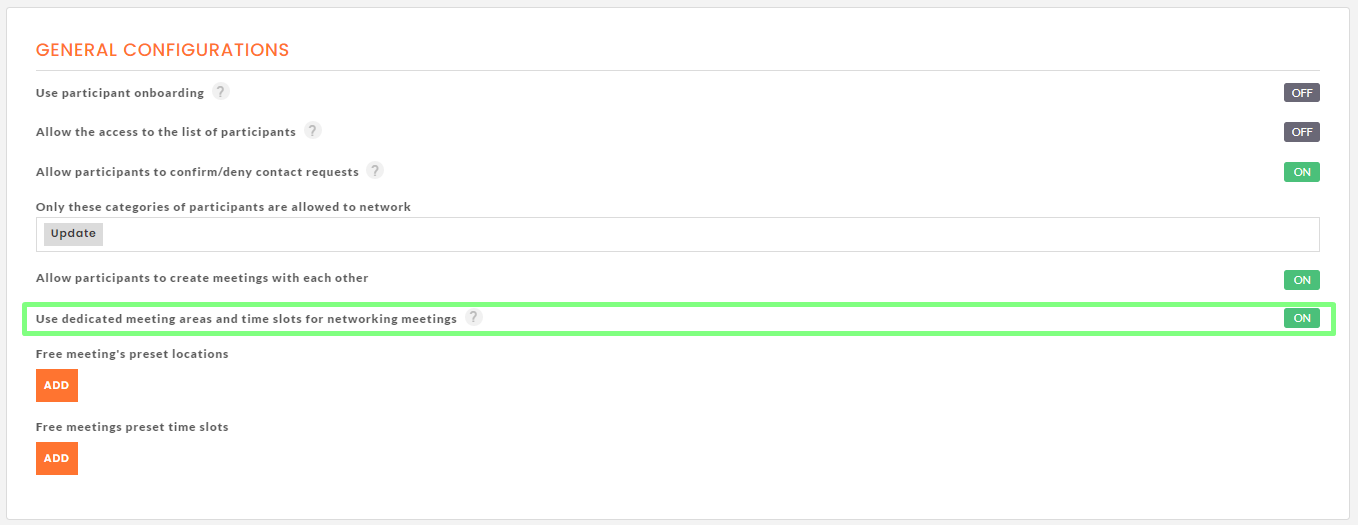
- Then click on SAVE at the top right

It is now possible to create areas and time slots.
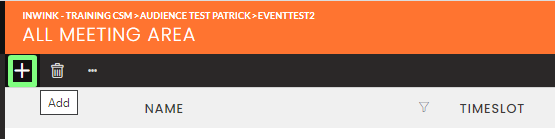
1. Create the meeting rooms
Go to Networking > Meeting areas
- Click on "Add" at the top left:
In the window that appears:
- Give a name to your area
- If necessary, formulate a description, add a visual, check "Online" (for a remote meeting)
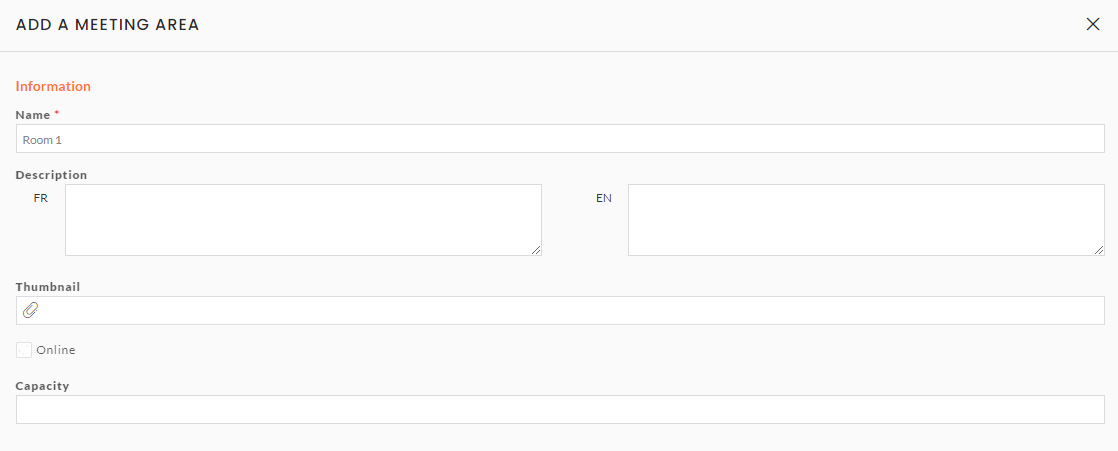
- Enter the capacity of the area (the room) if you wish
- Click on the SAVE button
- Add all the necessary areas
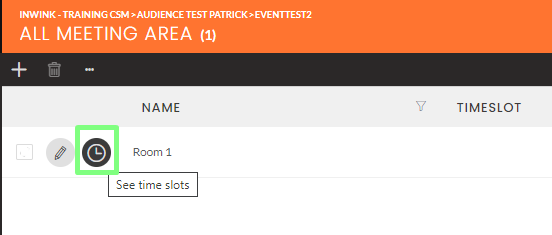
2. Create time slots
- To the left of the newly created area, click on "See time slots":
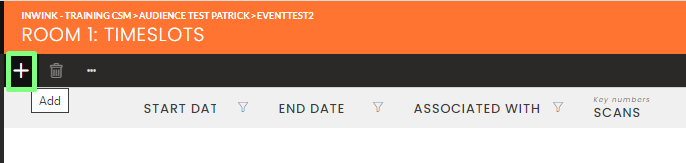
- Click on "Add" at the top left:
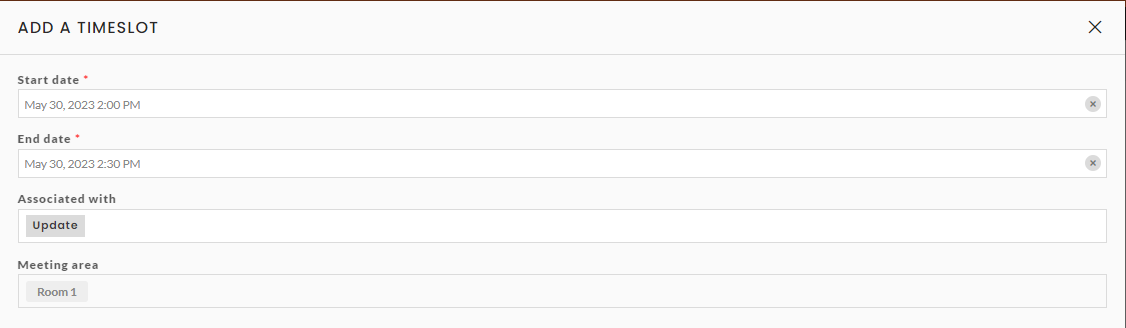
- Choose the start and end dates (days and times) and click on SAVE

- Repeat for all slots in this area
Mass addition:
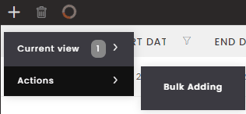
To facilitate the creation of multiple slots of the same duration, it is possible to add them in mass. In the top banner, click on "More actions", then in Actions on "Bulk Adding":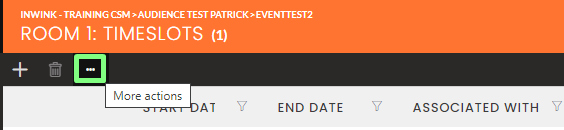
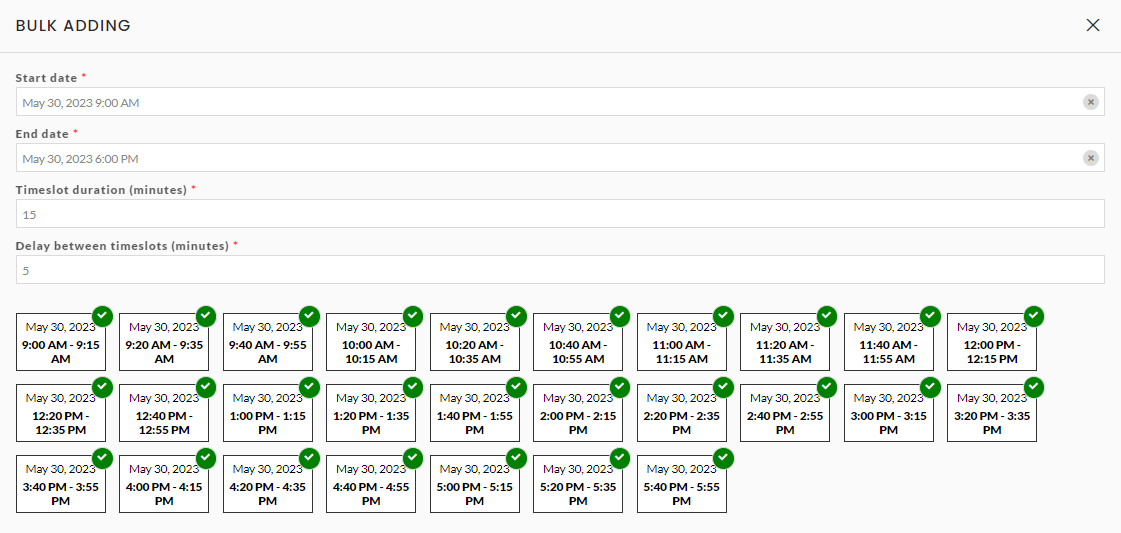
In the new window, enter the start date, end date, timeslot duration and the delay between timeslots, then save
Make an appointment
The procedure for proposing a meeting in a networking area is similar to that described below for free meetings.
When proposing a meeting in a networking area, the participant will be able to choose which time slot he/she would like the meeting to take place in.
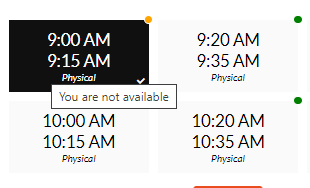
A sticker is present at the top right of the time slots:
![]() green indicates to the participant that he/she is available on this slot
green indicates to the participant that he/she is available on this slot
![]() orange indicates that the participant is not available in that slot
orange indicates that the participant is not available in that slot
For an area, the choice of a slot remains possible as long as the appointments proposed on it have not been validated by the participants
Free meeting
By default, as soon as the networking feature is activated, participants can schedule a free meeting.
Case 1: The two participants are already in contact.
From the "My contacts" tab of his/her profile, the participant clicks on the "Meeting" button: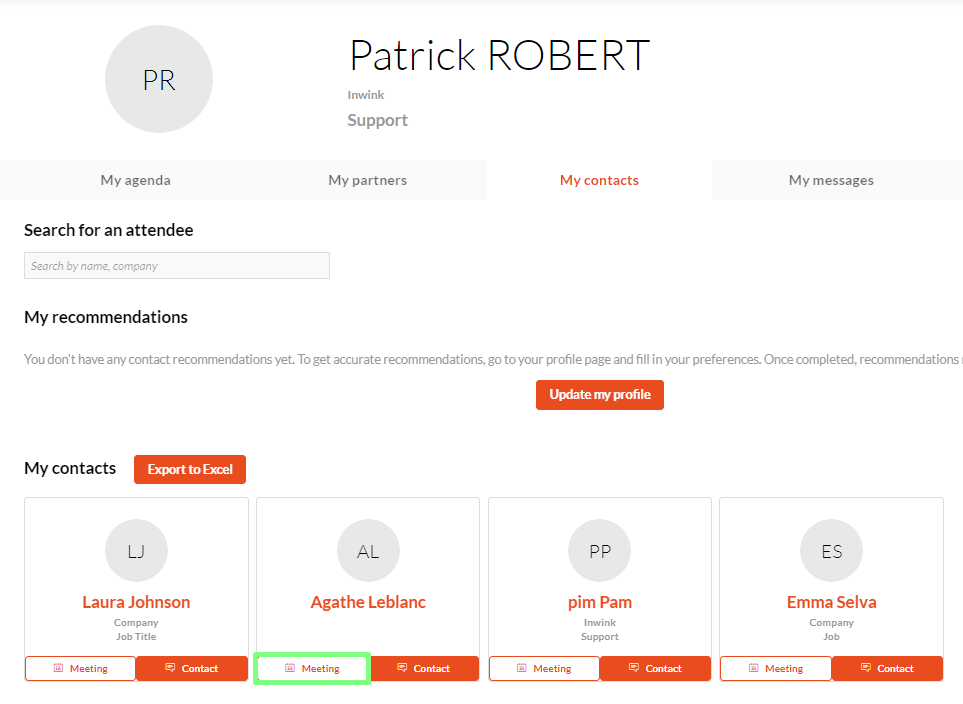
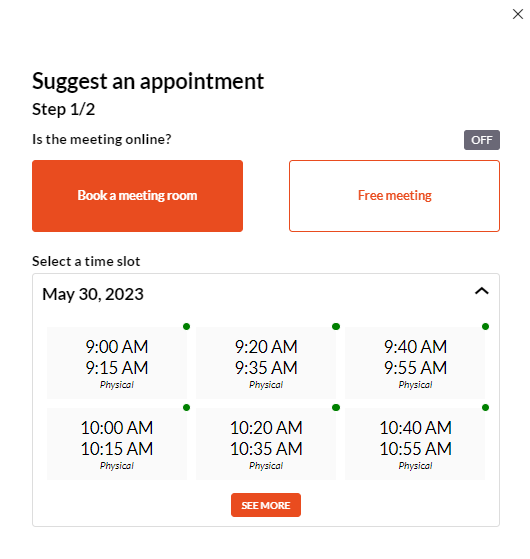
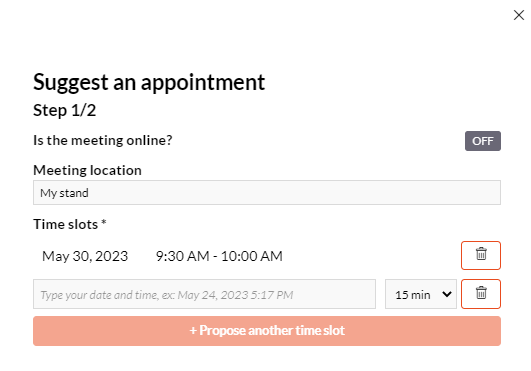
In step 1/2, the participant must fill in the following information:
- Meeting type: physical or online by pressing ON
- Meeting location
- Time slot proposal: they can add as many proposals as they wish
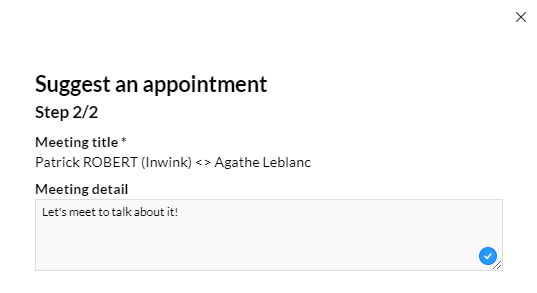
- He/she proceeds to step 2/2 by clicking on Next

- The participant can then enter the purpose of the meeting before validating

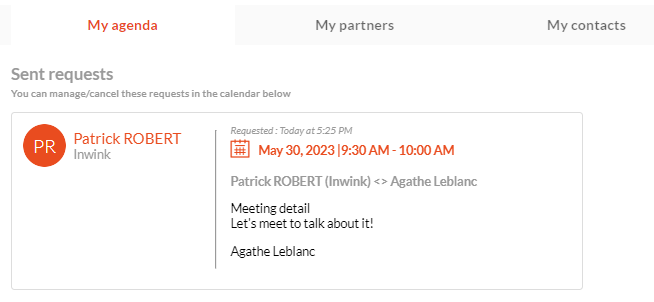
The meeting proposal appears in the participant's "My agenda" tab among the requests sent, waiting to be accepted:
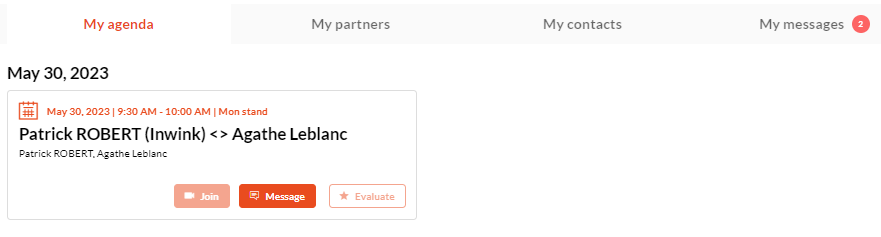
As soon as the participant in front accepts the request, it appears confirmed in the tab "My agenda":
Case 2: The two participants are not yet in contact.
From the "My contacts" tab of his or her profile, the participant can search for another participant, or connect with a participant via his or her recommendation list (more information) by clicking on Contact: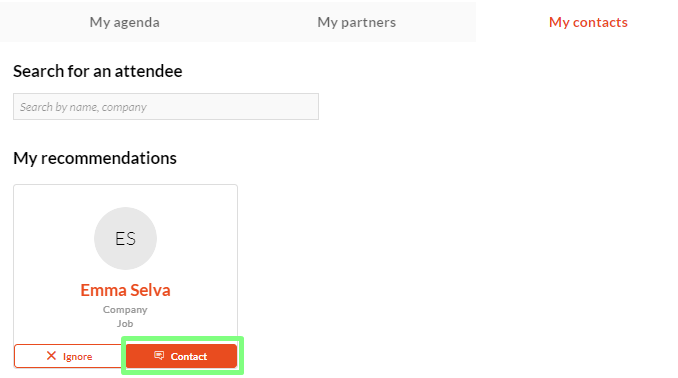
During this contact, it is then possible to add a meeting on demand:
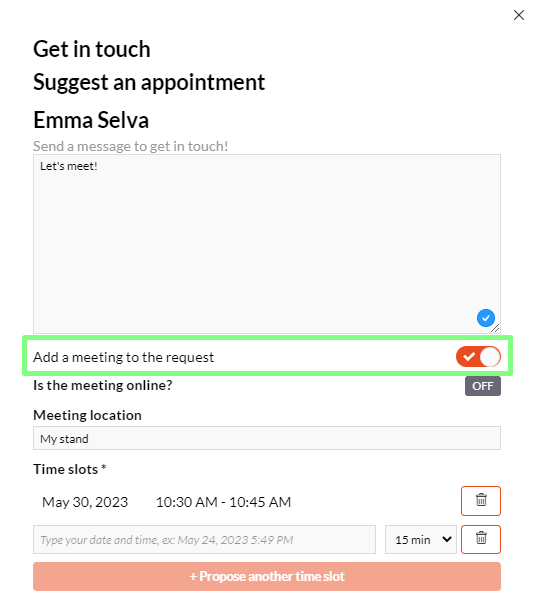
Please note: the contacted participant must first accept the contact request before accepting the meeting request.
Once the contact request has been accepted, the process is the same as for case 1. As soon as the participant accepts the request, he/she appears confirmed in the "My agenda" tab: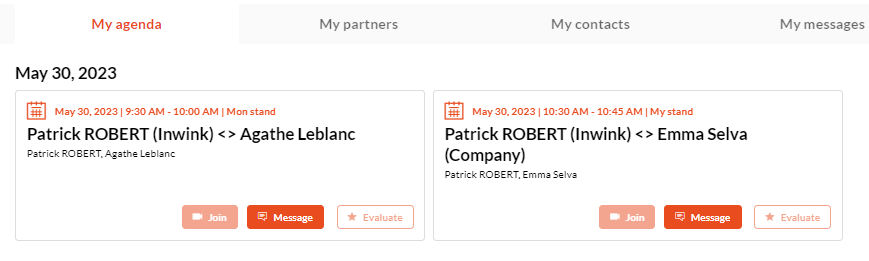
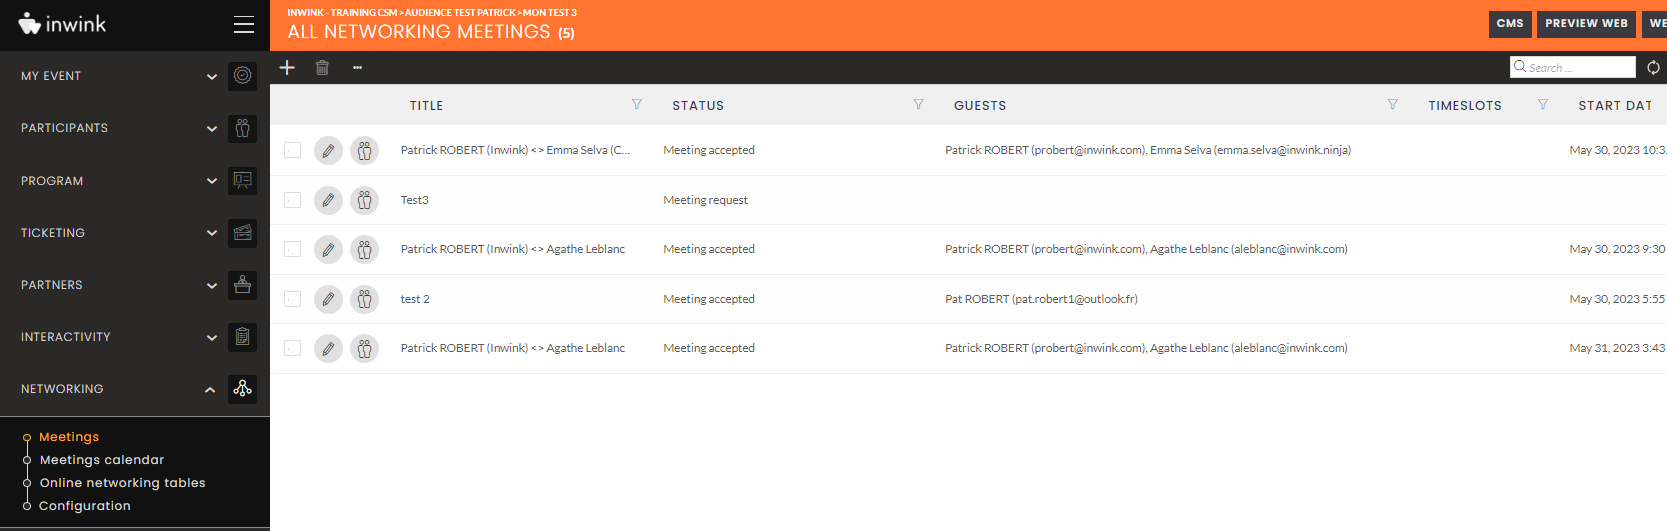
On the organizer's side, the list of all meetings is available in the inwink back-office, menu Networking > Meetings.