When creating your event, a form is automatically created.
You have the possibility to edit it or to create new forms, in order to personalize the registration of the participants.
Quick access:
Create a new registration form
Customize my registration form
Registration page step
Form page steps
Networking preferences
Partners selection step
Sessions selection step
Adding collaborators step
Default value
End of form step
Create a new registration form
In the block gallery and the registration page, inwink offers you two registration forms :
| Registration form | Registration form multi-step |
By default, this form has 3 steps :
|
By default, this form has 8 steps :
|
CREATE A NEW REGISTRATION FORM PAGE
To create a new registration form page, you have 2 possibilities:
- Via the CMS > In the black banner at the top > click on Current Page > Add a page > Registration > Registration page > Registration form
- Via the back-office > Website > Site content > Add a page > Registration > Registration page > Registration form
CREATE A NEW REGISTRATION FORM ON AN EXISTING PAGE
To add a registration form on an existing page, click on the + below a block (button to add a new block) > Forms > Choose the form you want (registration form or multistep registration form)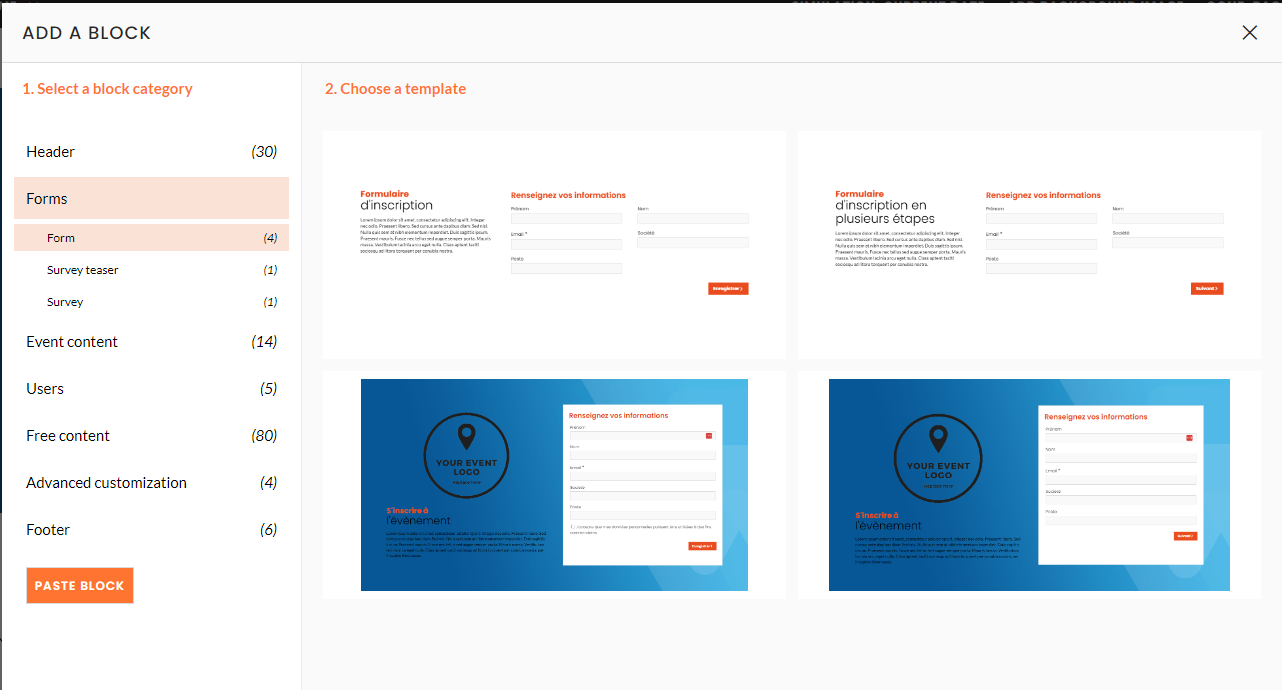
Choose one of the registration form templates
Customize my registration form
General configuration
Once your form is created, you will find three tabs:
| Configurations | Header | Actions |
In this tab, you can:
|
In this tab, you can:
|
In this tab, you can add action buttons that will be displayed in the header. |
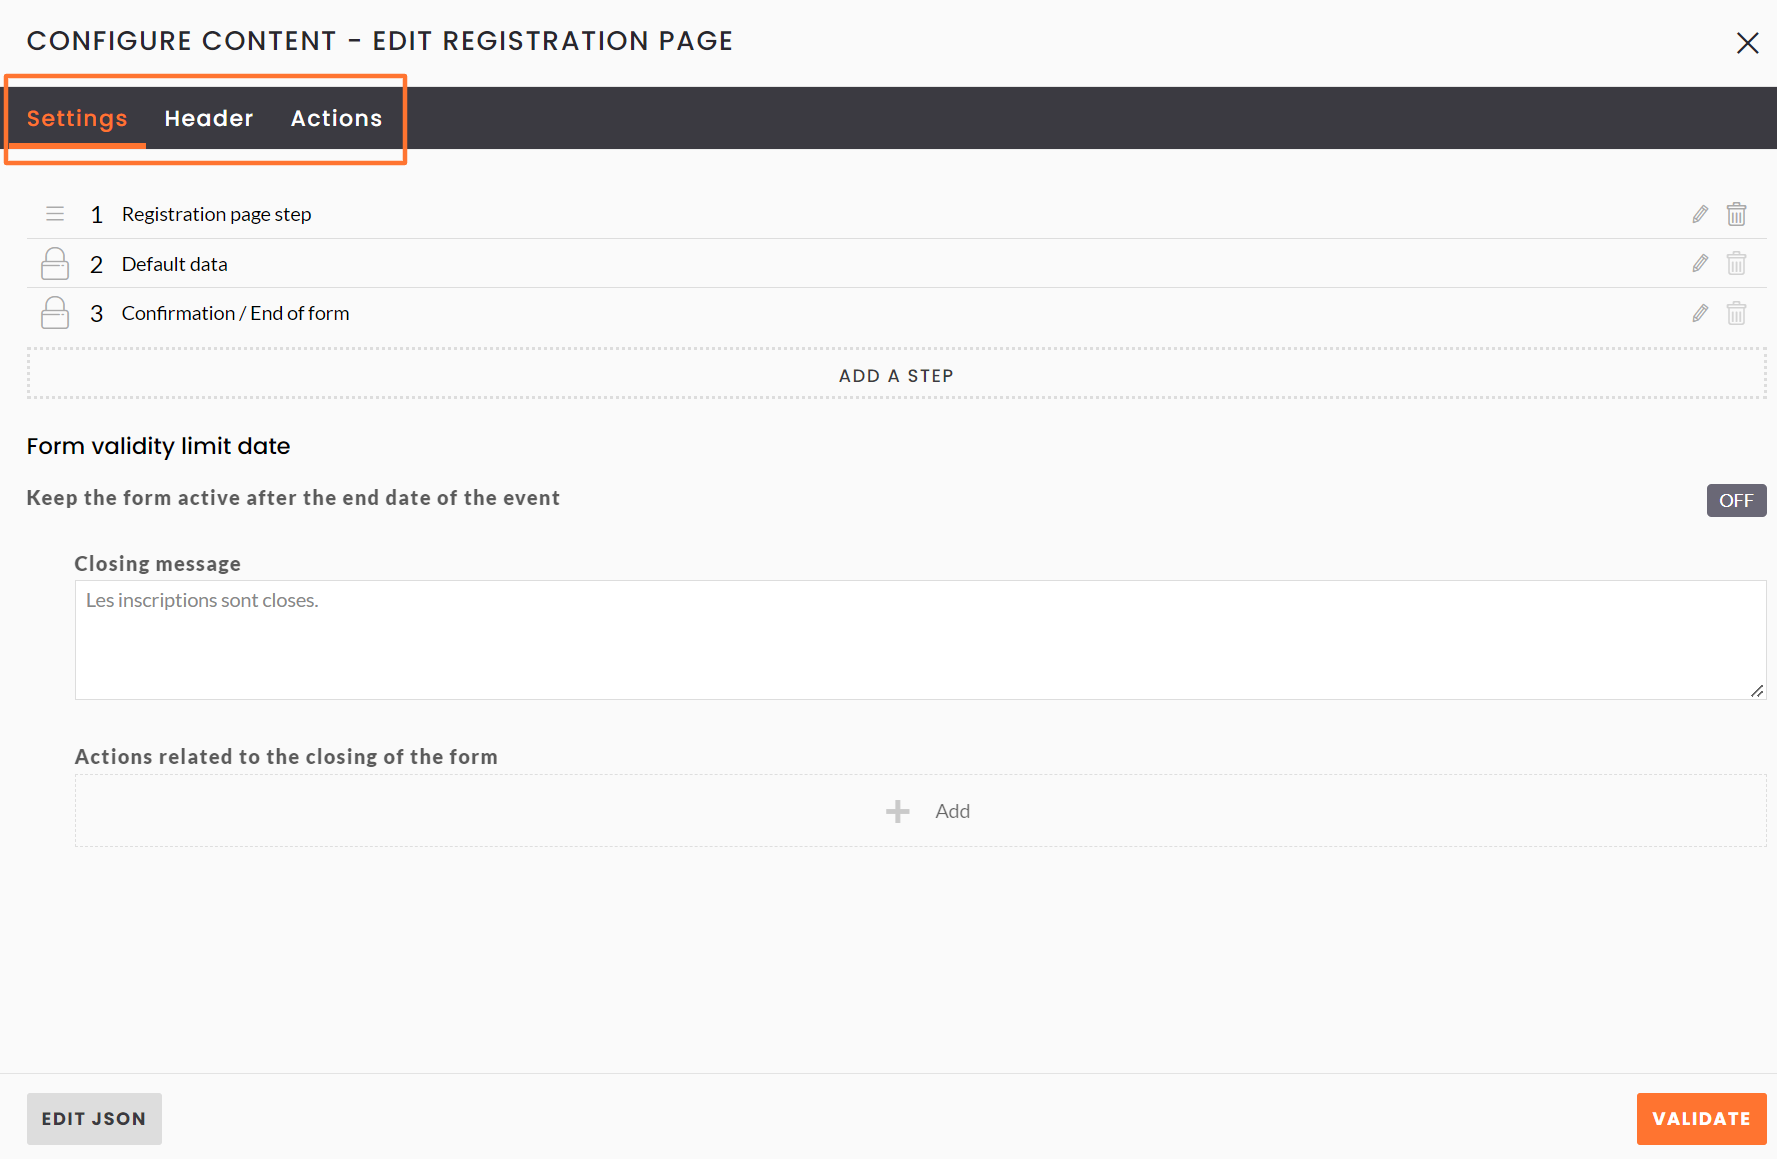 Three tabs present when creating your form
Registration page step
In the Configurations tab, you have the ability to edit, delete and add steps to your registration form.
A step corresponds to a page in your registration form.
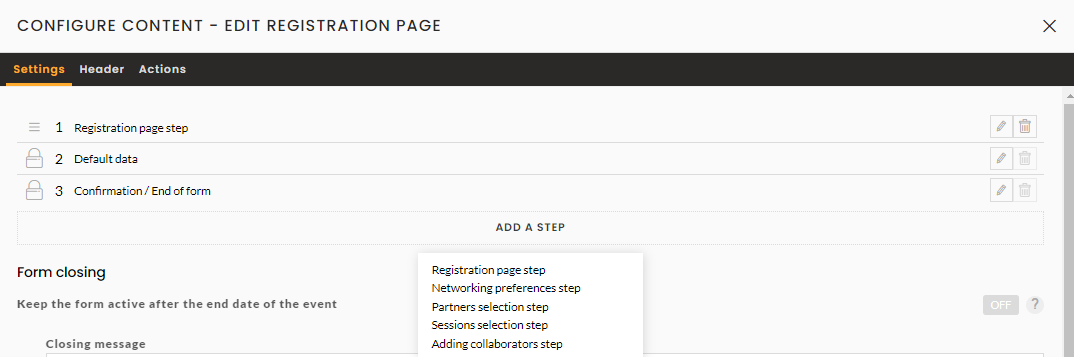
To add a step, you can click on "Add a step".
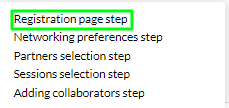
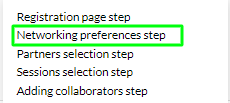
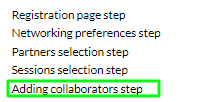
4 steps are available to add:
- Registration page step
- Networking preferences step
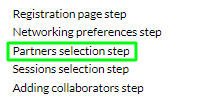
- Partners selection step
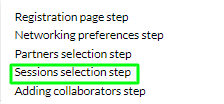
- Sessions selection step
- Adding collaborators step
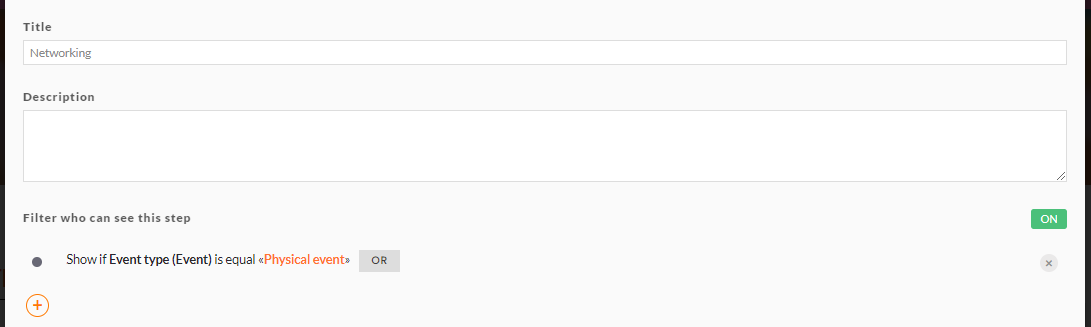
For each step, you can condition its display. Indeed, you can add a condition to determine a selection of participants who will see this step displayed. The condition must be made on a participant field. This can be a field present in the registration form in a previous step for example.
You can change the order in which the pages (and therefore the steps) are displayed by clicking on the ![]() and dragging the step to the desired position.
and dragging the step to the desired position.
The default values step and the confirmation/end of form step should remain in the last position.
FORM PAGE STEPS
In this step, you have the possibility to add fields and texts. These fields and texts can be organized using groups.
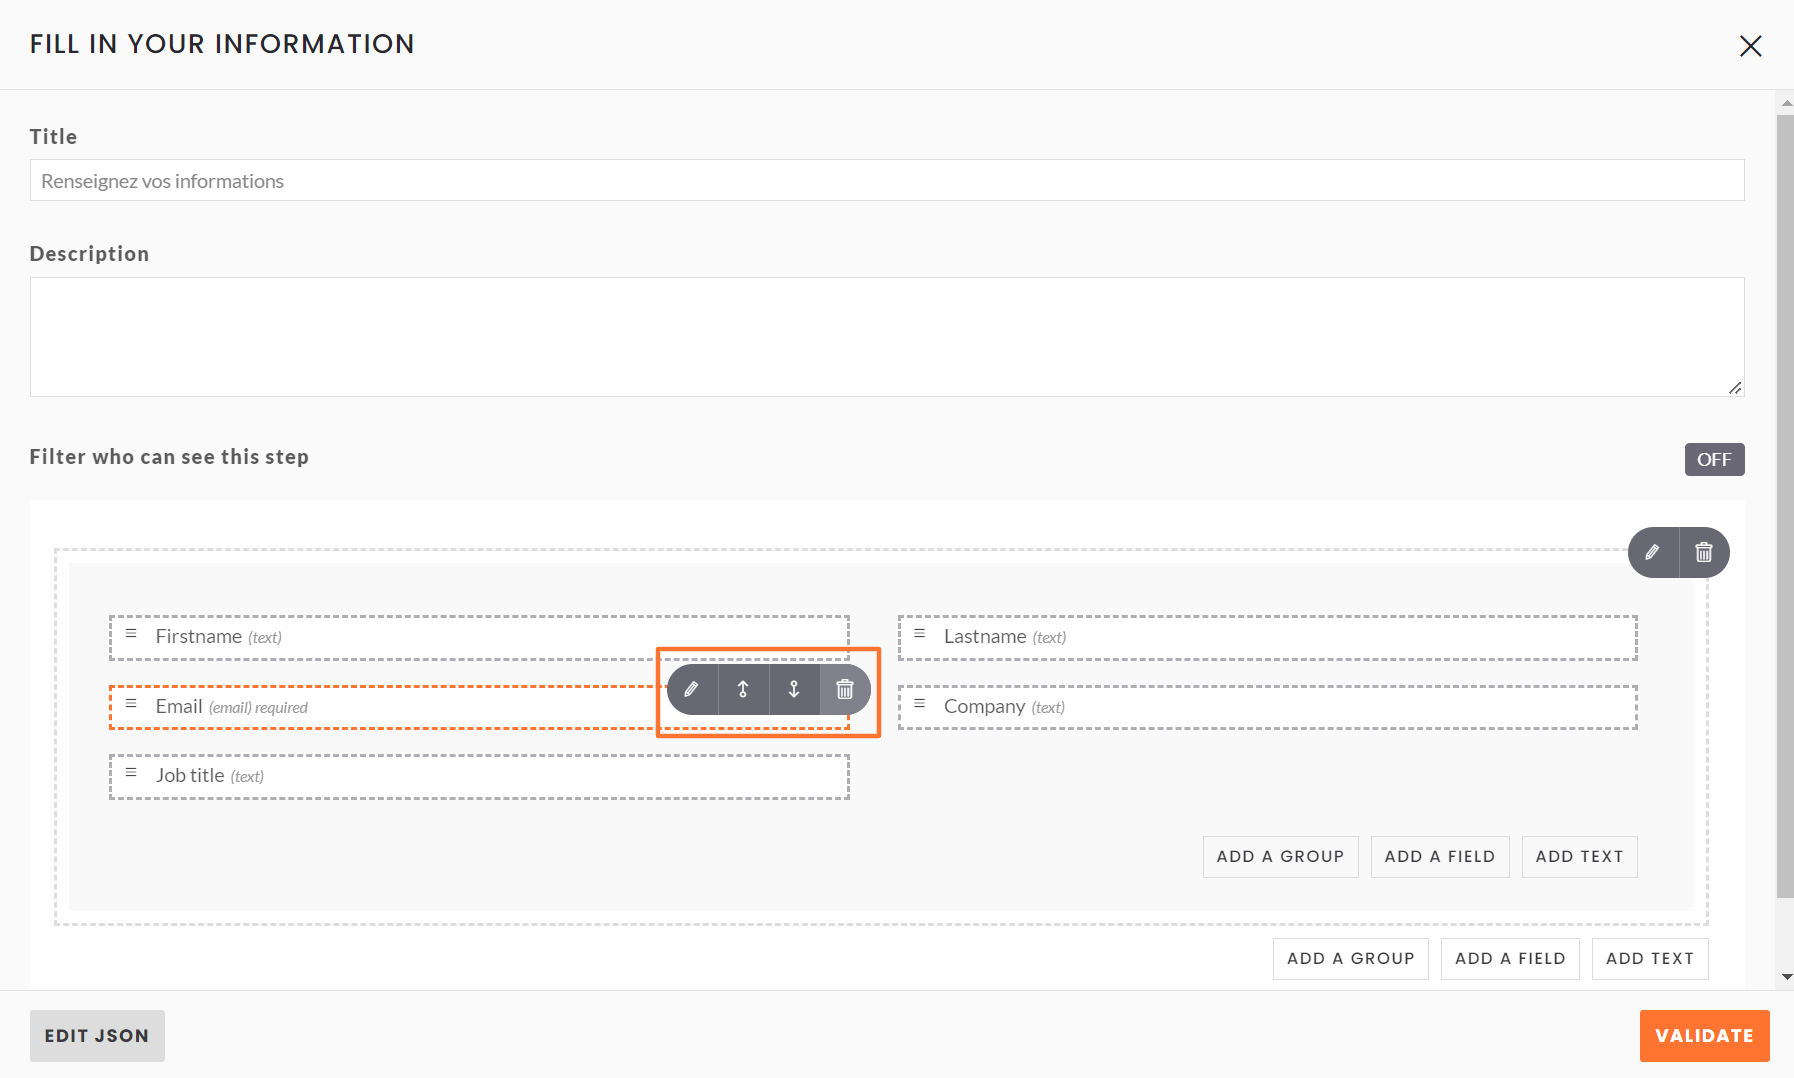 Edit, move (up and down), or delete a field
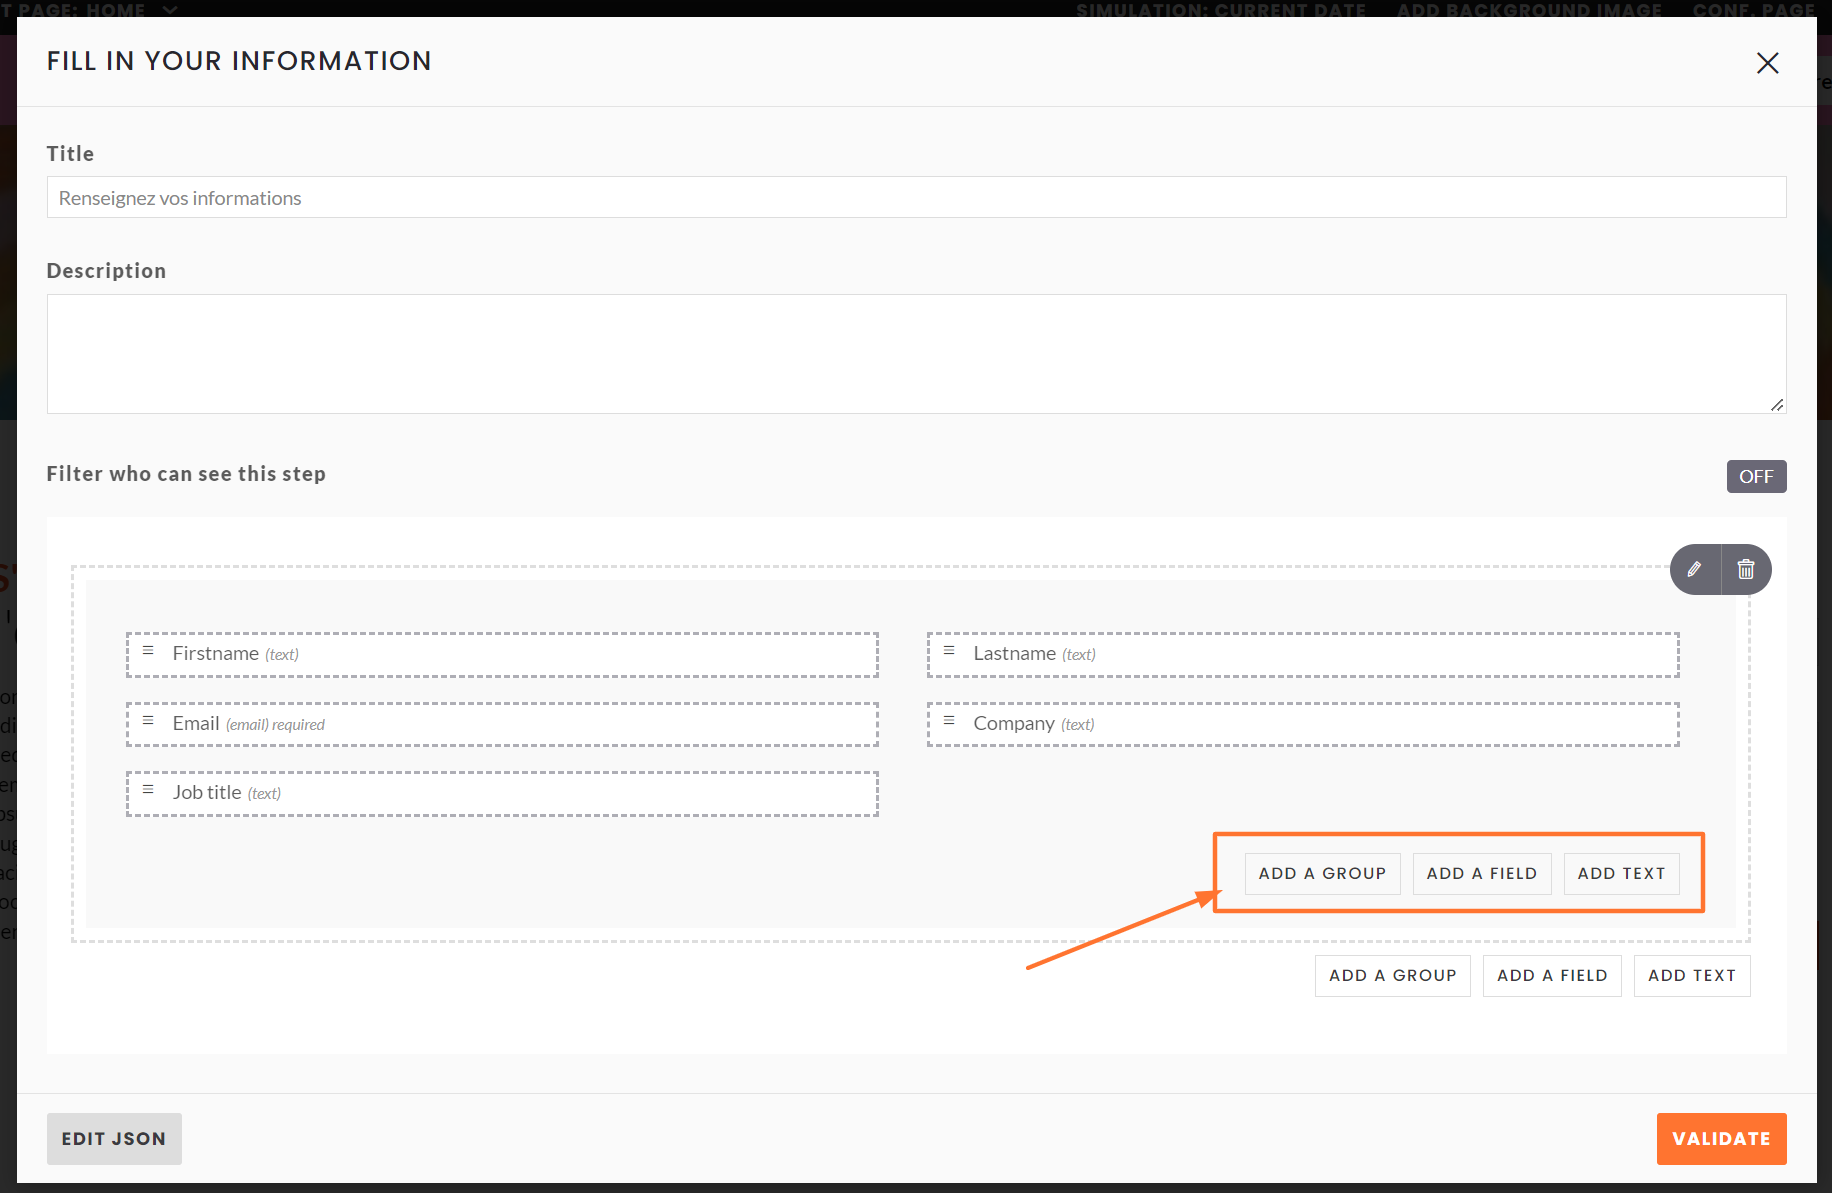 Feed my form in the "Form Page Step"
⚠️Do not delete the default "Email" field in the registration forms:
This field is used to bring new registrants up to date in the back office.
In the event of accidental deletion, be sure to use the default "Email" field in the list of fields on your form page.
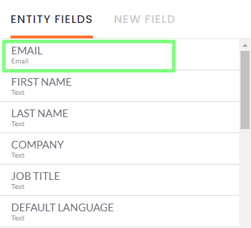
Creating a "new field" entitled email is not enough to create the participant, as the technical code used is different.
We recommend that you use a text field to enter a telephone number or postcode.
NETWORKING PREFERENCE
This step allows the participant to activate (or not) the networking.
If he activates it, he will be able to select his networking domains, provided that they have been created.
 Configured networking preference page
PARTNERS SELECTION STEP
This step allows the participant to add partners as favorites.
Partners will be displayed in groups. You can have either one group or several (e.g. GOLD partners, SILVER partners etc.)
ADD A GROUP OF PARTERS
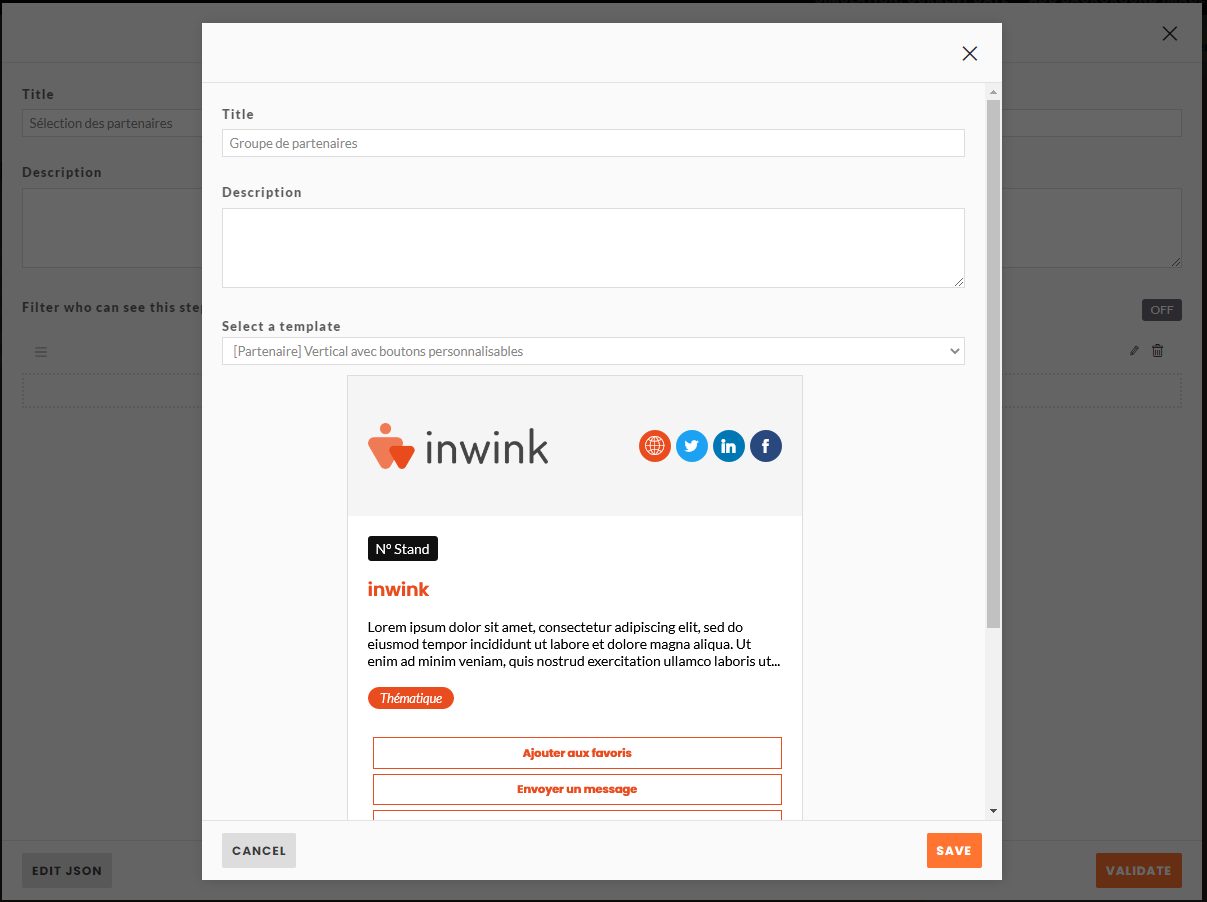
Click on "Add a group of partners". You can then configure the group by :
- giving a title to the group
- giving a description
- choose the displayed template
- conditioning the display of the group. In fact, you can add a condition to determine a selection of participants who will see this group displayed. The condition will have to be made on a participant field. This can be a field present in the registration form in a previous step for example.
- filering the partners to be displayed. In the list of filters you will find the partner type fields. For example, you can display only partners of a certain type in this group.
- sorting the display order of the partners in the group.
 Selection of partners
SESSIONS SELECTION STEP
This step allows the participant to register for sessions.
Sessions will be posted in groups. You can have either one group or several (e.g. plenary, workshops etc.)
ADD A GROUP OF SESSIONS
Click on "Add a group of sessions"
You can then configure the group by
- giving a title to the group
- giving a description
- choose the displayed template
- conditioning the display of the group. In fact, you can add a condition to determine a selection of participants who will see this group displayed. The condition must be made on a participant field. This can be a field present in the registration form in a previous step for example.
- filtering the sessions to be displayed. In the list of filters you will find the session type fields. For example, you can display only sessions of a certain type in this group.
- sorting the order in which sessions are displayed in the group.
- setting a session selection quota. By activating this option, you can define the minimum and/or maximum number of sessions the participant is allowed to join.
ADD COLLABORATORS STEP
This step allows the person registering to add collaborators at the same time, to register them directly.
You will find more information in this online help.
Default value
In the configuration tab of your registration form, you will find a "Default value" step. This step is present for all registration forms and cannot be deleted.
These values are assigned by default to:
- all participants for default values
- a participant selection for conditional values
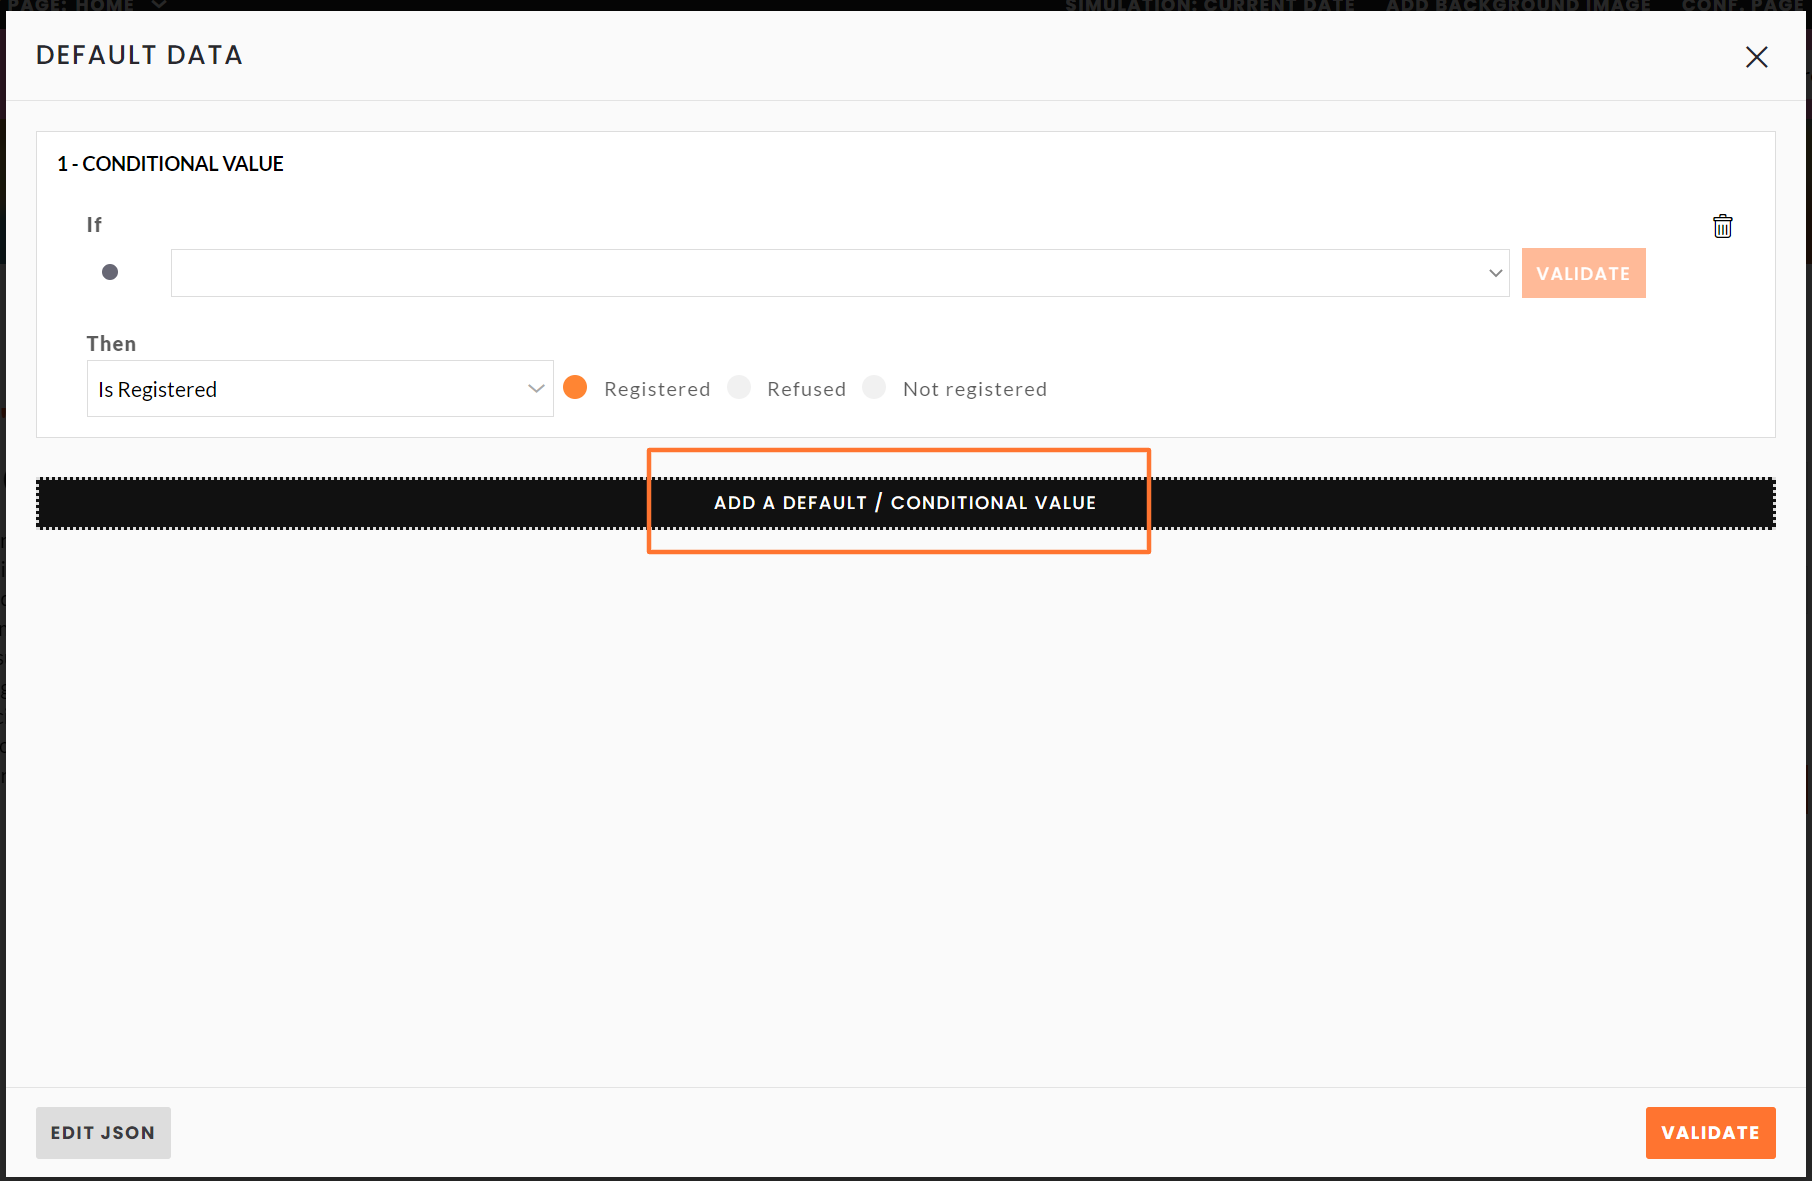
ADD DEFAULT VALUE
To set a default value, click Add Default/Conditional > Add Default > Select the desired field and then the desired value.For example:
- If I want all participants filling out the form to be registered, I would choose the field "is registered" and the value "Registered"
- If I want all participants filling out the form to be unregistered (registration with validation lock), I would choose the field "is registered" and the value "Unregistered".
ADD A CONDITIONAL VALUE
To set up a conditional value Add a default conditional value > Add a conditional value > Add the conditioning by selection a field and the value the field must have for the condition to apply > Select the field and the value you want to apply in this condition.For example :
If in my form I have a field demanding my participants if they will be present online or in person, I can condition the category of participants according to their answer.
I will have two conditional values to set:
- IF How will you participate in the event (field for condition) "online" (field value for condition) THEN the Participant Category (field value to apply) will be "Online Participant" (field value to apply)
- IF How will you participate in the event (field for condition) "In person" (field value for condition) THEN the Participant Category (field value to be applied) will be "Face to face participant" (field value to be applied)
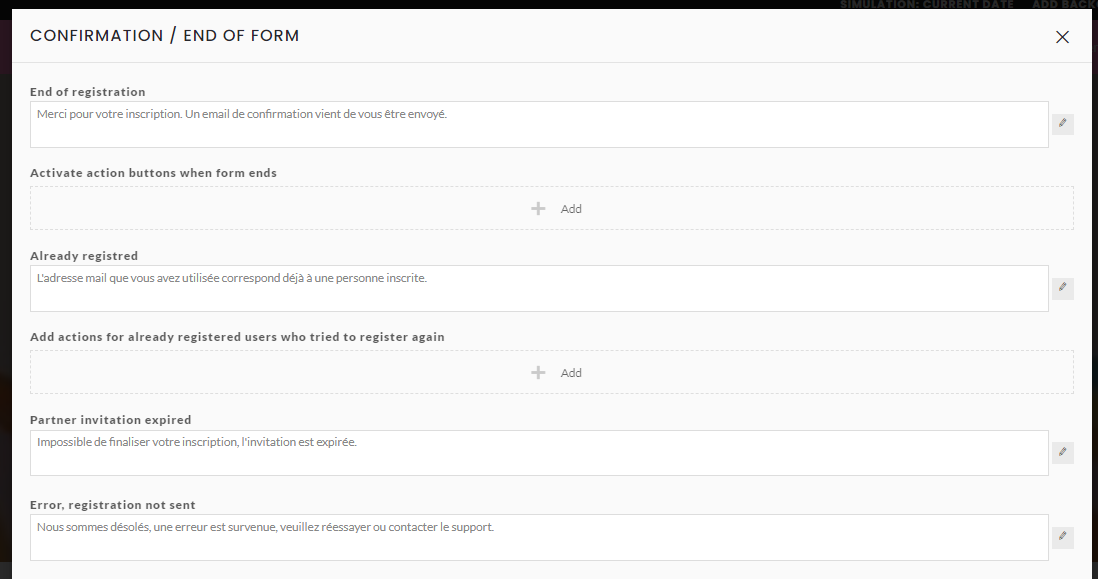
End of form step
In this step, you will find the texts displayed at the end of the form.
Default texts are filled in, you can modify them.
You can add action buttons that will appear at the end of the form.
-
Action button at the end of the form: for people who have successfully completed their registration.
-
Action button for people who have already registered.
You can also activate two options:
- Enable sending invitations to contacts
-
Display an iframe to Linkedin event

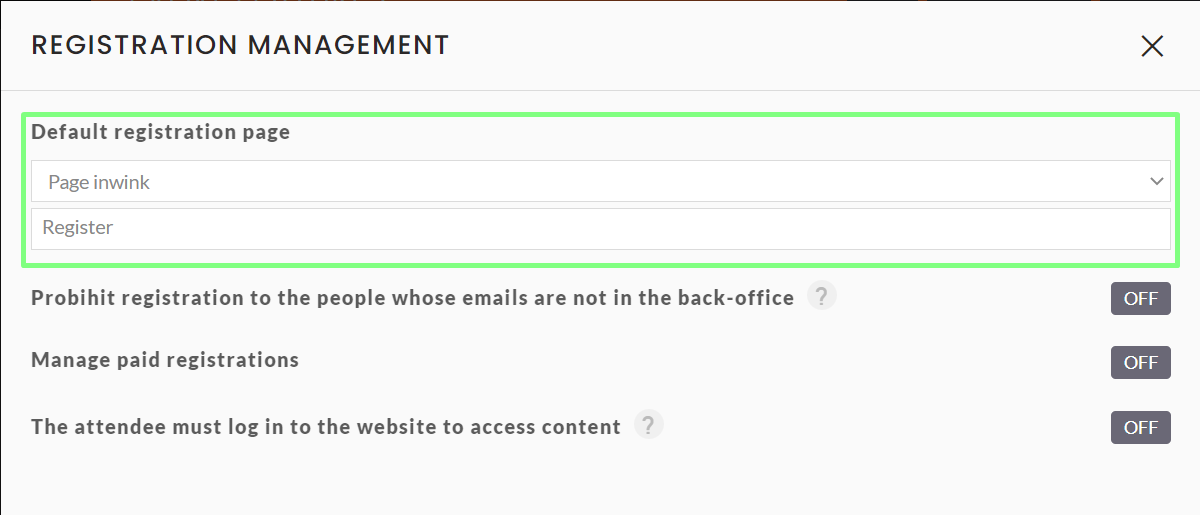
If you create several forms, you can define which form becomes the default registration page in your event's back office, configuration tab > modules:
Configuration tab > modules > Event features > Registration management
⚠️ Please note that when a user fills in a registration form, certain special characters can block validation, in particular arrows created with the dash symbol - associated with the chevron symbol > such as these:
" -->" or " - - >"
An error message such as "We are sorry, an error occurred. Please try again or contact the support team" is displayed to participants who are unable to complete their registration, and the form remains blocked.
If this type of error is reported to you by a participant, check with them that these characters have been entered and, if necessary, ask them to exclude them.