Template creation
inwink allows you to automatically generate documents based on participants informations.
These documents can then be send to them by email.
To generate a document, go on the menu My event / Document tempates.
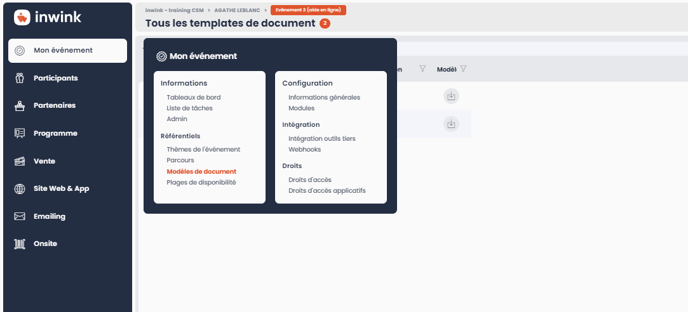
From this menu:
- Click on the button ➕ on the top left to open the creation window
Select the type of document to generate:
➡️ Participants:
- Attendance certificate
- Participant's appointment
- List of exhibitors bookmarked
- Certificate of attendance
- Participant agenda
- Participant sessions
- Participant's business meeting
- Facilitator certificate
➡️ Partners :
- Partner stand
- Order summary
You can preview the document by clicking on the eye :
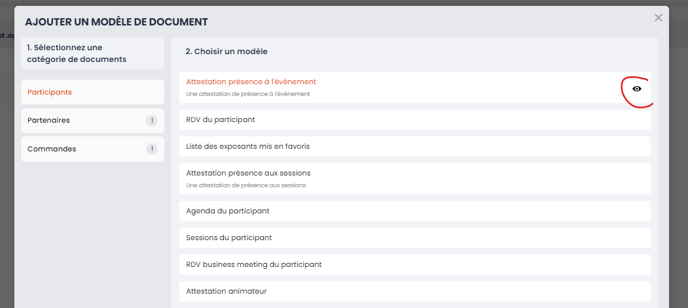
You can then choose an element to preview the document, or download the template by clicking on the "Download" button.
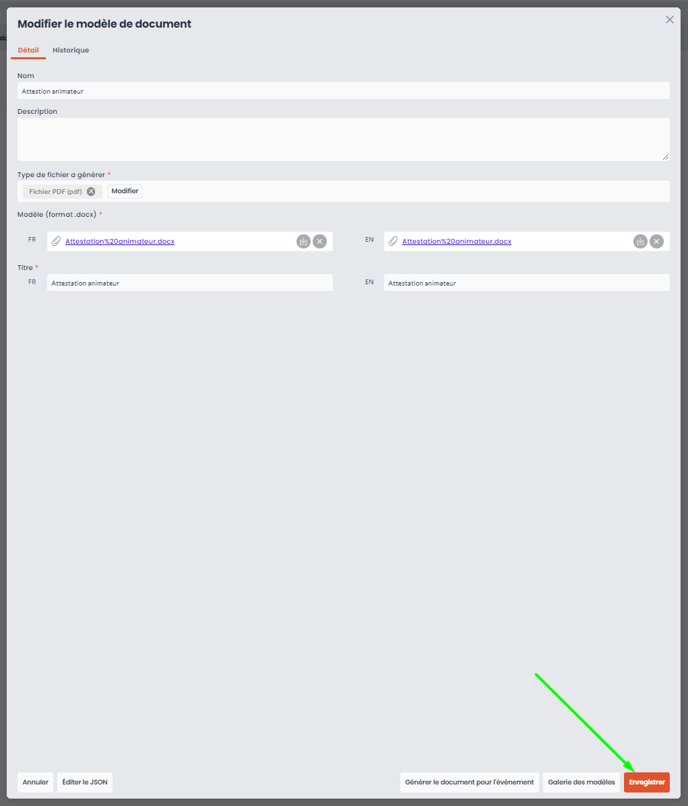
Once the type of document is selected, an update window opens.
From this window:
- Enter a name: this name is used only on inwink back office
- Enter a title : this title will be visible from participants when the will download the document
- Select the type of document to generate
- Word docx
- Image jpg
- PDF file - we advise you to generate PDF files to have an optimal final display
- Add your file
- By default, inwink template is added
- You can update the header and simple texts so the document matches your graphic chart.
- Click on the "save" button to save your document
Send a document to participants
If your document is linked to the participants, follow these steps from the Participants > All participants' menu.
If your document is linked to the partner, the following steps are taken from the Partners > All partners menu.
If your document is linked to the order, the following steps are taken from the Sales > Orders menu.
From the menu mentioned above:
- Click on the configuration icon ⚙️ on the top right of the grid
- Click on FIELDS MANAGEMENT on the top to open the list of participants / orders fields
- Select the type of field Document template on the left column
- Enter a name
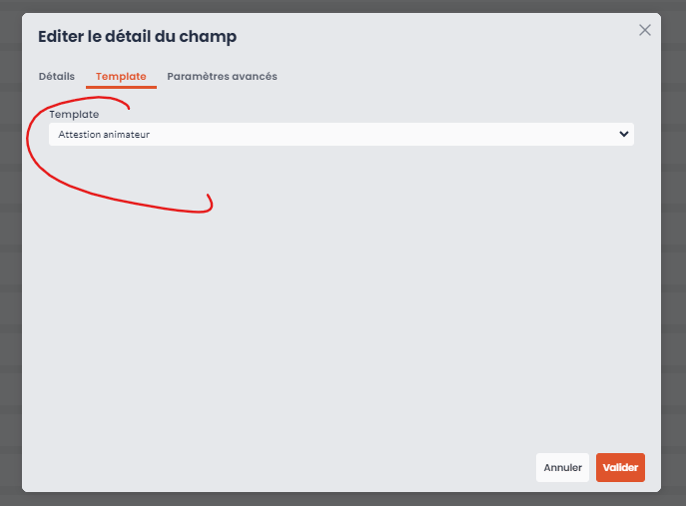
- On the tab Template, select the template you created
- Save your modifications
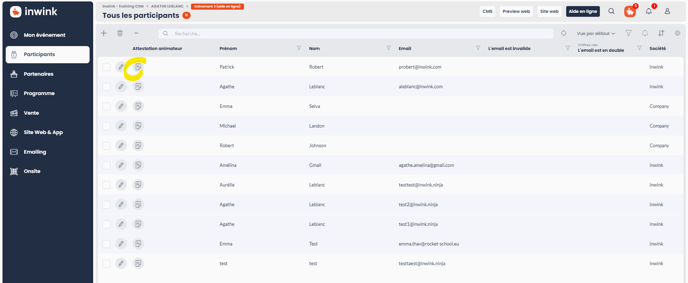
You can then display your document on the grid to download it.
Alternatively, you can add it to an email and send it to all participants at once, thanks to dynamic fields.
To add this document to an e-mail, please follow the steps below:
- Edit your e-mail, from the all e-mails view
- Click on the "Personalize" button, to make new modifications to your email
- Add a block to later insert a button
- Edit this button and select the field you've just created in the participant field tab
- The URL will be written in the button. For a better display, please copy this URL, then delete it.
- Then in the URL insert, select URL, paste your URL (⚠️ do not pay attention if there is the error message indicated "Format template incorrect")
- Add a title to your button
- Save