A video tutorial is available on the inwink training website.
Set up the module
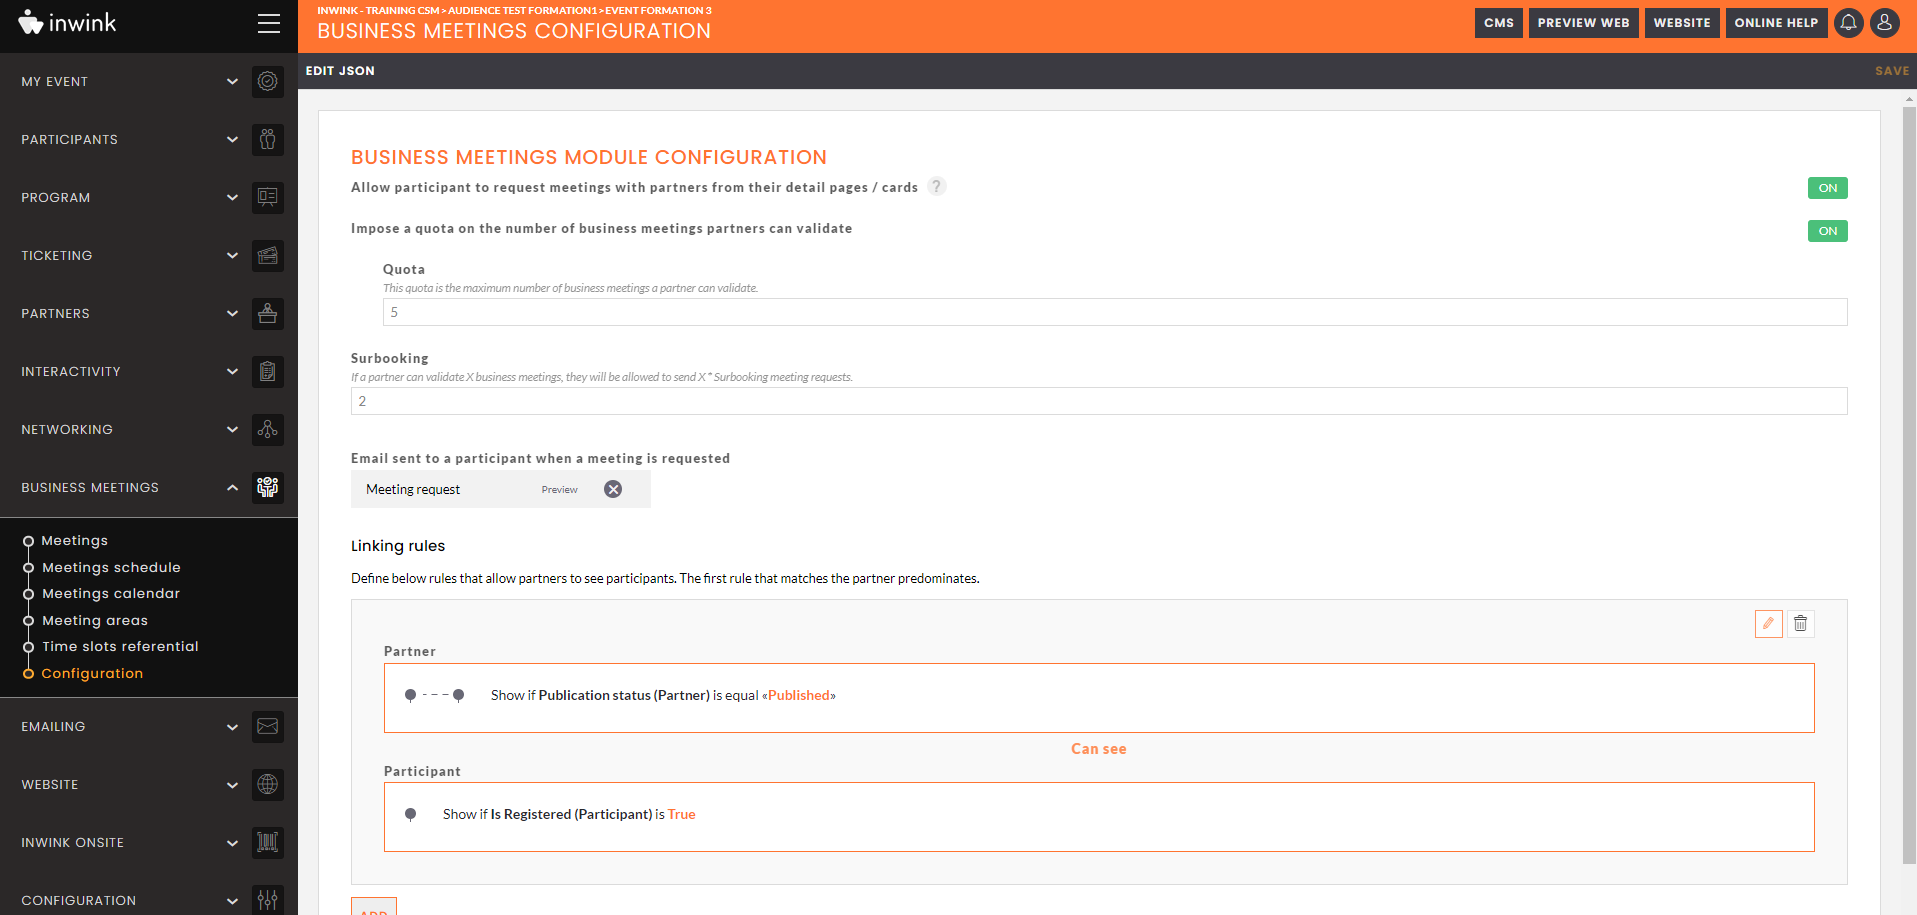
First of all the Business Meetings module needs to be activated in the Configuration / Modules menu and then configure in the Business Meeting / Configuration menu.
In this menu, you need to define :
- Emails to send automatically.
- The linking rules which shape the list of participants available in the partners workpace.
Time slot referential
In order for your partners and participants to be able to make appointments with each other, you must define a time slot reference for all your partners in the Business meeting / Time slot referential. Here are the actions to be carried out in your back-office in order to configure this, please click on :
-Business meetings
-Time slot referential
-click on ➕ to add it
-bulk addition : click on ![]() then on bulk adding
then on bulk adding
- The defined time slots are then offered to all partners, and all partners can select the same time slot.
 Configuration of the Business Meetings module
Meeting Area
Each partner has at least one meeting space.
An appointment space can be linked to a commercial contact or to a theme. In each meeting space, the time slots of the repository will be proposed to the partners.
You have the possibility to create your meeting spaces in 2 ways:
- On the organiser's side: in your back office by clicking on BUSINESS MEETINGS and then Meeting Area,
From this page you can delete your previously created spaces but also create new ones by clicking on ➕
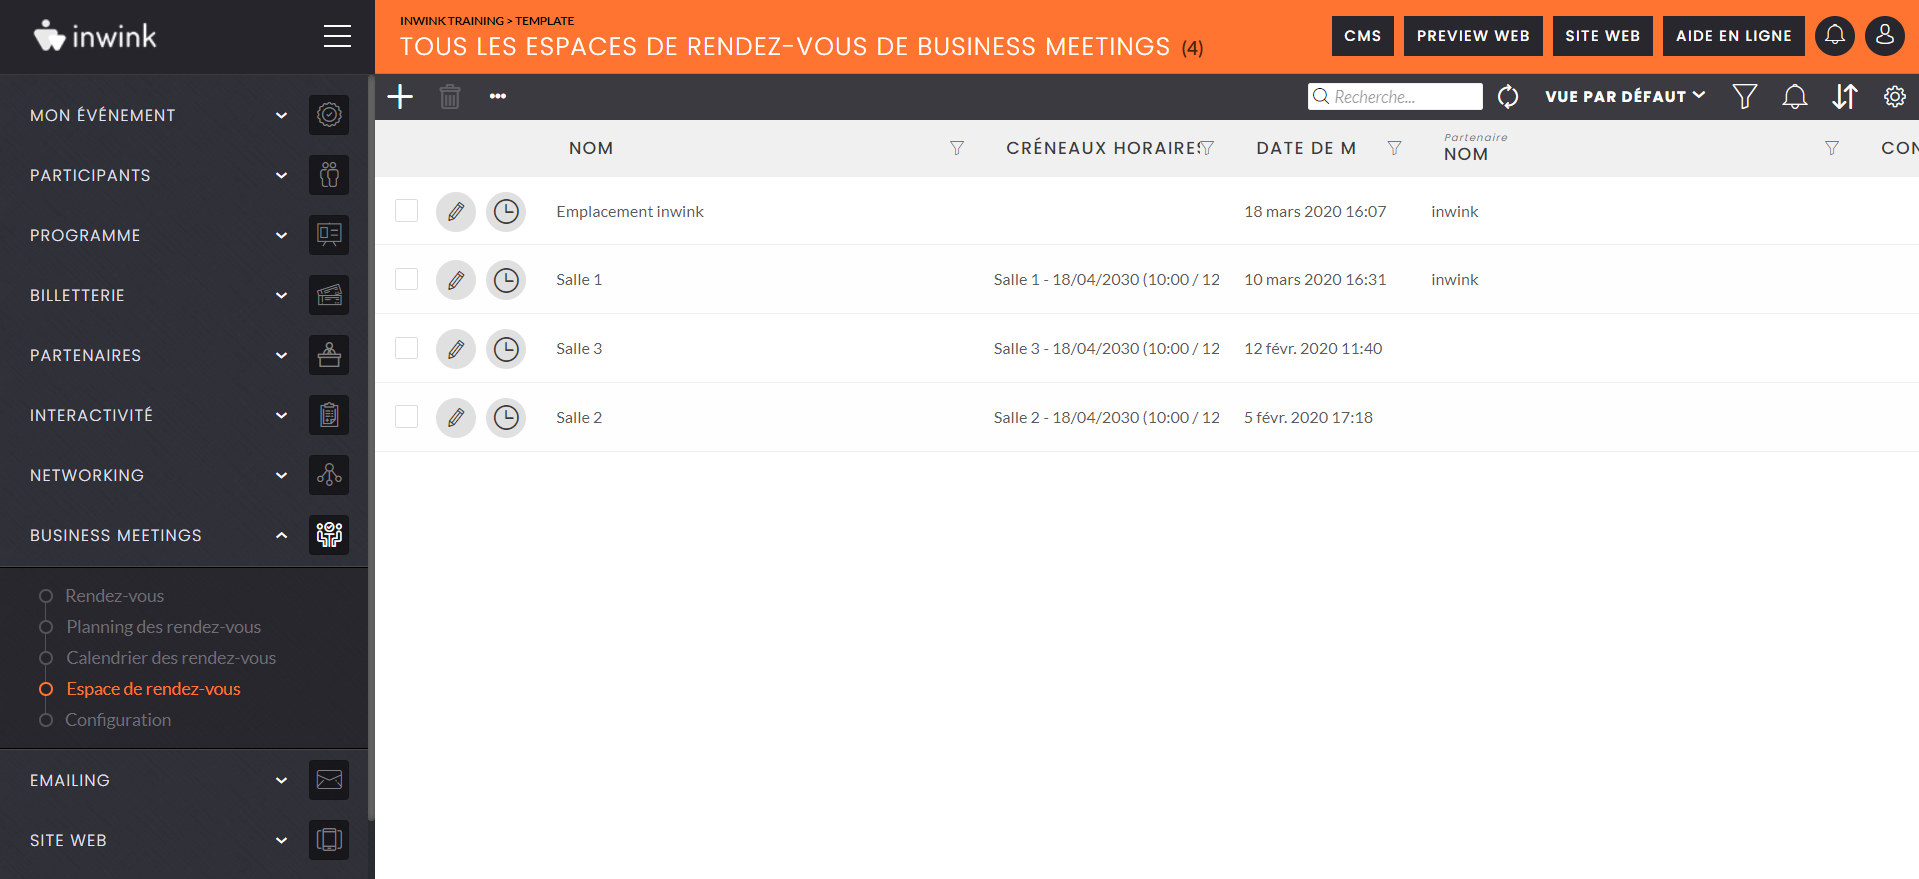 Configuration of Meeting Area from back-office
It's also possible to create mass meetings areas for each sales contact, more explanations in this video.
- Partner side: from your partner area by going to the Calendar tab and then Add a meeting space on your time slot table:
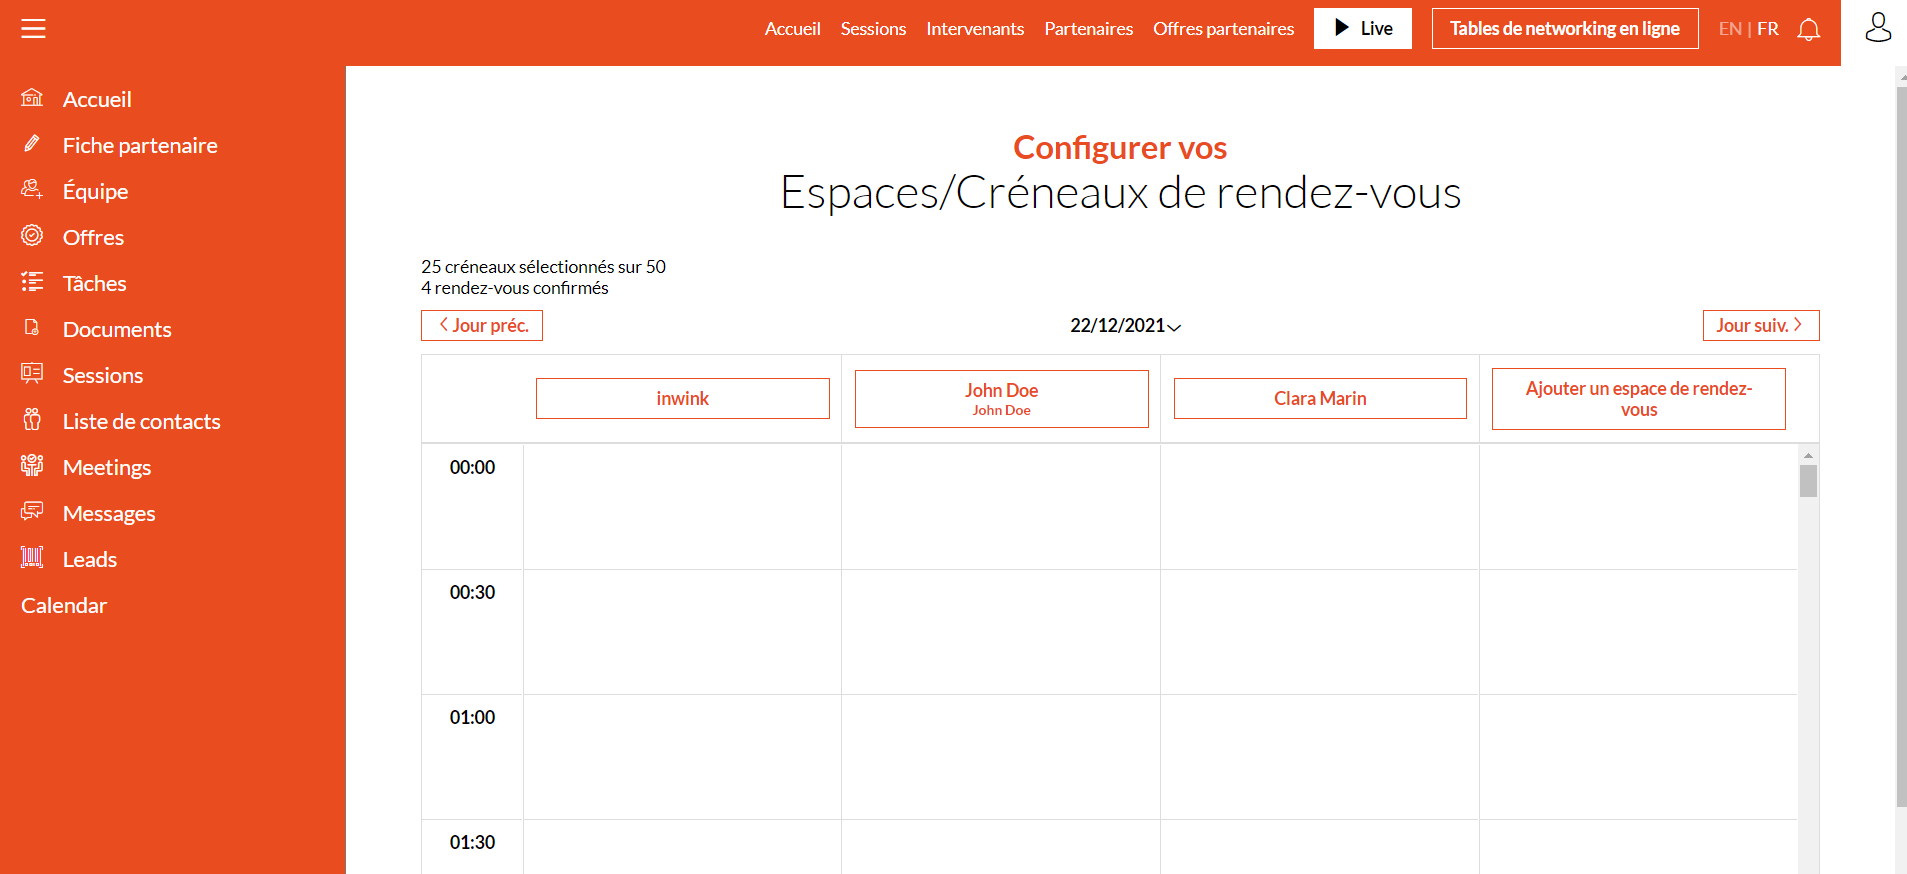 Configuration of meeting area from partner area
If no meeting space has been created by the organiser in the back office, when the partner logs on to the business meeting calendar for the first time in his partner area, he will automatically be offered the creation of a meeting space.
Time slots quotas
Three types of quotas can be set up:
- First method: in the Back-office, go to the tab Partners, All partners, edit a partner and then check : Number of assigned time slots for business meetings and choose a number of quota
- Second method: Define quotas by product, go to the tab Partners, Products, add a product, name it Quota for example, product type: Partner Invitation Quota and choose the desired number.
Go back to all partners, edit a partner, tab product then assign a product and choose the product Quota. - Third method: Go to the Business meeting tab, configuration and in "Quota of available invitation slots " you can choose the desired number of quotas (image above).
The 3 methods are not cumulative, the first one has priority then comes the second and the third.
Automatic emails
To make to best use of the Business Meetings module, an email has to be set up :
- An email sent to the participant when a meeting is created.
- As soon as a meeting is proposed, this email will be sent to the participant.
- It's advised to remind in the email the date and timeslot of the meeting as well as encourage the participants to consult their personalised agenda.
Emails are created in the Emailing/Email templates menu.
Linking rules
The last part of the settings concerns the linking rules.
In this section, you need to define for every rule :
- The partner's field(s) to take into account and their condition.
- The participant's field(s) to take into account and their condition.
In the example below, the gold or platinum partners only see the participants who already created an account.
Then partners with a Silver or Bronze type will only see the registered participants.
And so on according to the added rules.
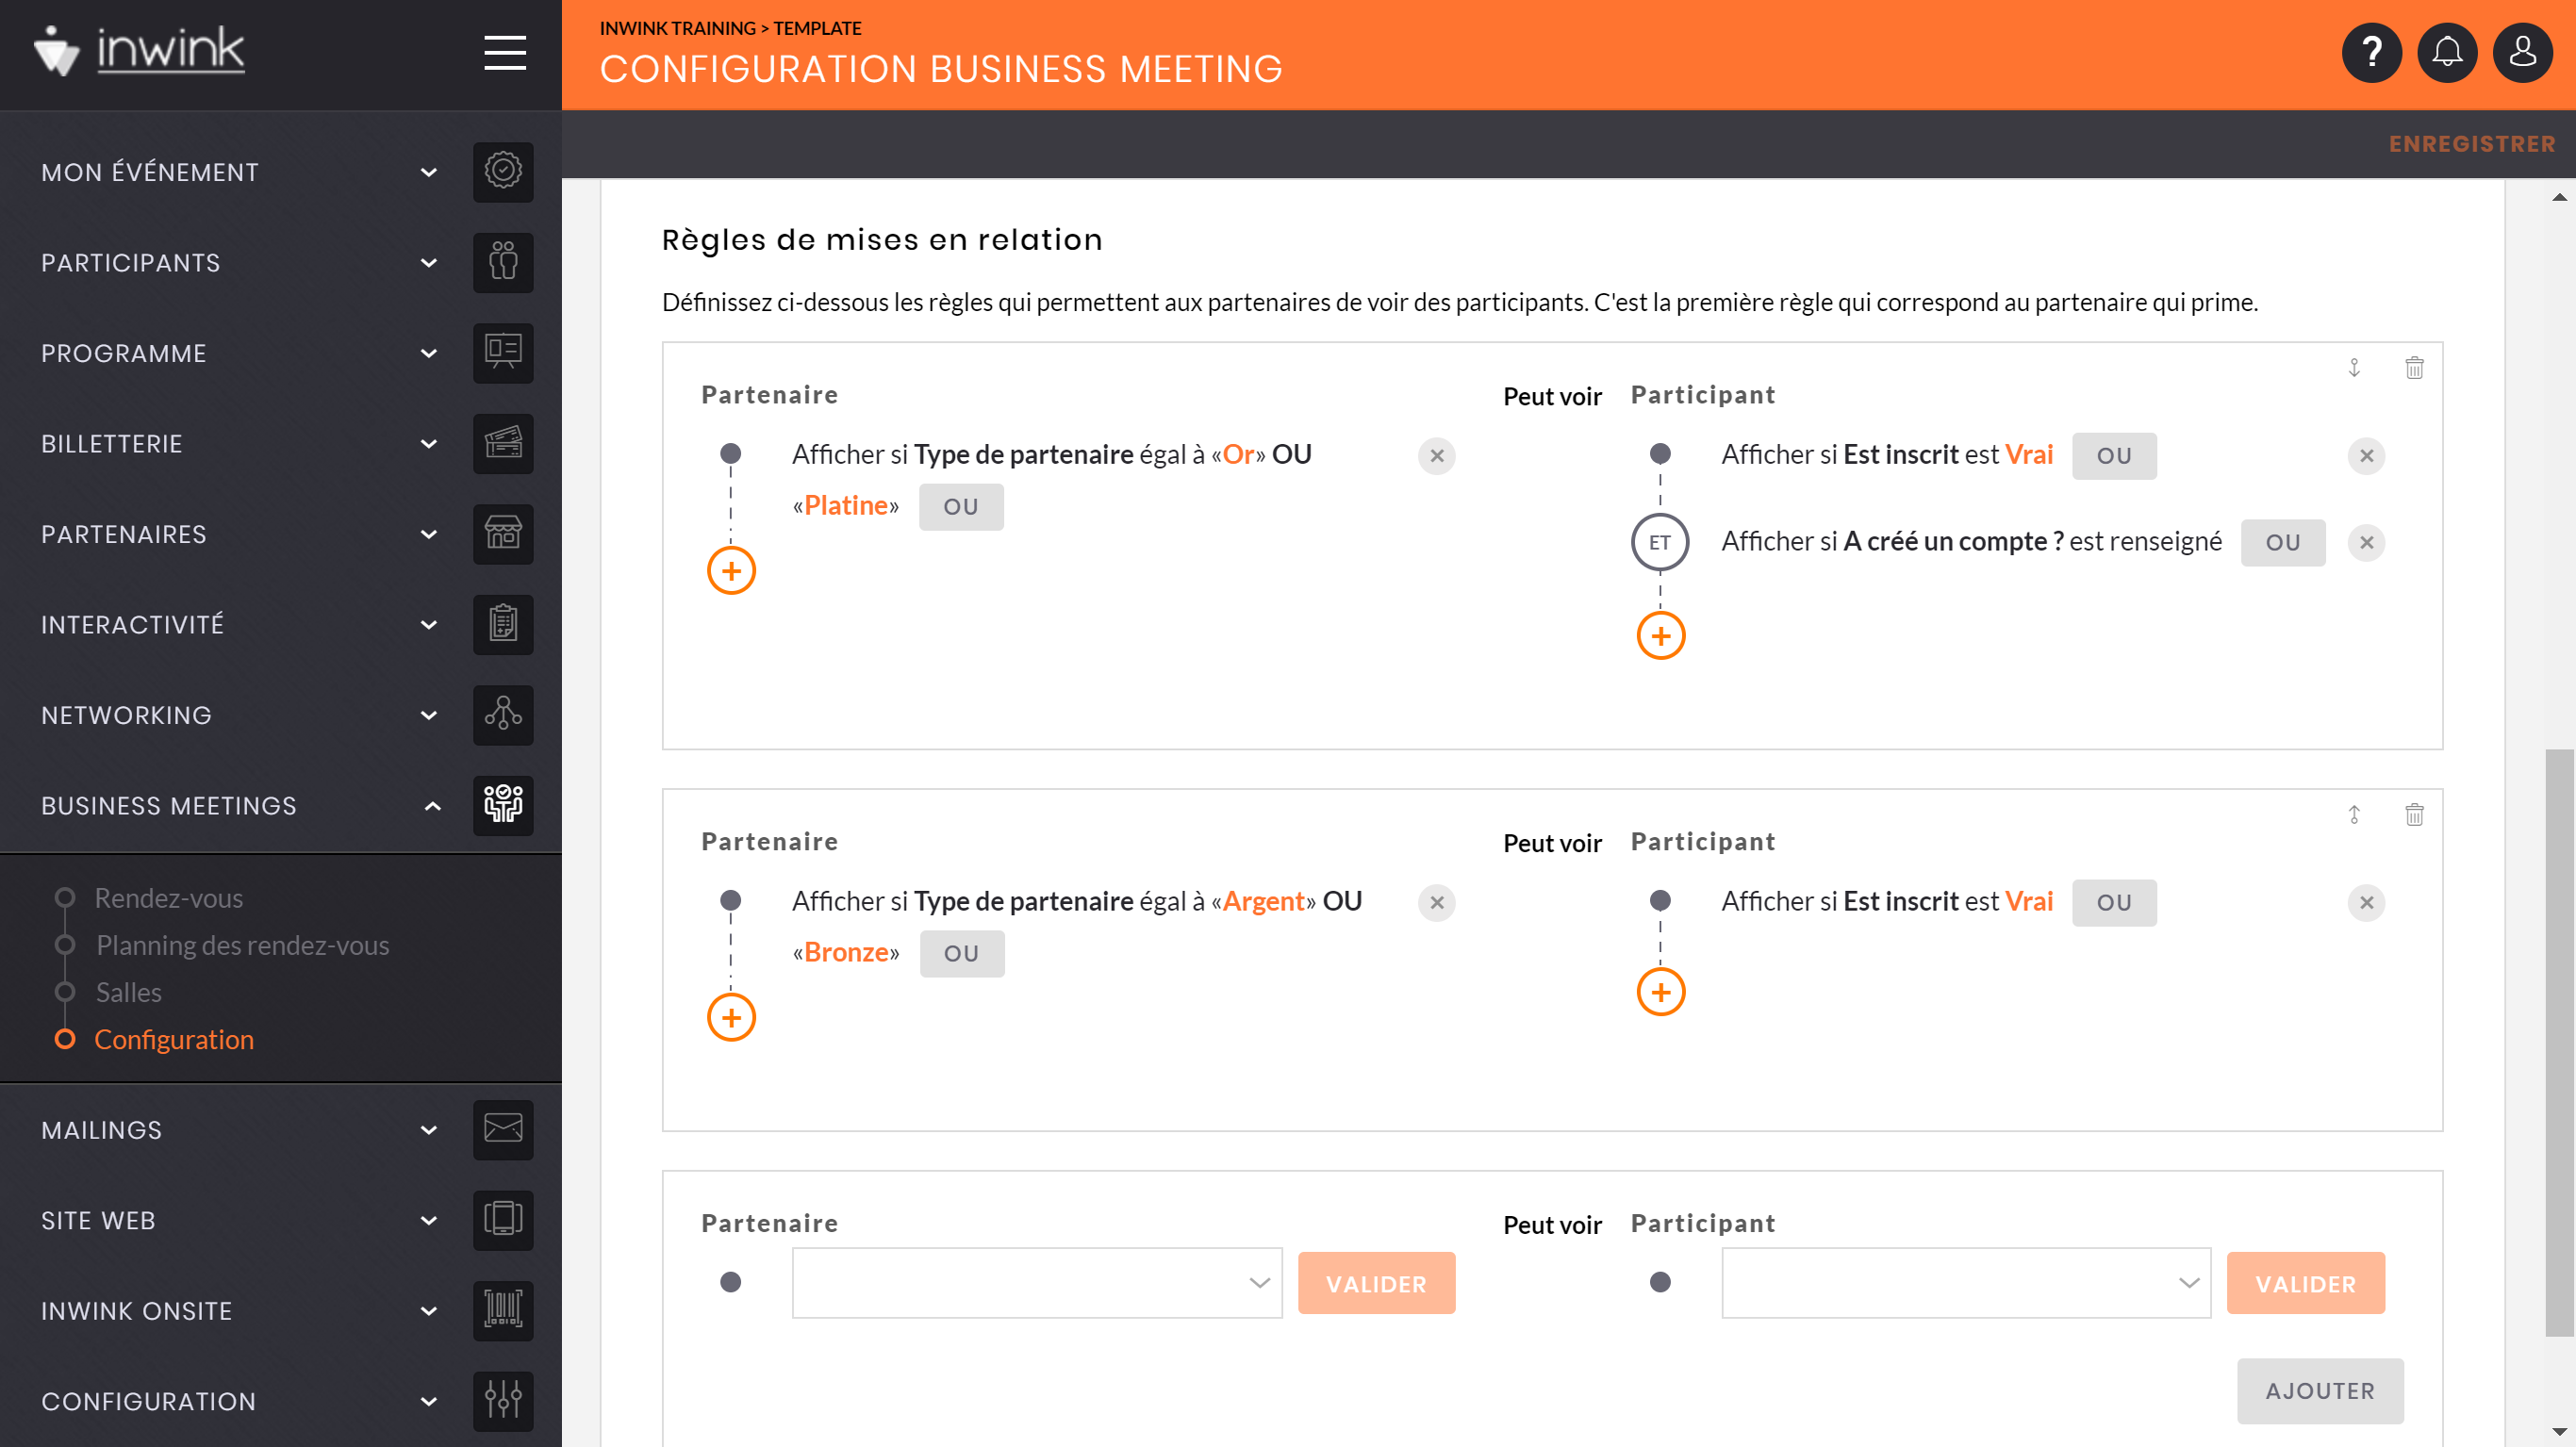 Linking rules
The partner workspace
The functionalities
When the business module is activated, three menus are available in the partner workspace :
- A menu displaying the participants list.
- From this menu, they can search for participants and propose a meeting.
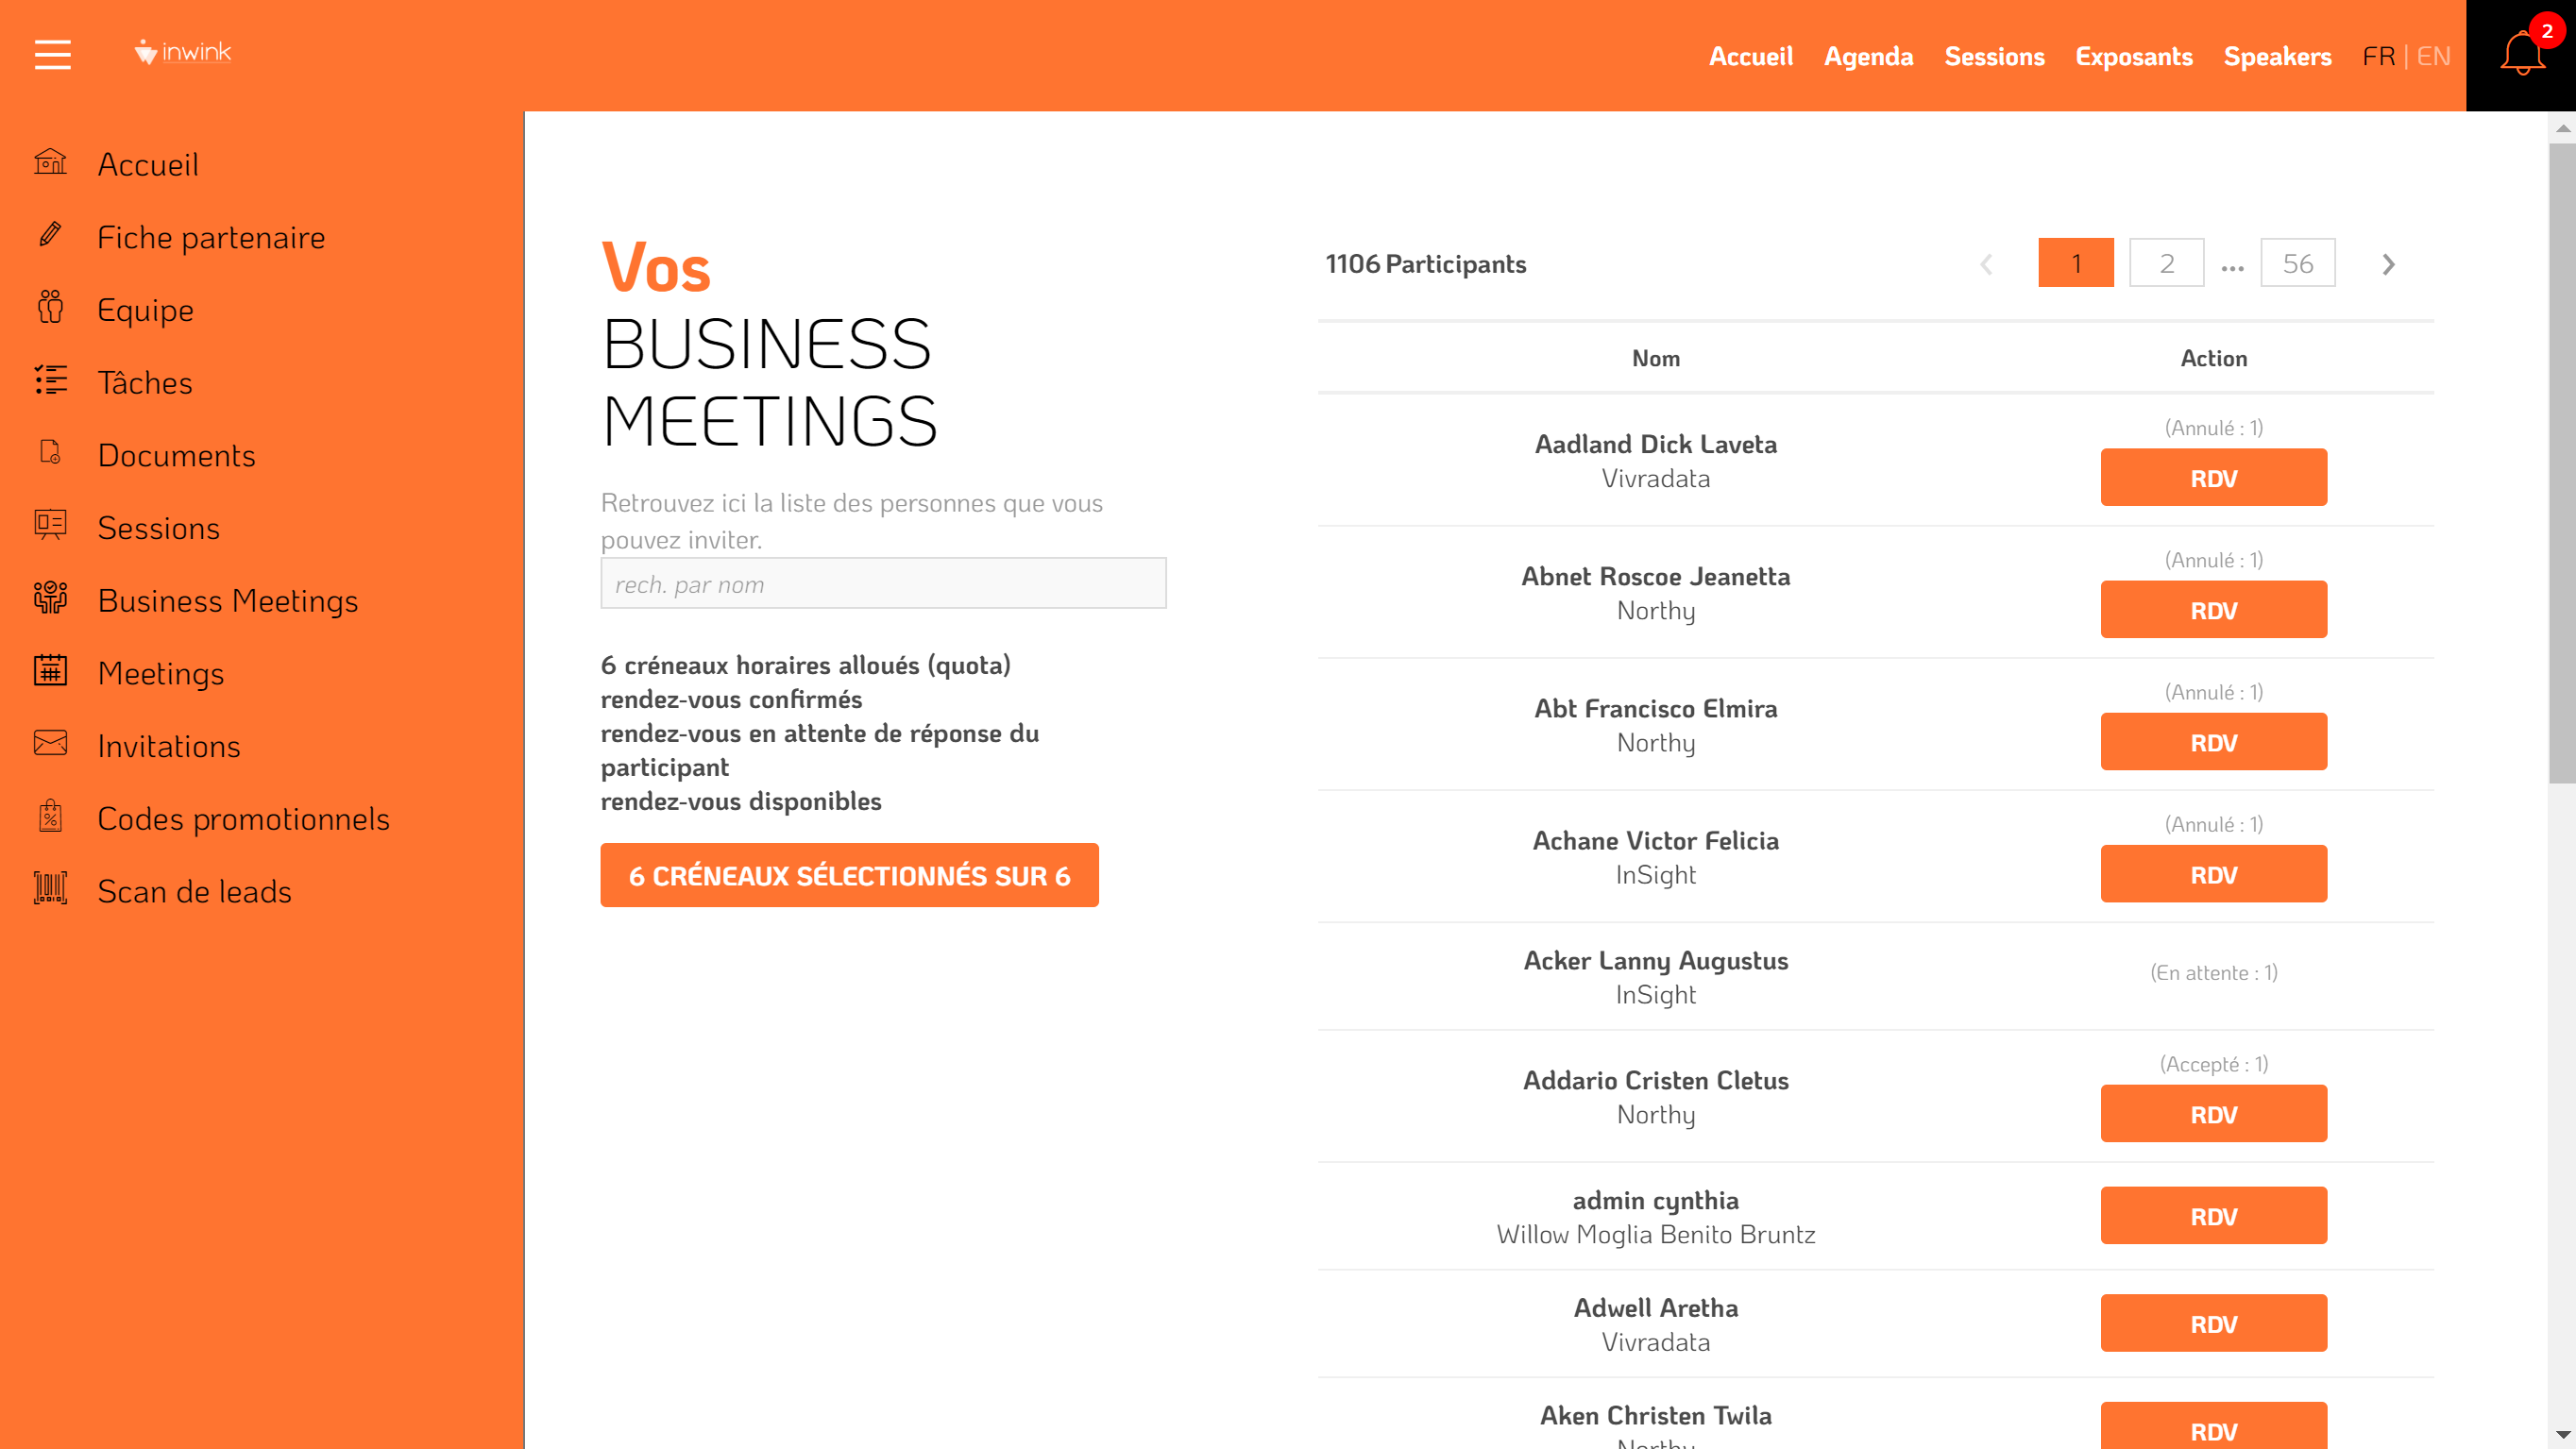 List of the participants
- They can also see the number of available meeting proposals they have according to their quota.
- From this menu, they can search for participants and propose a meeting.
- A menu gathering all the meetings classified by status.
- In this menu, they can accept or cancel meetings
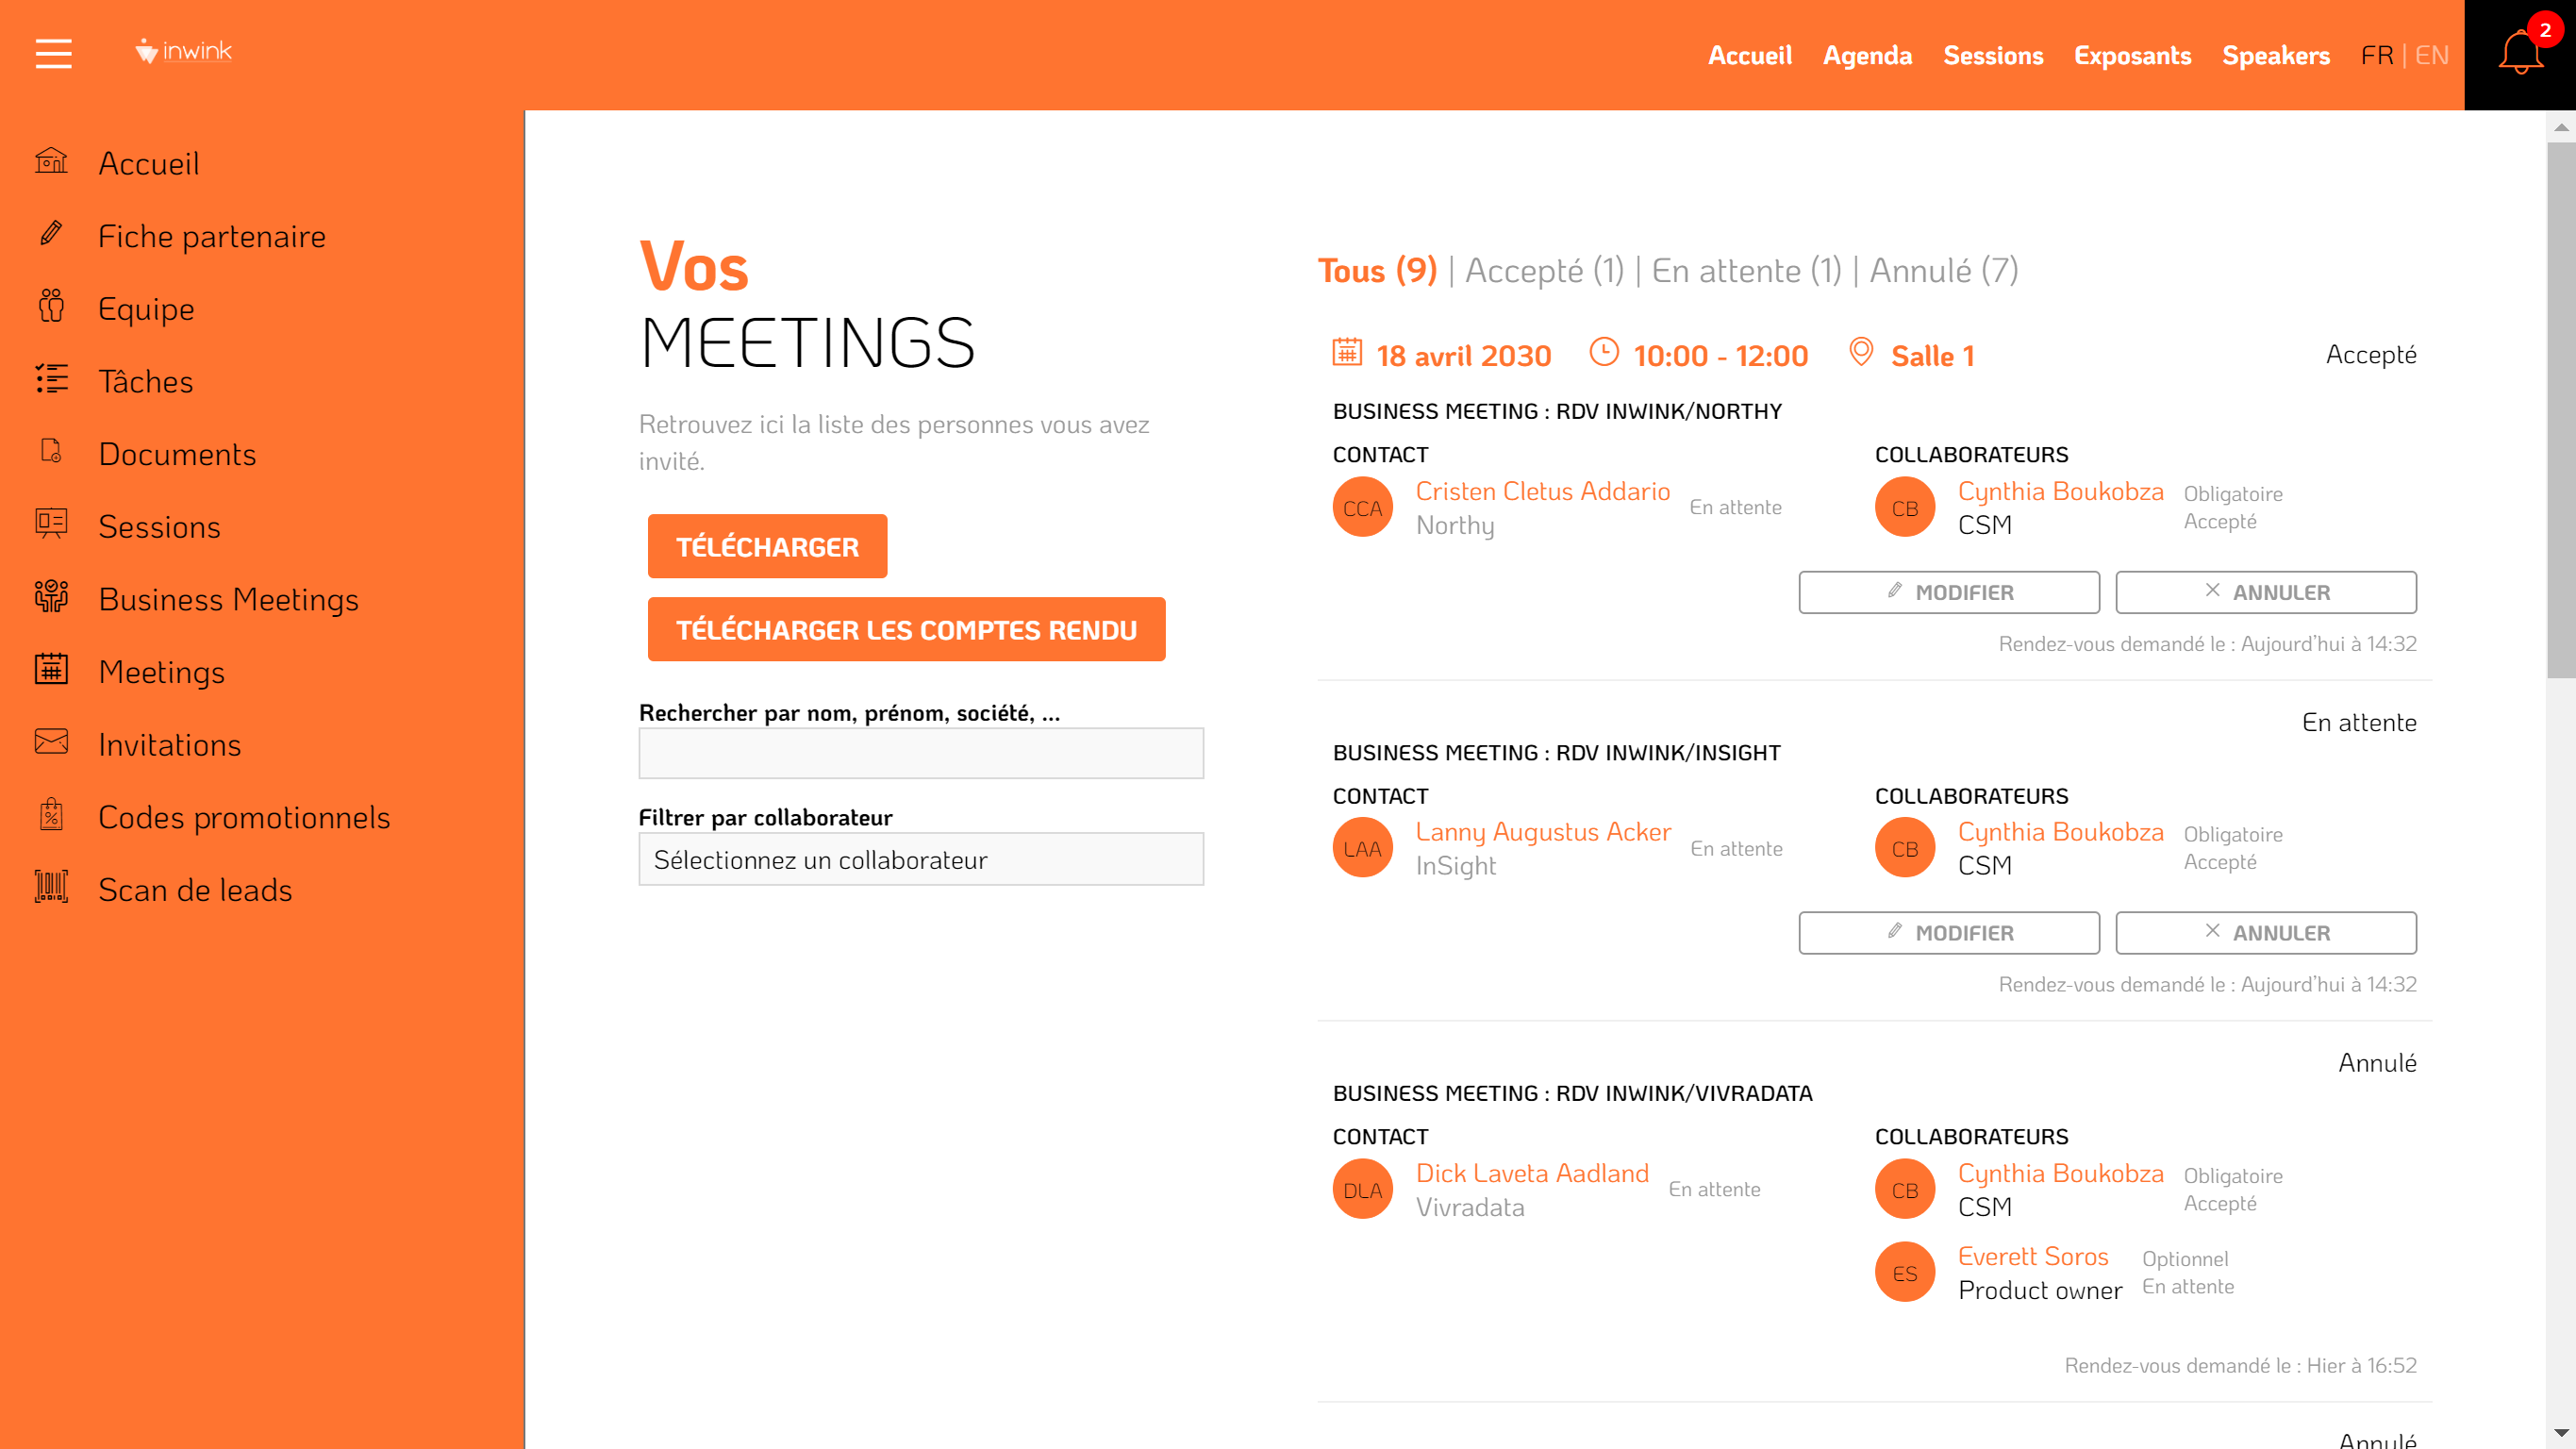 List of the partner's meetings
- In this menu, they can accept or cancel meetings
- A menu showing the meeting calendar
- From this menu, they can select their meetings time slots
- They can create meeting spaces and assign sales contacts to them
- They can also manage their meetings by clicking on them
- They also see the number of slots they can select, and the number of confirmed meetings
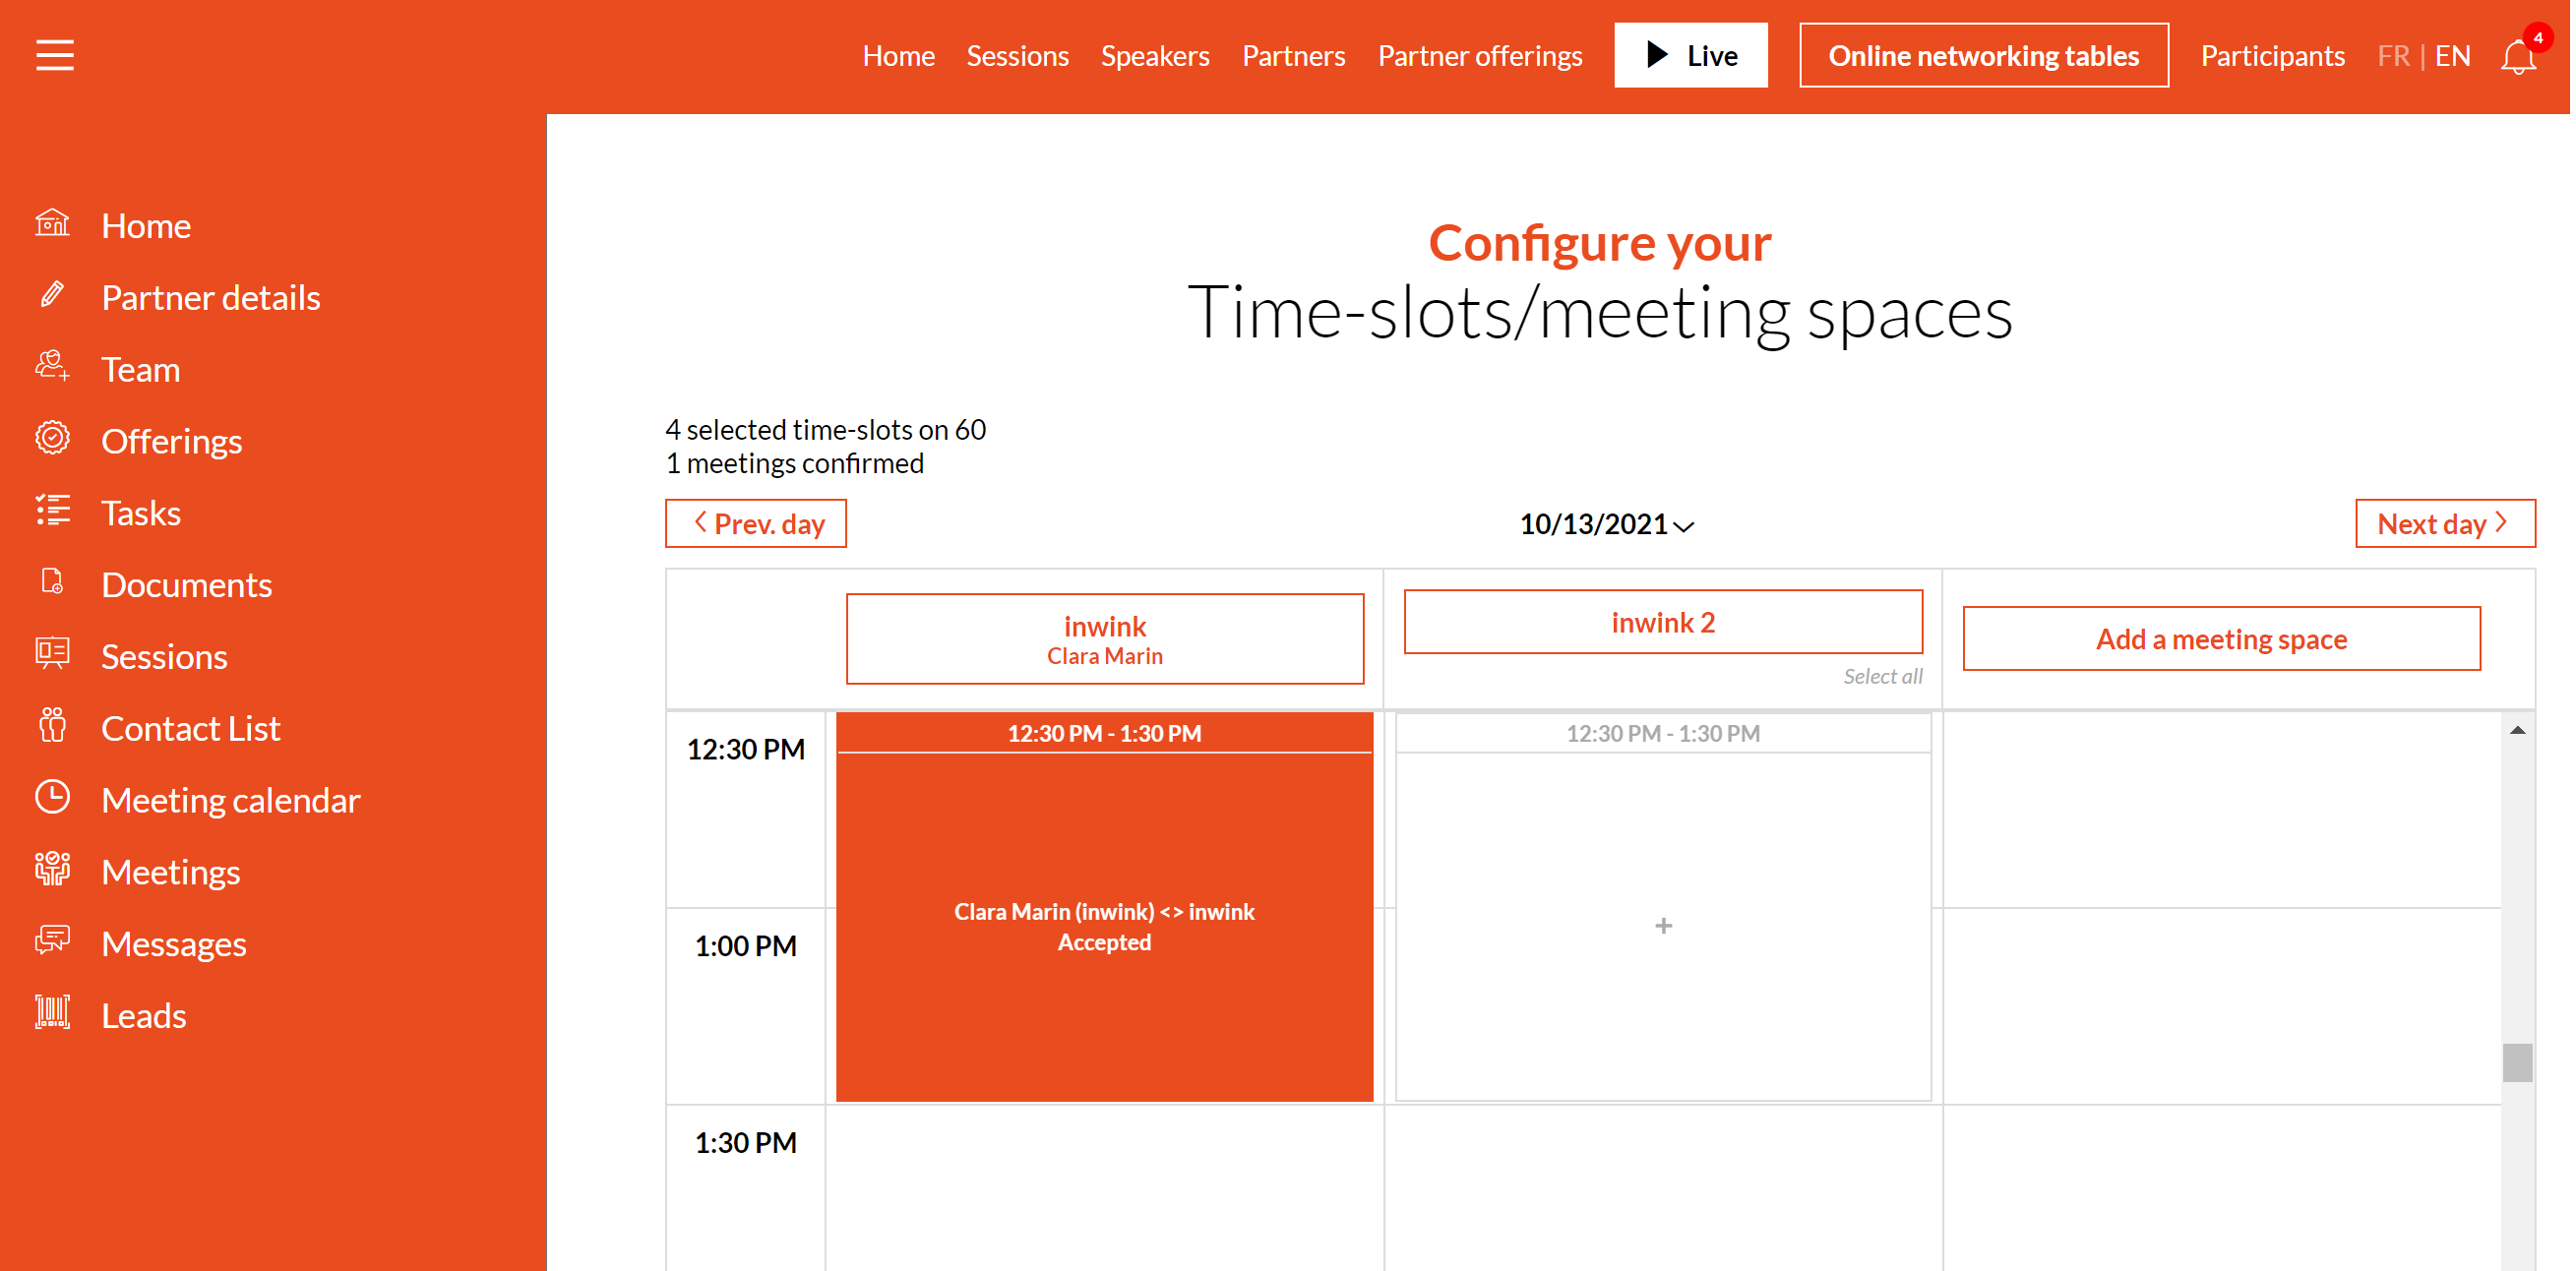 Meeting calendar
Set up the options
You can set up more options in the partner worskpace through the CMS.
In the displayed participants list, by clicking on the ![]() when hovering the block, you can:
when hovering the block, you can:
- In the Data tab, filter the participants according to the information of their profile.
- The Business Meetings Data tab is configured in the same way as the list blocs
- From the Search tab, set up the fields available for searching for participants in the list.
- The Business Meetings Search tab is configured in the same way as on the list blocs
- From the Columns to display tab, choose which columns with attendee information will be displayed to partners.
- From de General tab of the calendar block, allow the partner to manage their meeting areas.