General aspects
A video tutorial is available on the inwink training website.
Reminder : edits must be done in the CMS, which means the editable preview of the website. It is necessary to publish edits in order for them to be seen on the published website.
Definition and access
A CMS, Content Management System, is a tool that allows the creation and modification of a website.
The CMS allows you to modify your website in a simple and fast way.
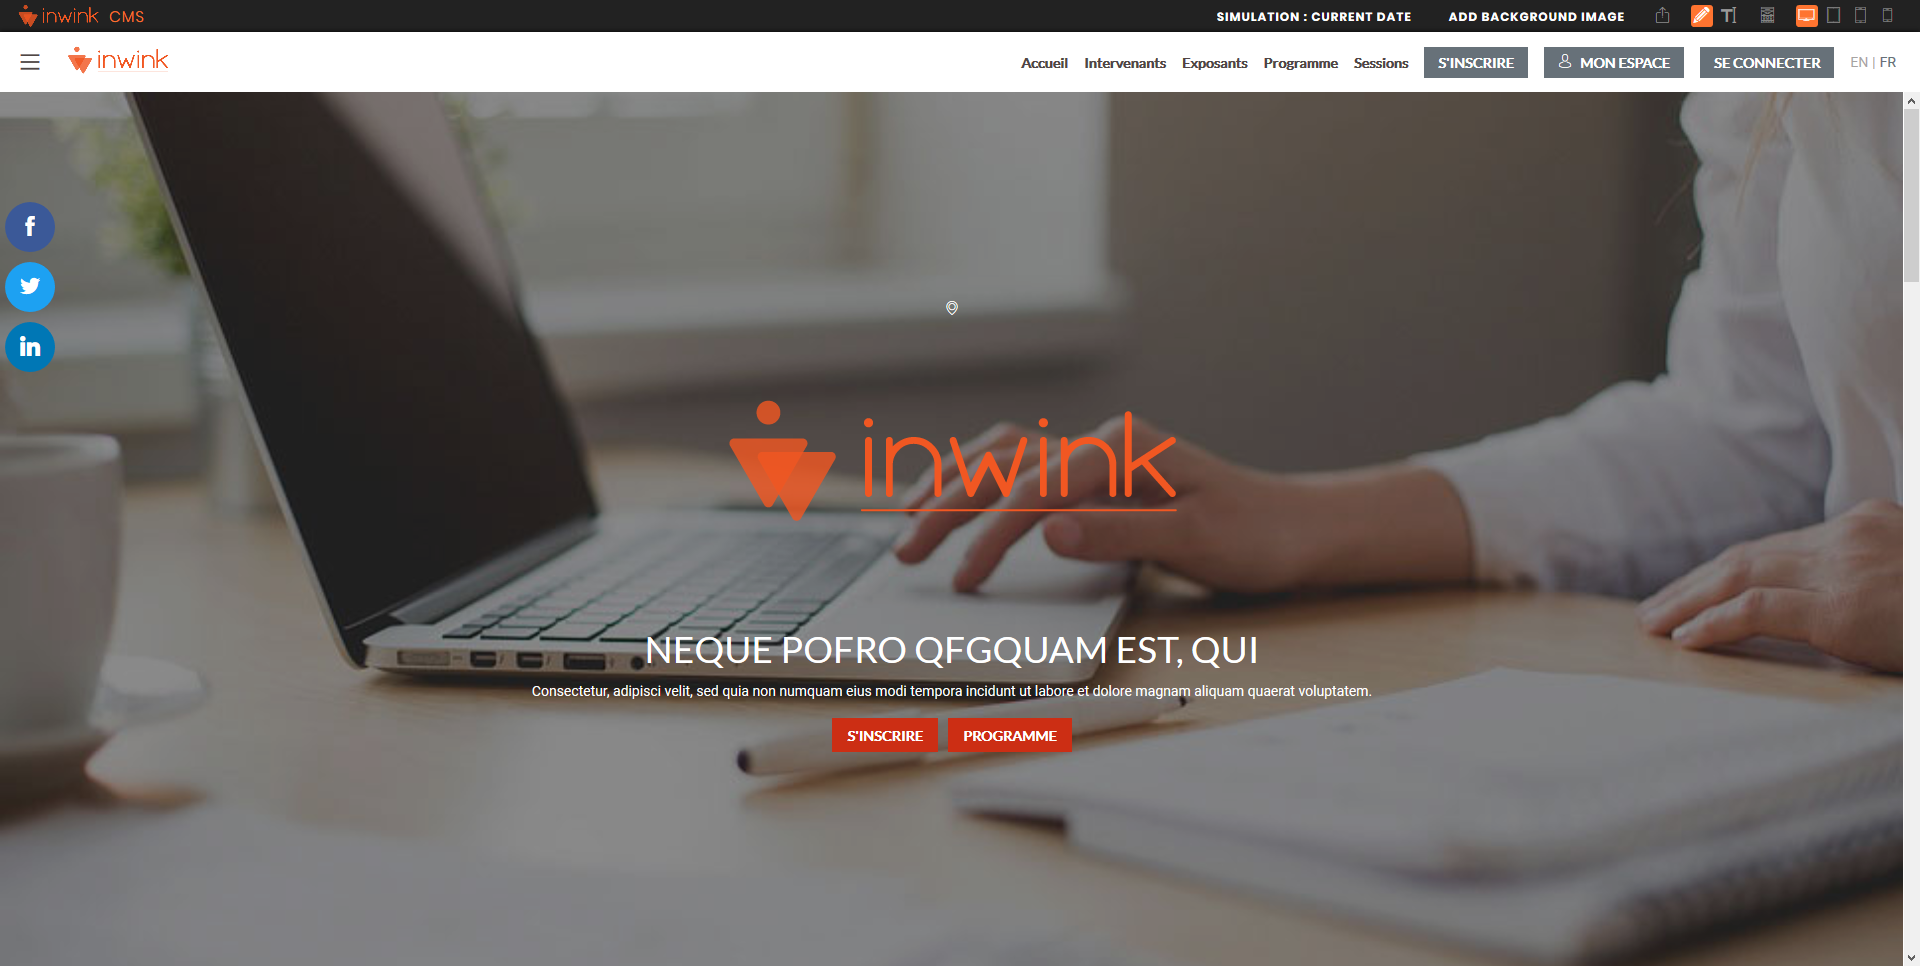
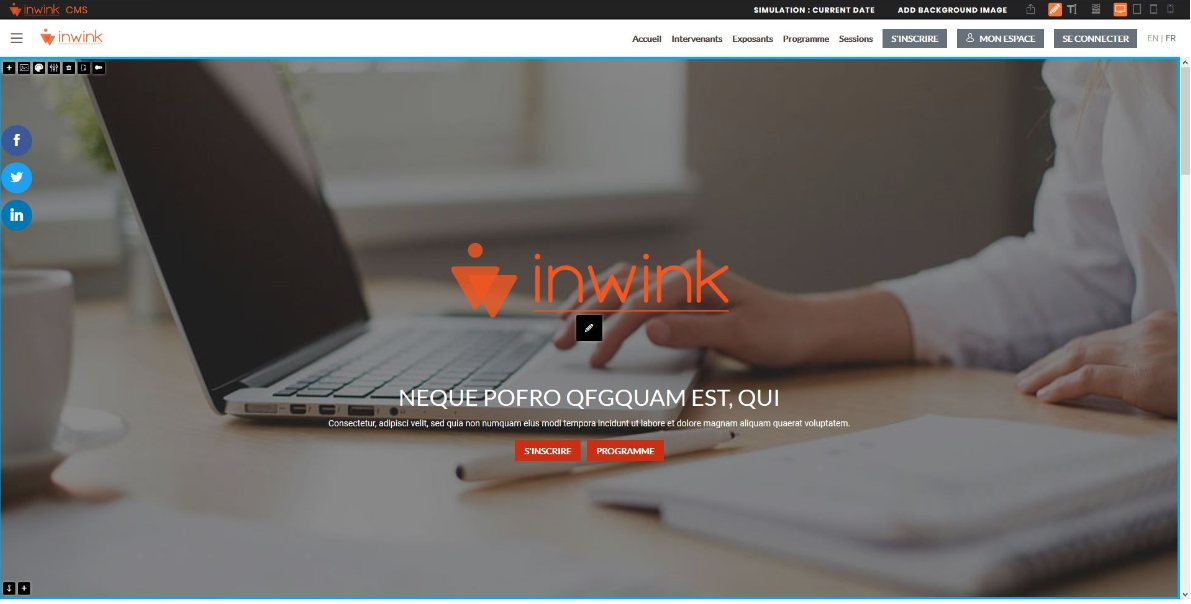
When you open your CMS, you automatically open the preview version of your website in editing mode.
From your inwink back office, two accesses allow you to open the CMS of your website:
- From the menu Website / CMS
- From the Website / Content menu, click on the CMS button at the top right

CMS inwink
CMS components
Main toolbar
 The main toolbar is located above the menu
The CMS’s main menu is at the top of the CMS.
| Action button | Action |
|---|---|
| SIMULATION : ACTUAL DATE | This button activates a drop-down menu which allows to simulate a precise date when consulting the website’s preview. Simulate the website’s display before, during, after the event, or at any date. |
| ADD A PAGE. | This button allows to add a page to the website Depending on what is required, it is possible to add a content page or a registration page. |
| ADD A BACKGROUND IMAGE | This button allows to add a background image to the active page.Use a transparent theme on the active page’s blocks to see the background image. It is possible to define the background image’s options:
|
 |
Publish button: allows to publish the content of the active page. |
 |
Editing button: activated by default. This button allows to directly edit blocks in the CMS when hovering them with the mouse. |
 |
Text editing button: it is possible to edit the website’s text directly in the preview handled by the CMS when clicking on this button. |
| Wireframe button: allows the display of the active page’s wireframe. Really useful to see deactivated blocks or to make advanced edits in CSS. |
|
| Size of the screen buttons: these buttons allow to check the display of the website on different screen sizes: desk, tablet computer, XL smartphone, S smartphone. |
Editing a block
When browsing any website’s element, action buttons appear.

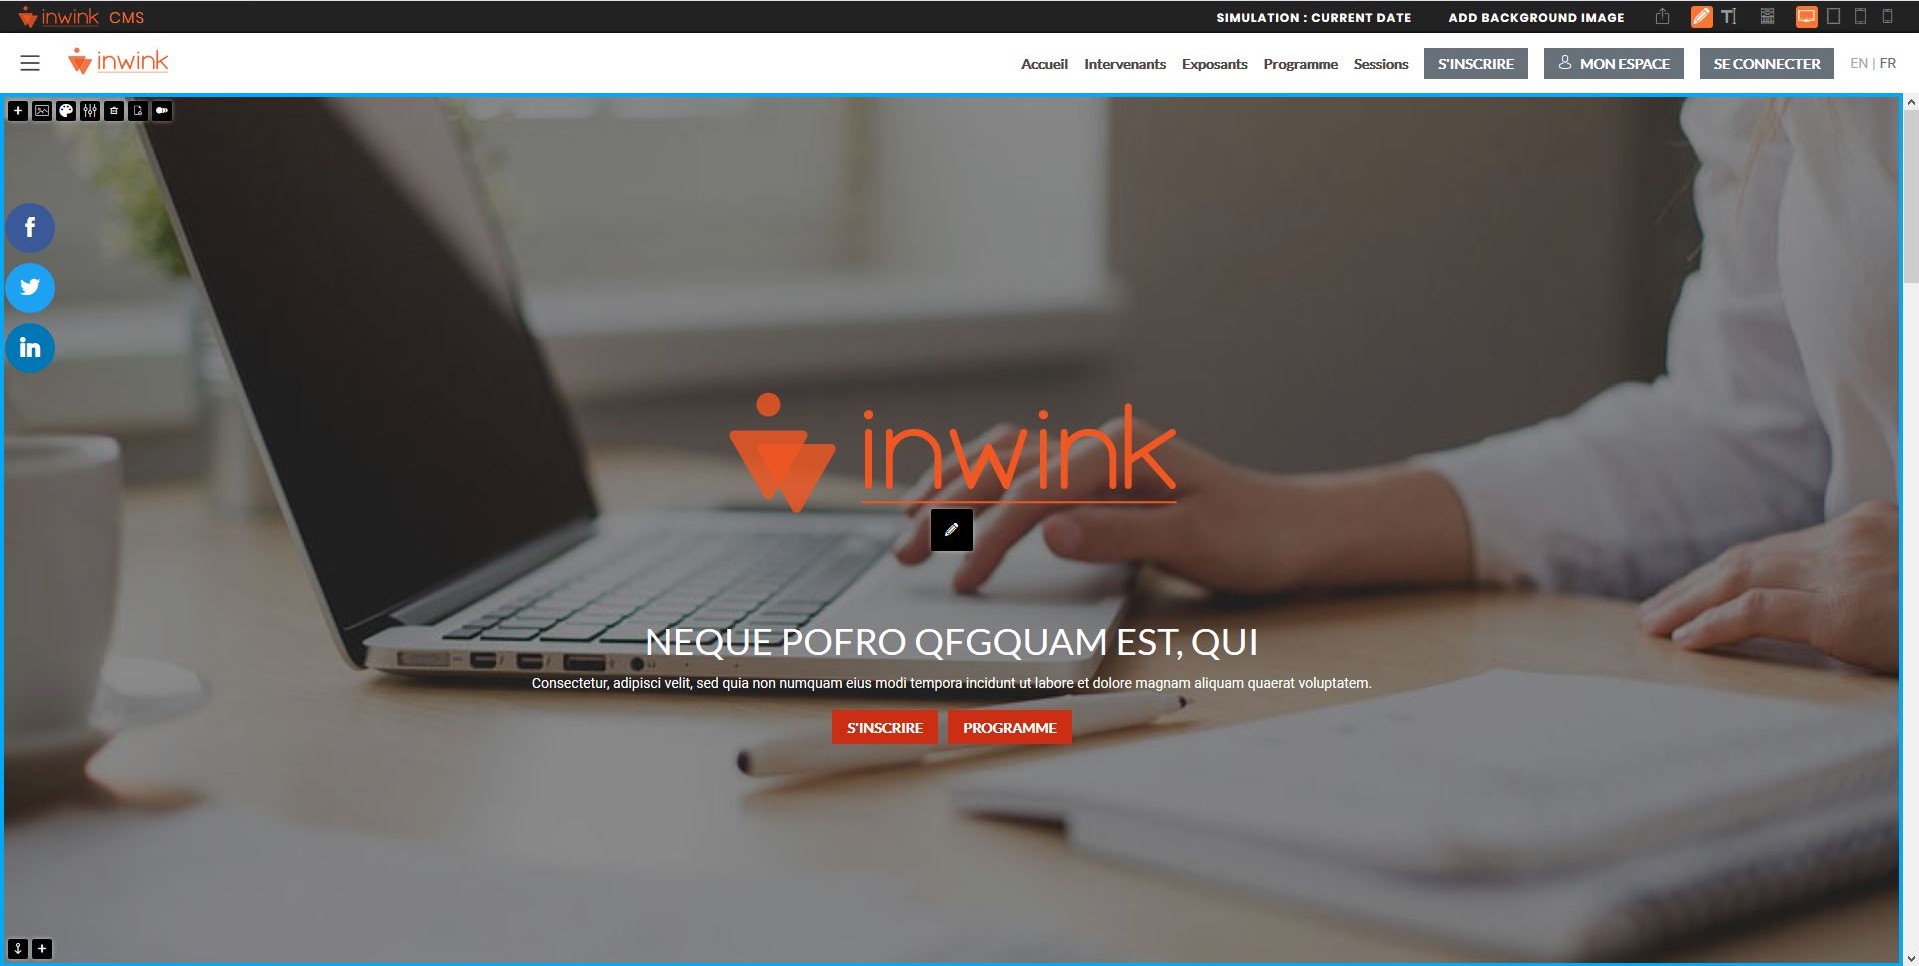
The following action buttons appear on the top left of every website’s block when browsing it with the mouse:

Likewise the following buttons appear at the bottom left of the block.
Here are the actions associated to each of these buttons:

1. Use this button to ascend the block above its predecessor on the page.
2. Use this button to create a new block in the page. If it is located on top of the block browsed, the new block will be added on top of this block. If located at the bottom, the new block will be added underneath.
3. This button selects the block’s theme.
4. Use this button to display the block’s setup screen (edit content, add CSS, and so on).
5. Use this button to cancel a block.
6. Use this button to copy the block. To paste it on the active page or any other page, just click on the “add a block” button and click on the PASTE THE BLOCK button.
7. Use this button to add display animations when the block appears on the website’s user screen.
8. Use this button to drop a block below its successor on the page.
Click on the ![]() button to directly access to some block configuration thumbnails inside the blocks:
button to directly access to some block configuration thumbnails inside the blocks:
- On the block’s title – direct access to the HEADER thumbnail
- On the content – direct access to the CONTENT thumbnail
- On the action buttons – direct access to ACTIONS thumbnail
Editing menus
Editing menus is the same as editing blocks.
However, it is not possible to cancel or move a menu.
Dedicated online help: CMS: editing menu.
Publish edits
In the main toolbar:
- Click on the
 icon
icon - It is recommended to click on “Publish” to only publish the active page
- It is not recommended to click on “Publish all” which publish all the content, except when the website is put online.
Modifications will be seen on the published website in a few moments.
