On an event, automatic mail sending can be configured from the Emailing > Automatic sending > menu, by clicking on the "Access the grid" button on the card "Mail trigger".
On a community, the automatic sending of emails can be configured from the Emailing > Automatic triggers menu.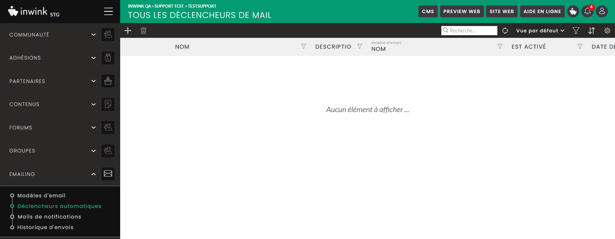
An automatic trigger includes:
- An email template
- A target (Person, order, session, meeting and partner)
- A condition
Once saved, automatic trigger is executed each time the condition is completed.
Example:
A confirmation email (email template) is sent each time a participant (target) is registered (condition) to the event.
Add an automatic trigger
On the menu Emailing / Automatic triggers, clic on ADD.
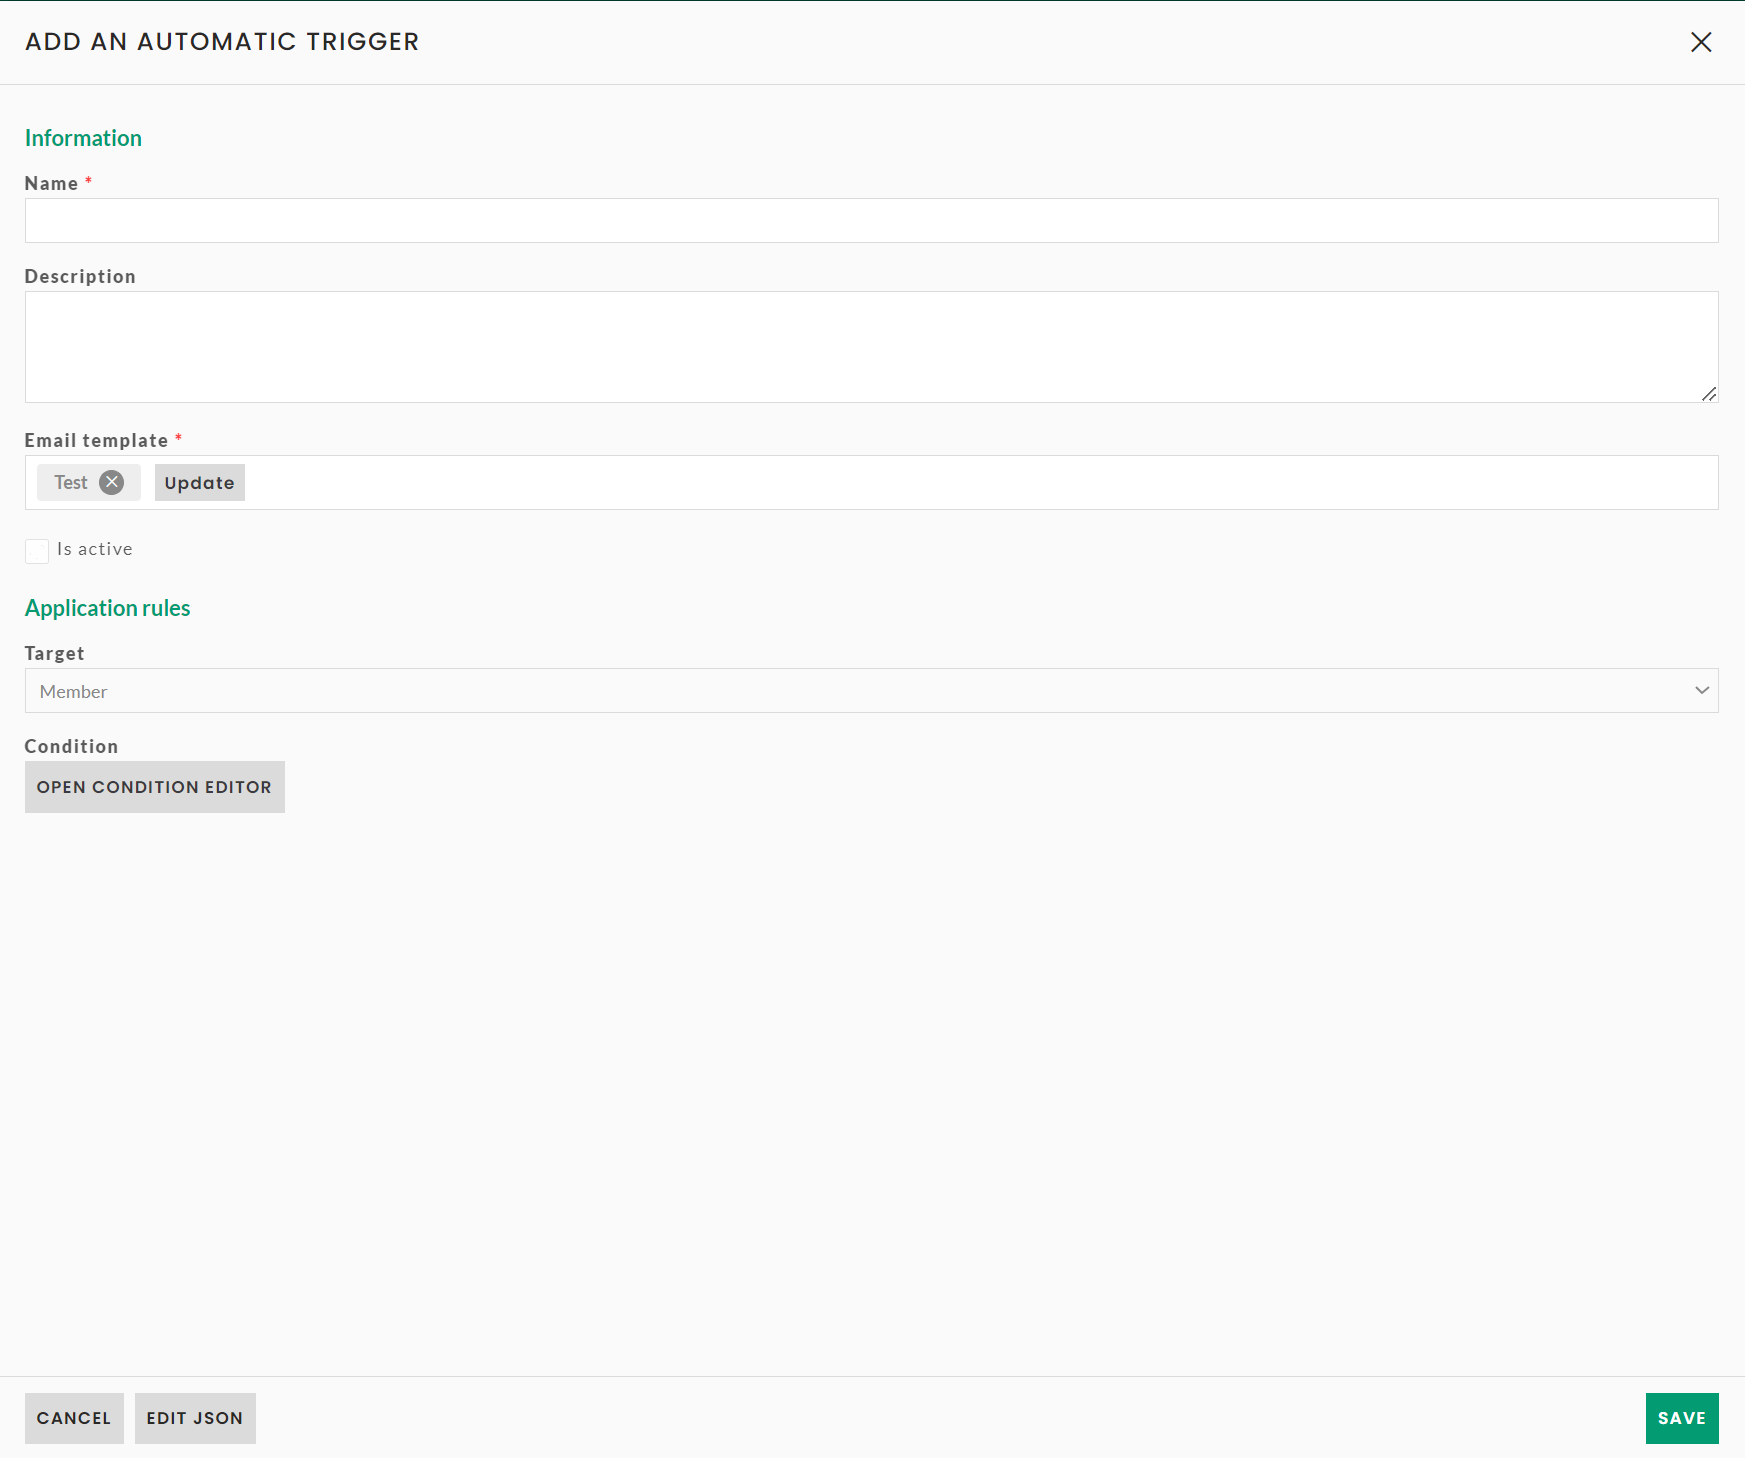
Information
-
Name (mandatory): allows to identify all automatic triggers on the grid.
-
Description (optional): allows to specify the use of this automatic trigger.
-
Email template (mandatory): allows to select the email template linked to this automatic trigger.
🔗 To know how to create an email template, click here.
- Is active (optional): allows to activate or not the automatic trigger.
Application rules
-
Target (mandatory): allows to choose the entity the automatic trigger depends on. Three options are available: person, order, session, meeting or partner.
-
Condition (mandatory): allows to specify the condition the automatic trigger is activated on.
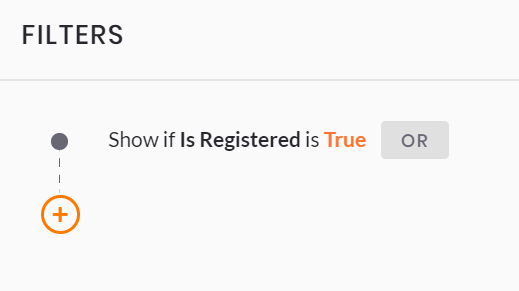
Conditions example:
To send a confirmation email when a participant "Is registered".
- Target is Person
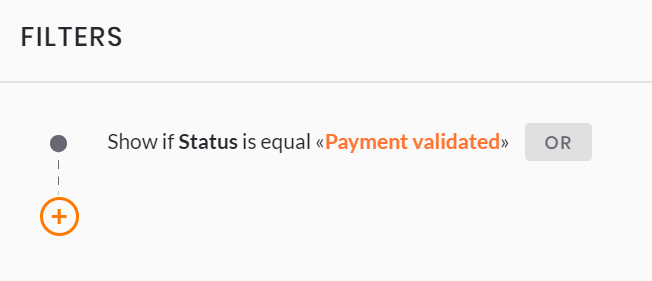
To send an email when an order has the status "Payment validated".
- Target is Order
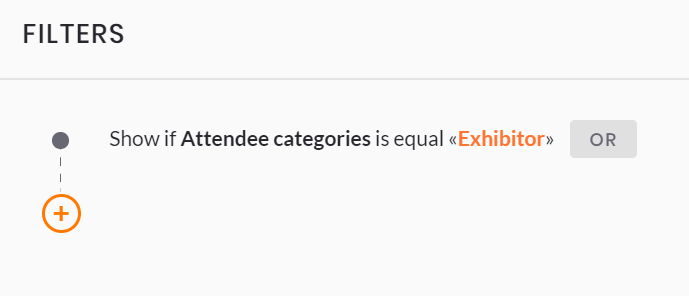
To send an email to each participant linked to an exhibitor workspace online.
- Target is Person
Activate an automatic trigger
On the grid of all automatic triggers, you can see those which are activated or not:
-
Activated triggers have a green dot on the column Is active.
-
Disabled triggers have a red dot on the column Is active.
To activate an automatic trigger, click on the button ![]() to edit it.
to edit it.
Check the box  Is active, and click on SAVE.
The dot will pass from red to green on your grid.
