When an event is created in inwink, it must be created in an audience. The users in the audience's events and communities back office will be found in the audience's contact grid in the customer back office, if they have a valid email address.
Each audience has its own grid where you can consult the list of contacts, as with their status and diverse user information.
Please note: changing a field for a participant/member (existing field in the audience) will apply in the contact information in the audience.
However, a change to a contact's field in the audience will not be applied to the participant information in the event and community back offices.
Important:
-
For data privacy reasons, neither event organizers nor the inwink technical team can access passwords created by login screen users.
-
Consult the online help on grid setup to understand its general operation in inwink.
The contacts grid
To access to the contact grid of an audience, go to the Client Back Office and click on the appropriate audience > Contacts
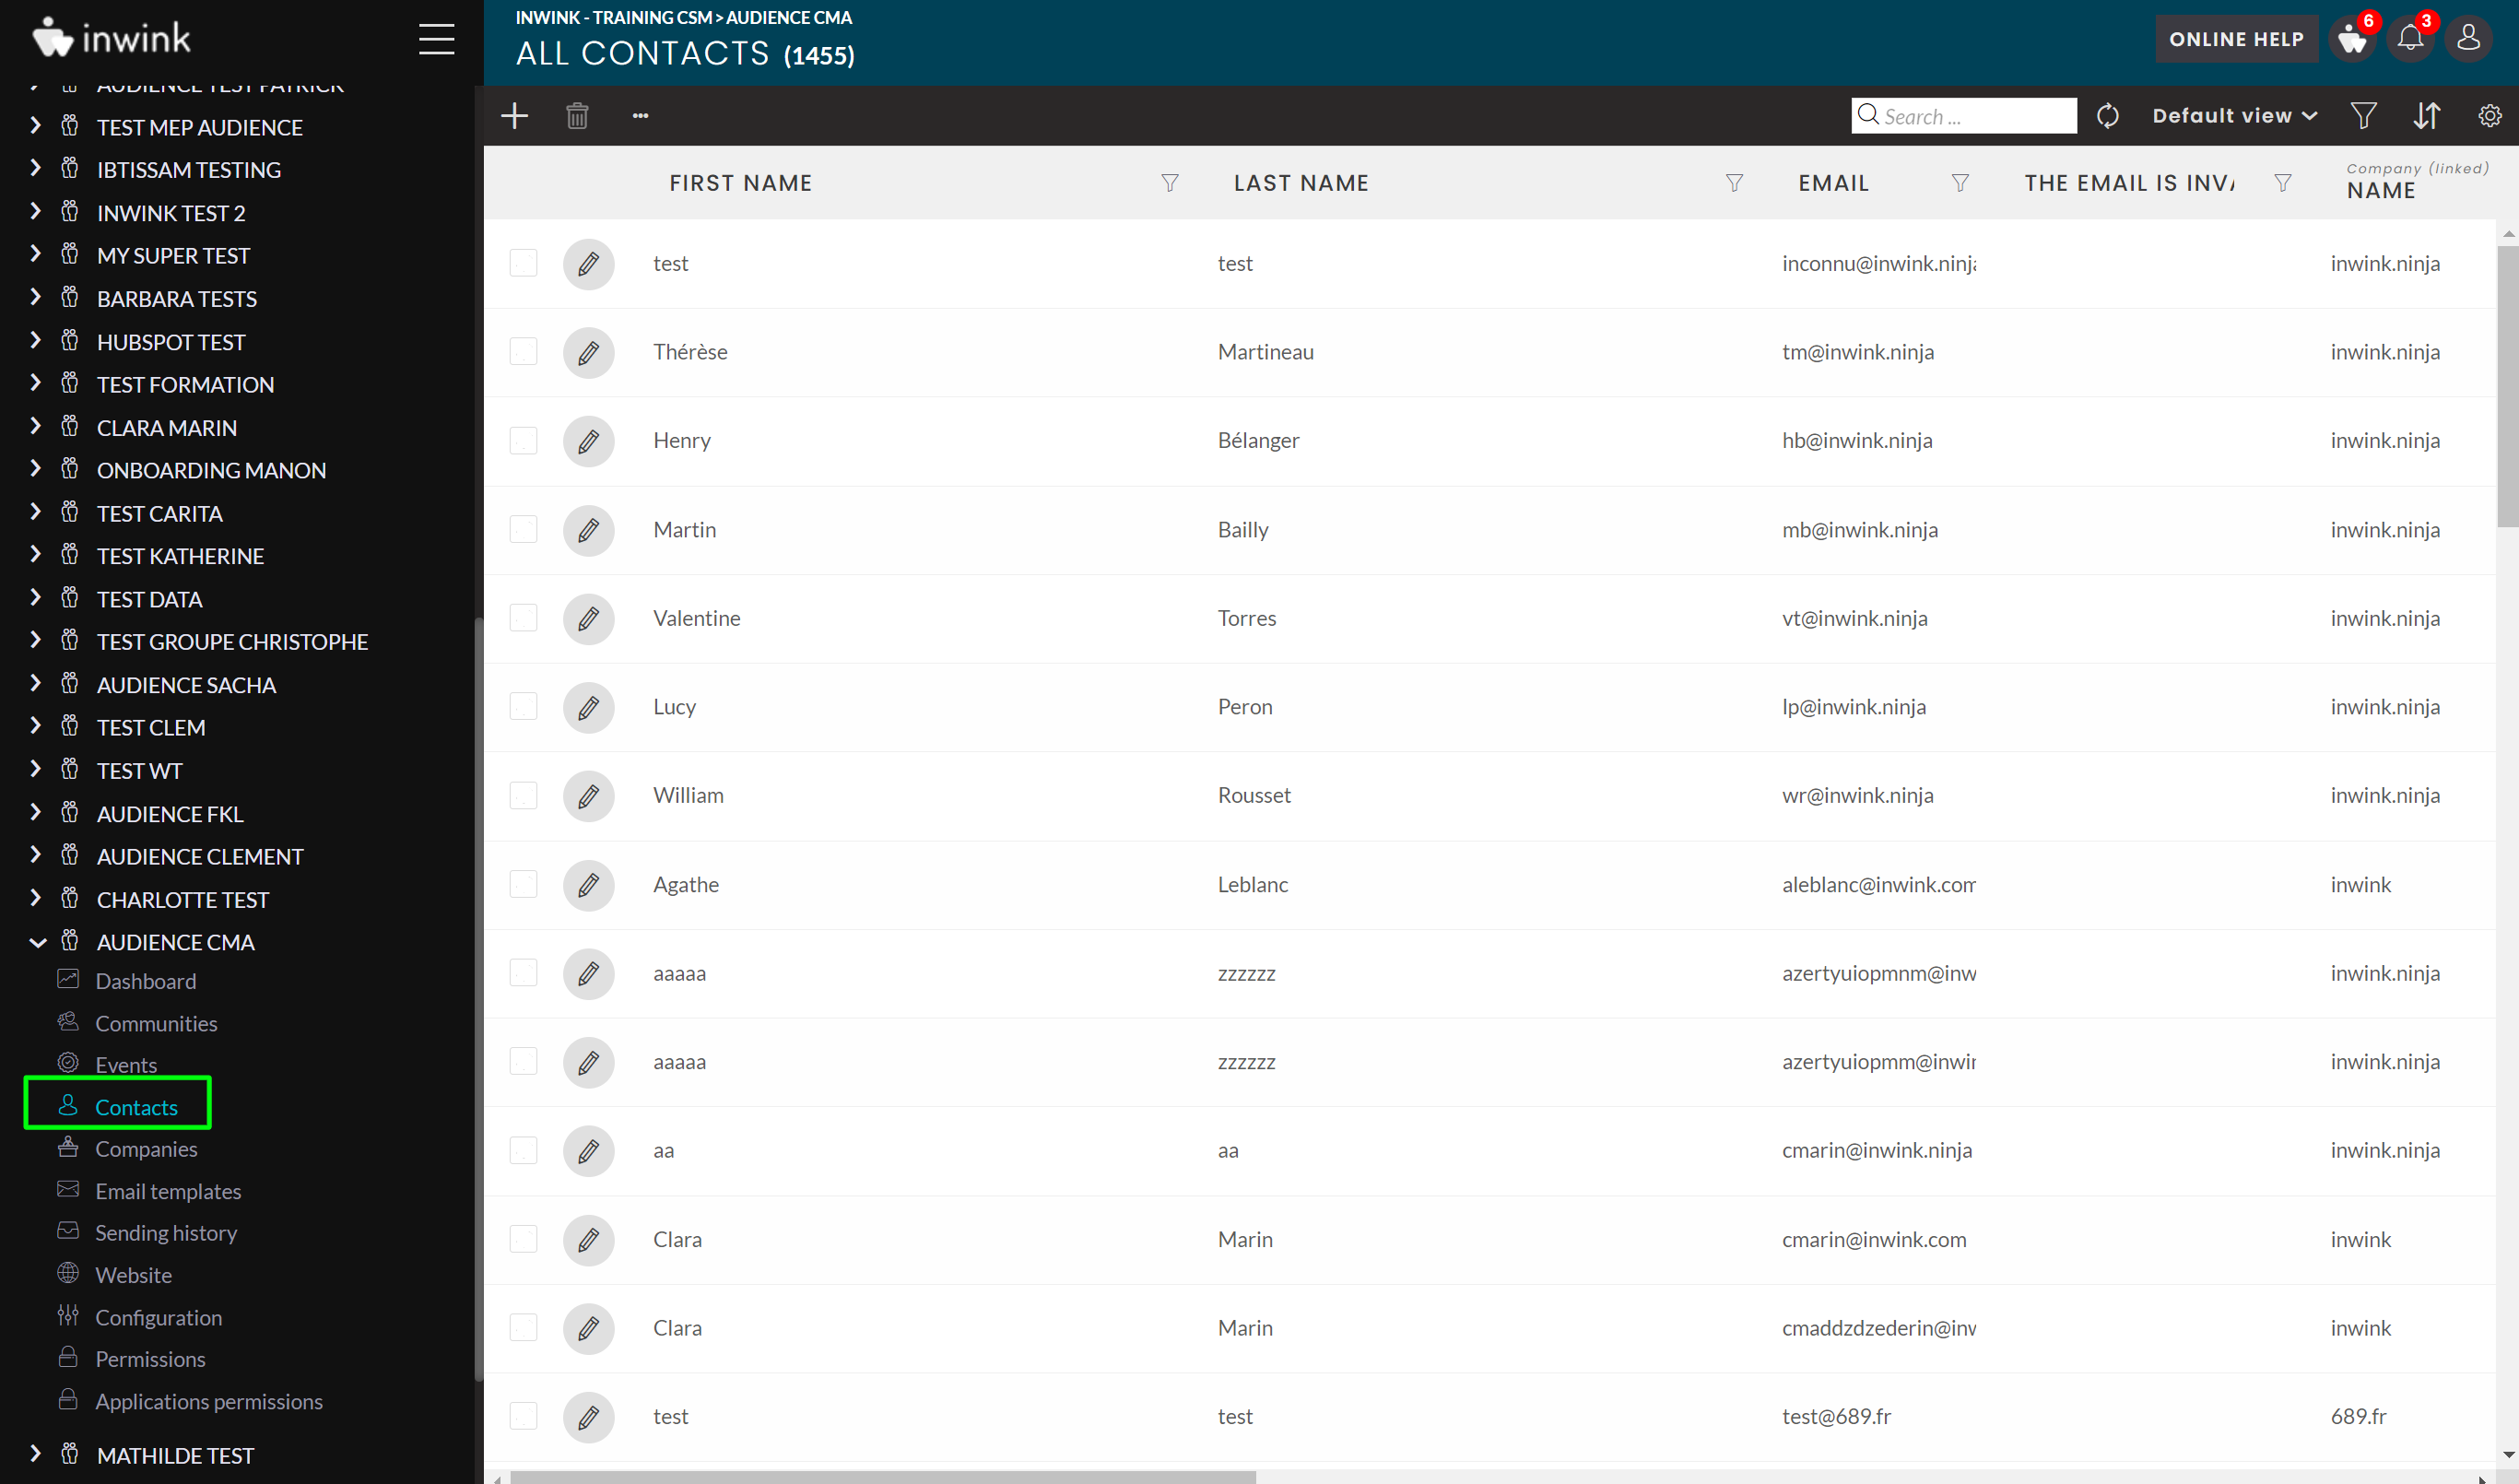
1. Information in the contact grid
In the contact grid, you will find all the emails of the persons registered for the events associated with this audience, whether they have created an account.
The following columns are available in the grid:
-
Contact information : firstname, lastname, email, company, job. You can add central fields in the grid.
-
Company : the company to which the contact is attached.
-
Events and communities : the number of events and communities in which the contact is a participant/member, and the list.
-
Account confirmed : if the circle is grey, the account has not been confirmed by the user. If green, it has been confirmed.
-
Account locked : if the circle is green, the account is locked because the user entered the wrong password too many times. If the circle is grey, the account is not locked.
You can also add the column "number of attempts" (indicates the number of times the user tried to login and gave a wrong password) and the lock end date columns (the day from which to account will automatically be unlocked.) -
Creation date : date of the creation of the account
-
You can also add to the grid the mail marketing optin date and to add central fields that you have created at the audience level.
2. Actions in the grid
Several actions are available in the grid.
- Send a marketing email.
- If you want to send the email from a view :
Click on ... at the top left of the grid > Current view > Email all in view > Choose an email template - If you want to send the email to a selection of contacts:
Check the box on the left of the line corresponding to the account to send the email > ... on the top left of the grid > Selection > Email selection > Choose an email template
- If you want to send the email from a view :
-
Edit contact information:
- If you want to change the contact information for an entire view :
Click on ... at the top left of the grid > Current view > Edit all in view > Select the fields you want to update > Validate - If you want to modify the information for a selection of contacts :
Check box on the left of the line corresponding to the account to modify > ... on the top left of the grid > Selection > Edit selection > Select the fields you want to update > Validate
- If you want to change the contact information for an entire view :
Add a custom field
You can create new custom fields (in addition to the default ones). To do so, from the contacts view of your audience, click on the small key with settings > manage fields > create your new field.
⚠️ Fields created in DATA are immediately added to an event or community of the same audience. You can find them in the participants/members grid.
Fields created in DATA have this indication :
On the other hand, fields created in an event or community do not appear in the DATA back-office.
All these actions are only available for one account at a time:
-
Unlock a locked account : check the
 box on the left of the line corresponding to the account to unlock. Then, click on ... on the top left of the grid > Selection > Unlock
 -
Sending a password reset email : check the
box on the left of the line corresponding to the account to unlock. Then, click on ... on the top left of the grid > Selection > Forgot password email -
Delete a contact : check the
box on the left of the line corresponding to the account to unlock. Then, click on MORE, and finally on the trash icon on the top left of the grid.
This action will delete all the following data:
The contact in the audience
The contact data in all events
The contact data in all communities
⚠️ For security reasons, you can only delete one contact at a time.
- Filter the view of your contacts : In the contacts grid, by clicking on the
 button on the top right and then selecting the custom tab, you have 2 types of filters, event filters and community filters:
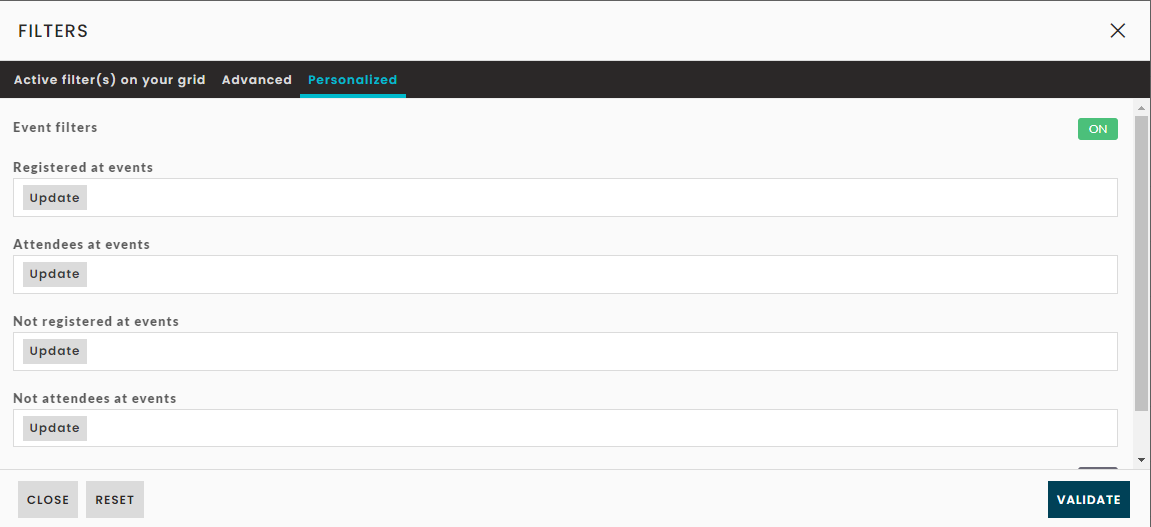 Event filters
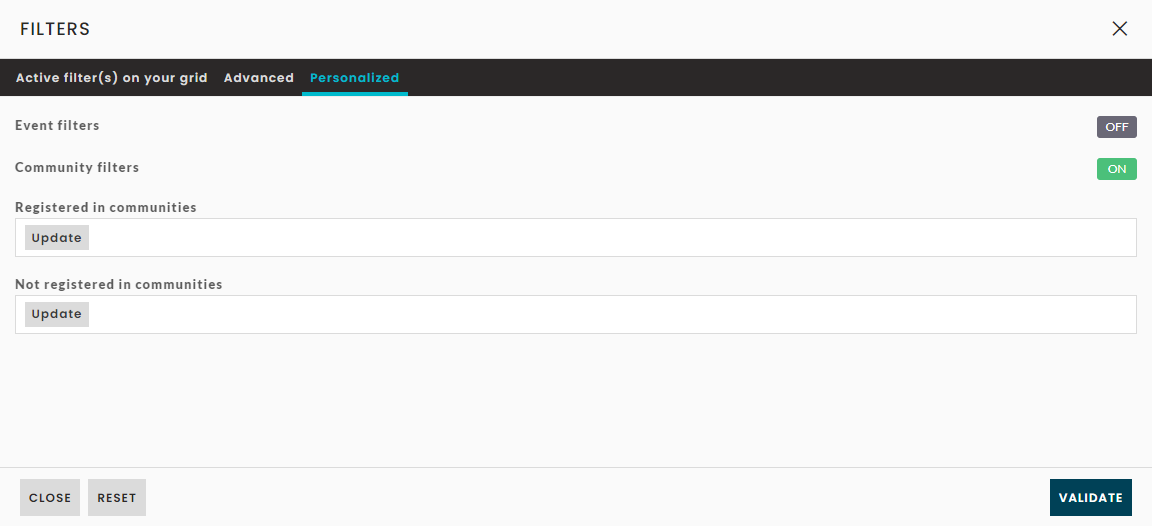 Community filters