In this article, you will find the three possible methods to add a member to your community.
1st method ➡️ from the back office
You can create a member directly from the back office of your community. To do so, go to the membership tab > members > then click on the ➕ > button and fill in the information related to this member.
You will also need to indicate:
- The membership level of this new member
- The membership end date of this member (unless you are linking it to a membership level that already has a membership end date)
- Link this new member to a member company (that you will have configured beforehand, for more information on this subject, you can consult the online help on this subject)
You also have the possibility to create custom fields, which you will find on the member's form, to be filled in on your side. 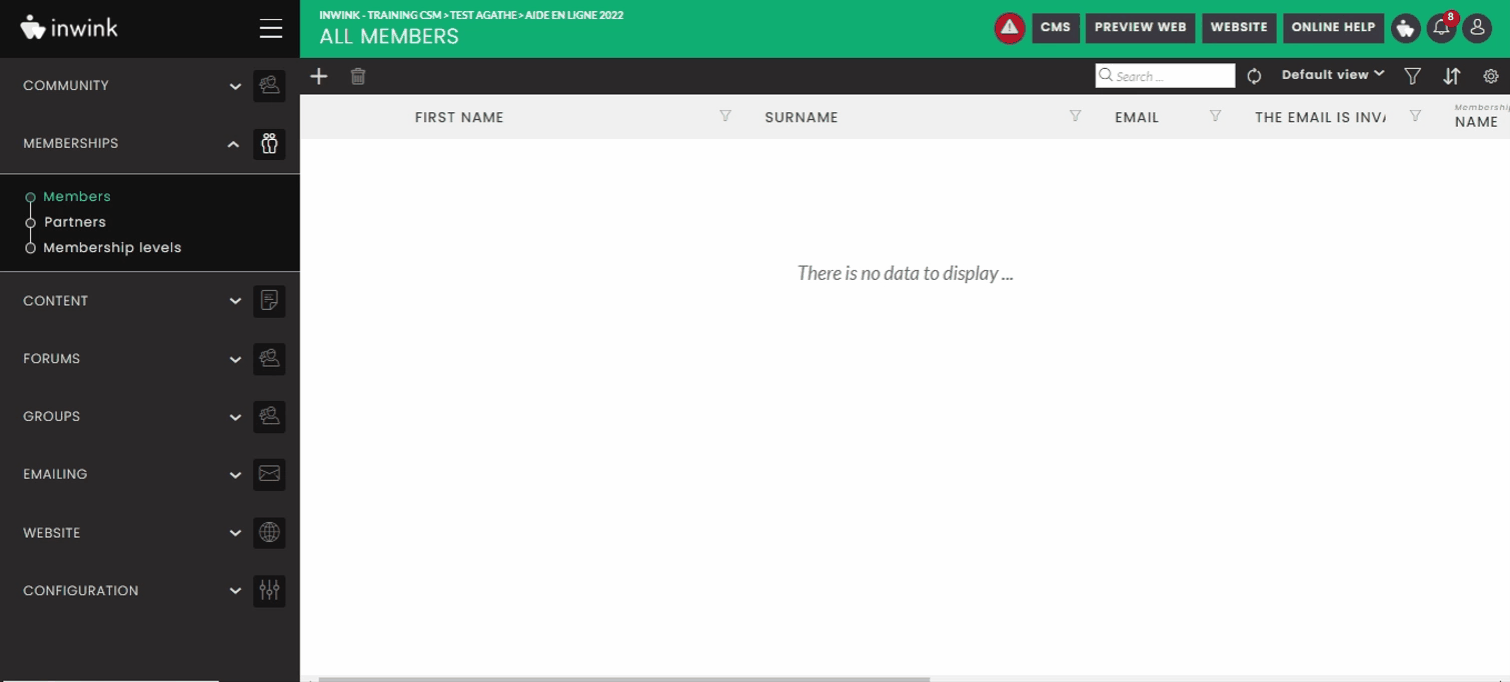
2nd method ➡️ via a data import
You can add new members via a data import. To do this, go to the membership tab > members > click on the button > click on "Import data" :

3rd method ➡️ from the registration form of your community
The member will be able to register to your community, from the form provided for this purpose, located on it:
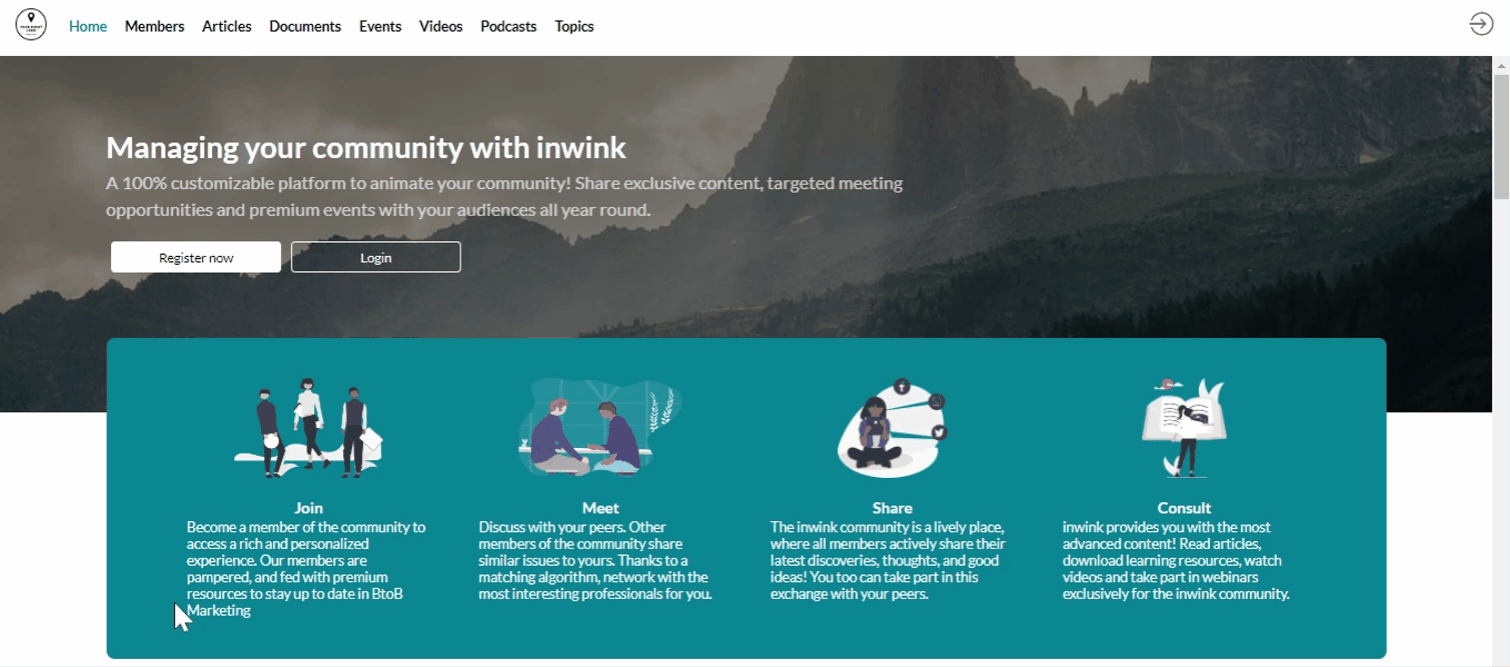
The contact will then go directly to the membership tab > members in your back office.
You can add default values to your form. For example, you can assign a membership level to a member when he/she registers.