In this article
Requirements for an existing event: reinstalling the invitation page
General configuration (back-office)
Activating partner invitations
Completing the registration page
Setting up quotas
Email template
Configuring the partner invitation page (CMS)
Invitation creation by the partner
Adding guests
View invitations
Export invitations (partner)
Manage invitations in the back office (Organizer)
How partner invitations work
The aim of this function is to enable event partners to invite people directly, and to track the participants registered from these invitations in the back office.
From their space at, partners can add people to invite one by one or en masse, send pre-configured invitation emails with a personalized message, and track the invitations they have sent.
From the back office, the organizer can access the list of invited persons by going to > Partners > Invitations, and can edit the invitation information, delete the invitation, and act on the grid as in the other grids in the back office (to find out more about grids, click here).
Prerequisite for an existing event or partner area: reinstall the invitation page
If the event has already been created or if a partner space has been configured previously, it is essential to reinstall the partner invitation page, replacing the old one, in order to update the options.
From the back office > Website & App > Partner area, click on "Add a page".
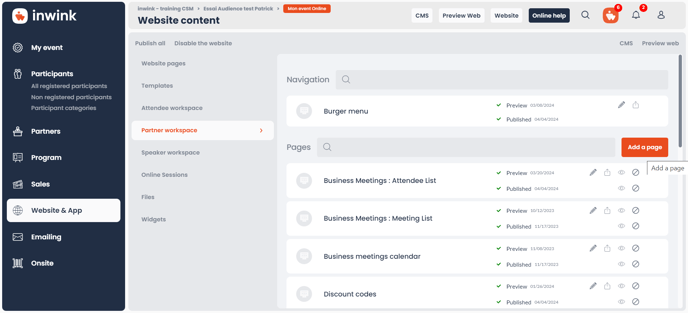
Then go to Invitations and choose the "Partner: invitations" model:
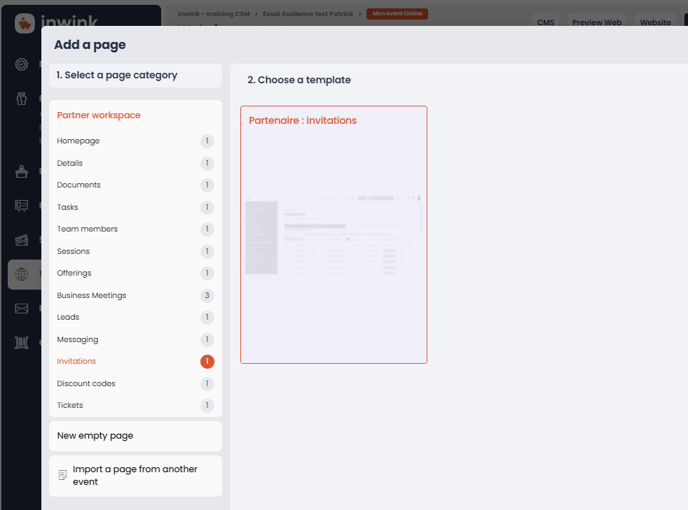
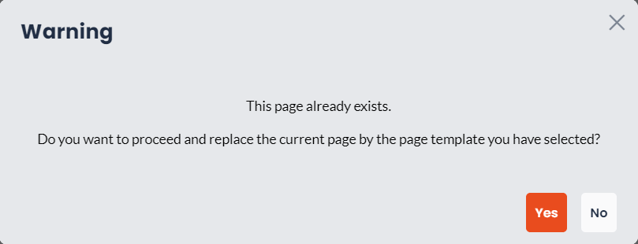
Answer "Yes" when the page replacement warning message appears:
The new page is created.
General configuration (back-office)
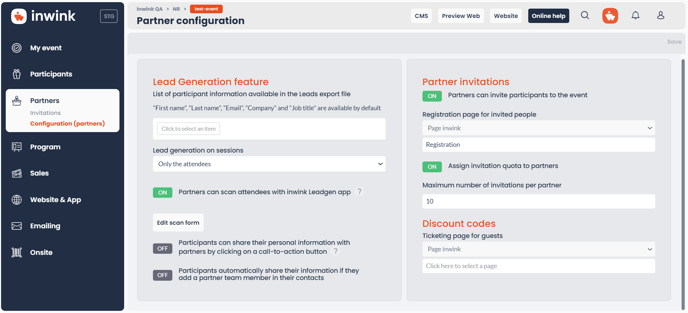
You can activate partner invitations by going to Partners > Partner configuration > Partner invitations
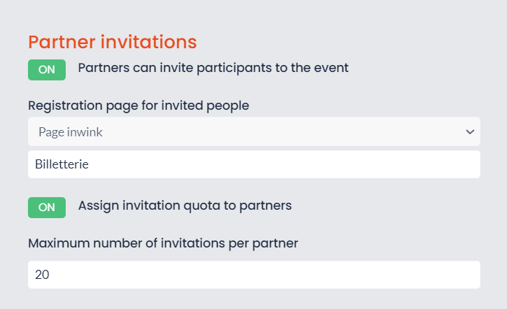
Set "Partners can invite participants to the event" to ON :
Complete the registration page
To enable people invited by the partner to finalize their registrations, a registration page needs to be attached.
This can be used, for example, to redirect people to a form whose fields cannot be modified and whose information is automatically pre-filled.
To choose the registration page :
- Under the question Registration page for invited persons, select the desired registration page
- Click on REGISTER
Setting a quota
In order to limit the number of participants registered by invitation, it is necessary to set up a quota.
Three quotas are available, in increasing order of priority:
- Global quota for all partners
- To be added in the menu Partners > Manage partners/Configuration > Configuration > Partner invitations, by turning ON "Assign invitation quota to partners" and indicating the global quota in "Maximum number of invitations per partner".
- A quota in a product
- To activate this type of quota, follow the instructions in the Partner packages and products online help.
- Pour activer ce type de quota, suivre les instructions contenues dans l'aide en ligne Packages et Produits
- A quota for each partner
-
It is possible to add a specific quota for a partner
-
Go to the Partners / All partners menu, then click on the button to edit the partner.
-
Check the "Invitation quota" box and enter the desired quota.
-
Example:
- Global quota: 10 invitations
- Partner "A" quota: 20 invitations
All partners will have 10 possible invitations, except partner "A" who will have 20.
Once the quota has been set, click on SAVE
🖍️The deletion of a "Partner invitation quota" product or package is followed by a message indicating that invitations already sent can still be used.
Email template
To enable partners to send out invitations, an email template must be configured.
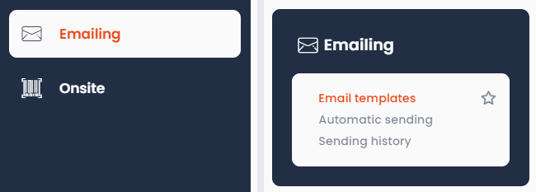
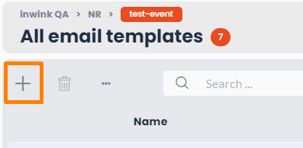
From the Emailing grid > Email templates (All email templates)
Click on![]() to add an email template :
to add an email template :
Select "Personalized partner invitation":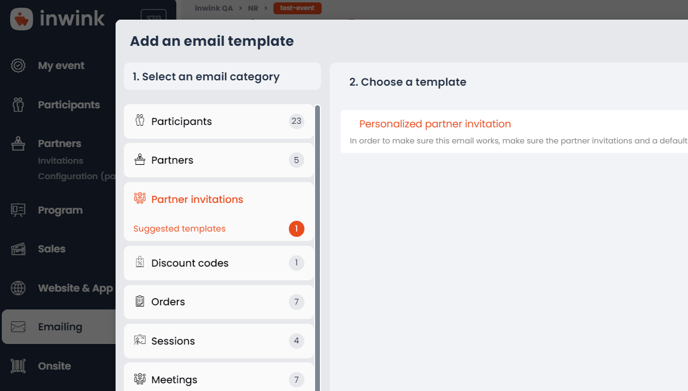
🖍️ This email doesn't need a trigger.
To find out more about how to create and set up an email, consult the dedicated "Emailings" section of the online help by clicking here.
You will then need to attach this email template to the partner invitation page (hereafter)
Configure partner invitation page (CMS)
From the CMS, go to thepartner area (recommended)
(Configuration is also possible from the back-office > Website & App > Website > Website content > Partner workspace > Edit "Invitations" page).
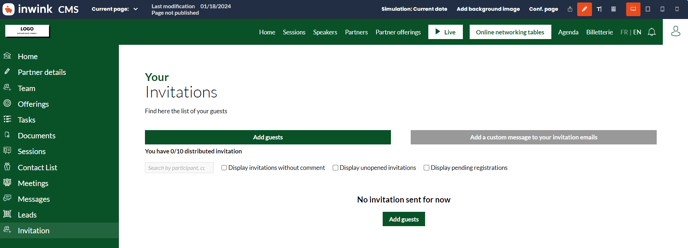
- From the menu, go to "Invitations".
If the invitation page is not present in the partner space menu, it must be added by editing the menu using the small pencil.
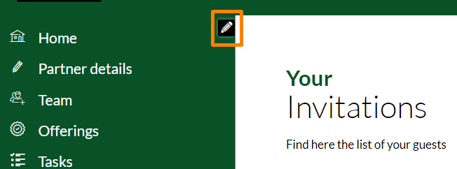
To find out more about the configuration of the partner workspace, click here.
- Edit invitation page:
- Attach the email template dedicated to partner invitations :
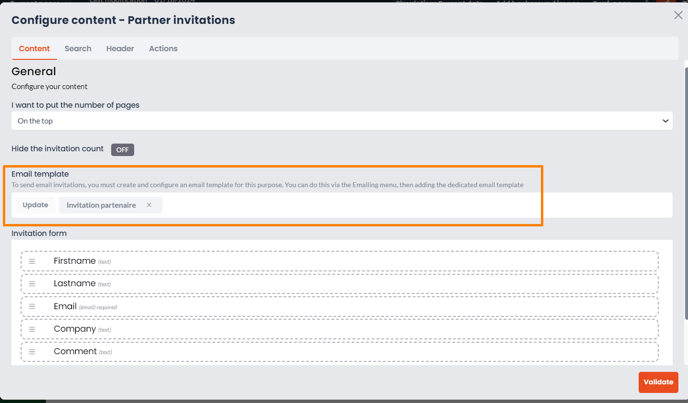
- Invitation form: by default, only the email field is mandatory, but you can make the other fields mandatory by editing them.
- Validate to save configuration
- Refresh page to update changes
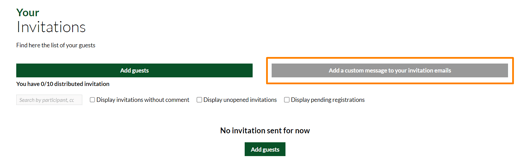
- If the email template is filled in, a button has been added to enable partners to add a personalized message to invitation emails.
Invitation creation by the partner
Once an email template has been attached to the invitations page, a partner with an administrator role can add guests and send invitations.
Personalized message:
Before proceeding, you can add a personalized message to the body of the invitation e-mail.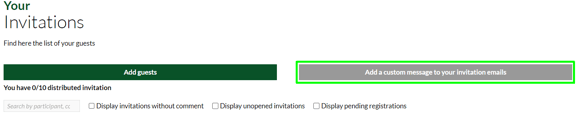
Personalization is global and must be carried out before adding guests.
We advise you to keep this message short and concise, as there are no formatting options for the inserted text and only text can be present.
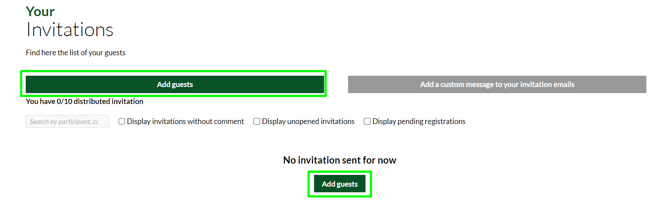
Add guests
Click on the corresponding action buttons :
In the window that opens, you need to fill in the form information either manually, or by copying and pasting from a spreadsheet in the case of mass additions: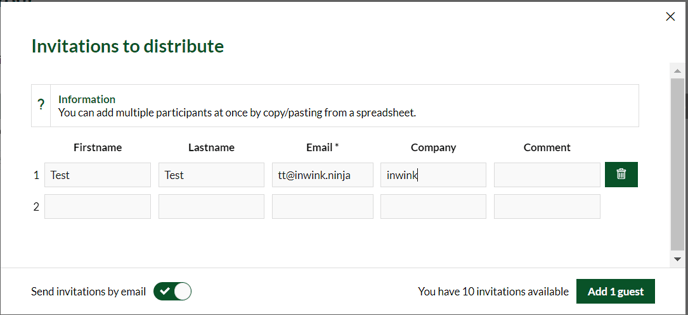
Once the guests have been entered, it is possible to :
- To send invitations directly by e-mail , leave the "Send invitations by e-mail" box enabled.
The invitations will be sent when you click on the "Add X guest(s)" button. - Choose to send later, in which case uncheck the "Send invitations by email" box. Clicking on the button saves the information without sending an e-mail.
🖍️ The quota of available invitations is for information only, and is only decremented if invitations are actually created.

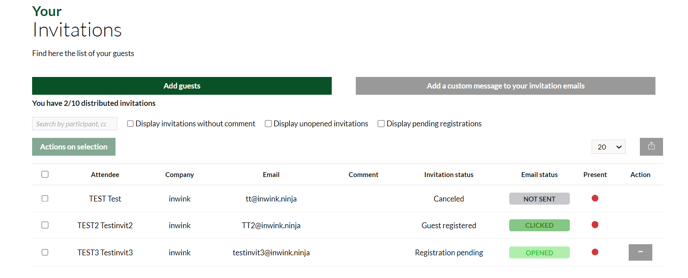
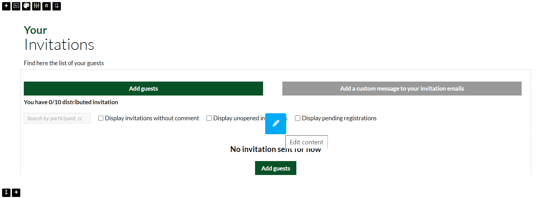
View invitations
When you return to the invitations page, you can view the current invitations:
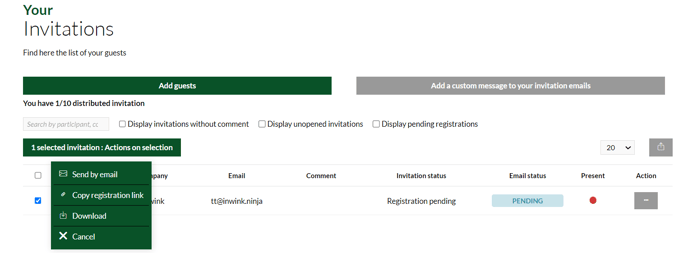
It includes :
- Invited participant information
- Invitation status
-
- Invitation pending
- Guest registered
- Cancelled
- Email status
- Pending (the invitation is awaiting action by the partner)
- Sent
- Opened (the email has been received by the guest)
- Clicked (the guest has clicked on the subscribe button)
- Not sent (invitation has been cancelled)
- Attendance status at the event
For invitations with the status "...pending", an action button allows the partner to send or resend the invitation by email, copy the registration link, or cancel the invitation:
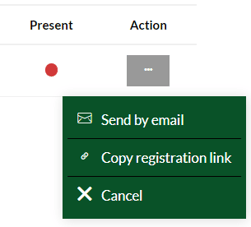
🖍️ It is not possible to modify/delete an invitation from the partner area.
In the event of cancellation by the partner, the guest's line remains in the partner area and changes to cancelled status.
Deletion of an invitation is only possible from the back office, by the organizer.
The status of invitations on the page changes when the page is refreshed.
Export invitations
It is possible to export invitations containing the information shown on the page:
- Either by clicking on the download button on the right above the "Action" column (exports all rows in groups of up to 100).
- Or by selecting the rows to be exported, then clicking on the "Actions on selection" button.
🖍️ Export on selection works in groups of 100 only (maximum number of lines the page can contain).
If more than 100 guests are to be exported, the operation must be repeated for each page.
Invitation management in the back office (Organizer)
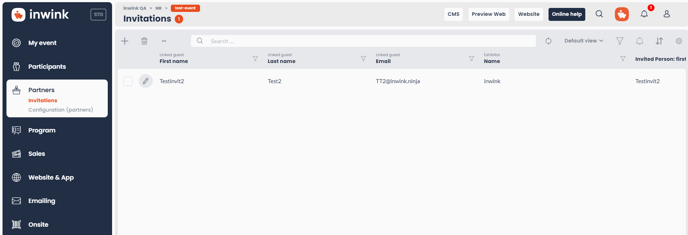
From the back-office > Partners > Manage Partners/Invitations, the organizer can view and manage partner invitations.
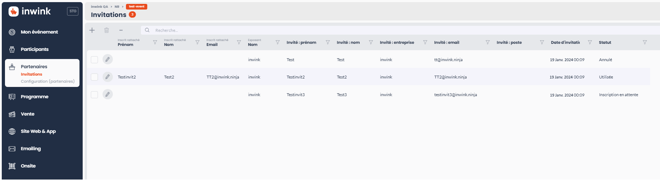
It includes the lines of people registered via the invitation link sent by the partner.
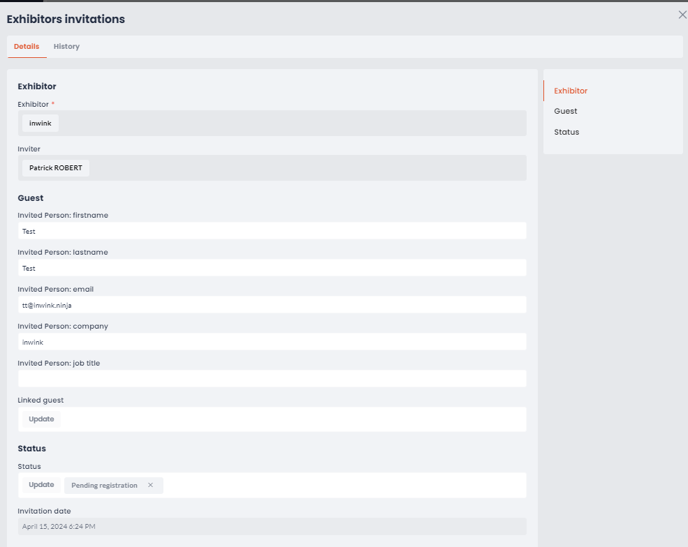
By editing a line![]() , you can :
, you can :
- Modify guest information
- Change invitation status
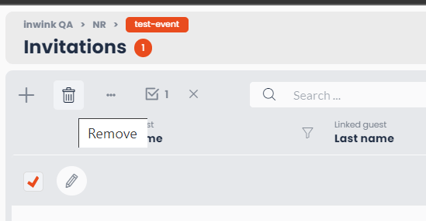
To delete an invitation, select the line to be deleted and click on the trash icon.
Related articles :