How partner invitations work
The aim of the feature is to enable partners to invite people to the event, even if it's free, by tracking in the back-office the participants registered since a partner's invitation.
From their own space, partners enter the details of the person they wish to invite, and email them with their ticket attached.
On the organizer's side, the list of invited guests can be found in the Ticketing / Generated tickets menu.
Creating a tickets page from the back office
As the organizer of your event, you need to create a "Ticket" page in your partner area (which is not created by default).
To do this, go to your event's back office > website tab > site content > partner area.
Click on "Add page" > select the "Ticket" page:
In schematic view, the block will appear, and you can edit it and configure its contents.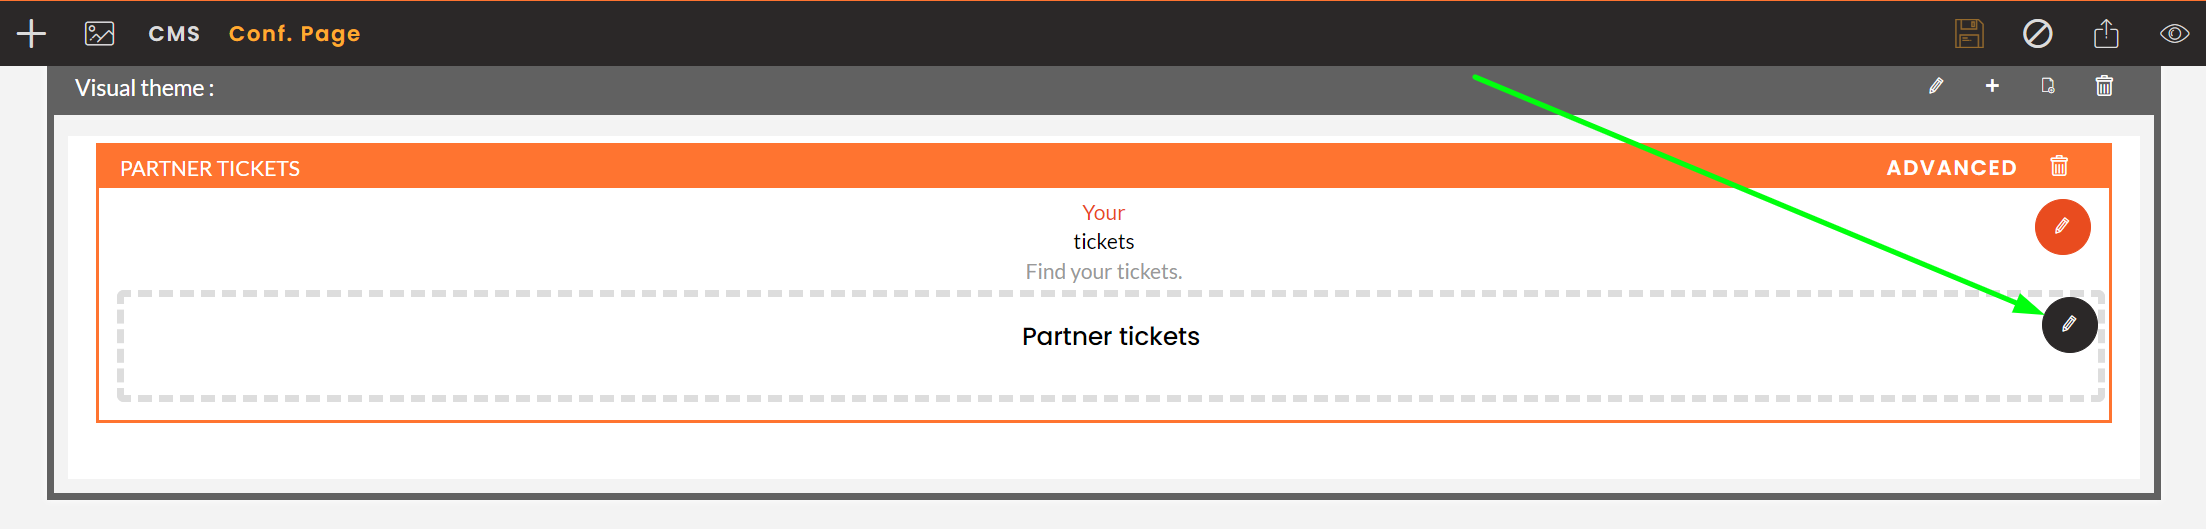
This is also where you can associate the email the participant will receive, once the partner has assigned them a ticket.
⚠️ Don't forget to link this new page to the burger menu in the partner area.
Ticket management in the partner area
Once tickets have been assigned to a partner, the partner, if he/she has the administrator role, will be able to assign them from his/her partner area.
Go to your partner area > Tickets tab.
This is where you'll see all the tickets you have available, as well as the list of tickets you've already assigned.
To assign a ticket, click on the "Add guests" button > fill in the required information: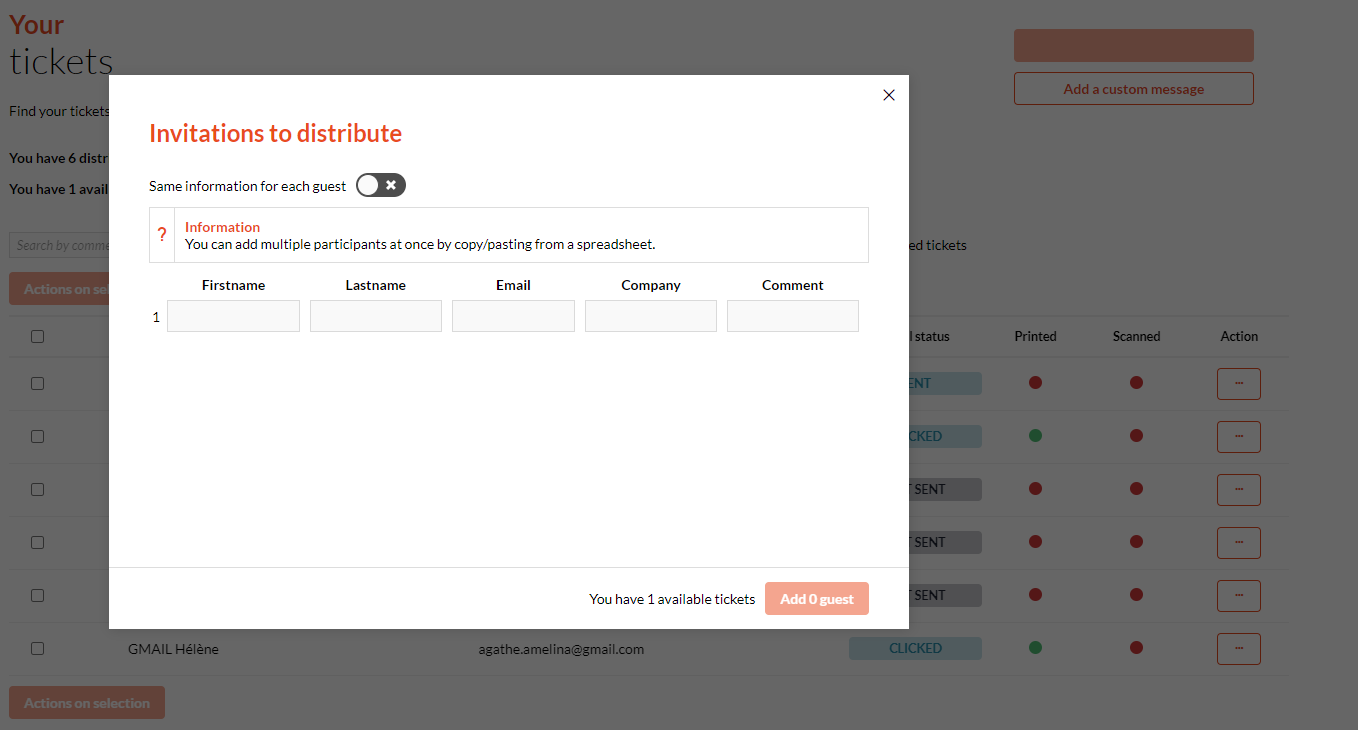
Here you can :
- Fill in a participant's details
- Fill in the same information several times
- Add several participants at once by copying and pasting from a spreadsheet
Once the participant has been added, he or she will receive an e-mail with their ticket, if you select the "Send invitations by e-mail" option. What's more, they'll appear directly in the list of tickets generated in your back-office.
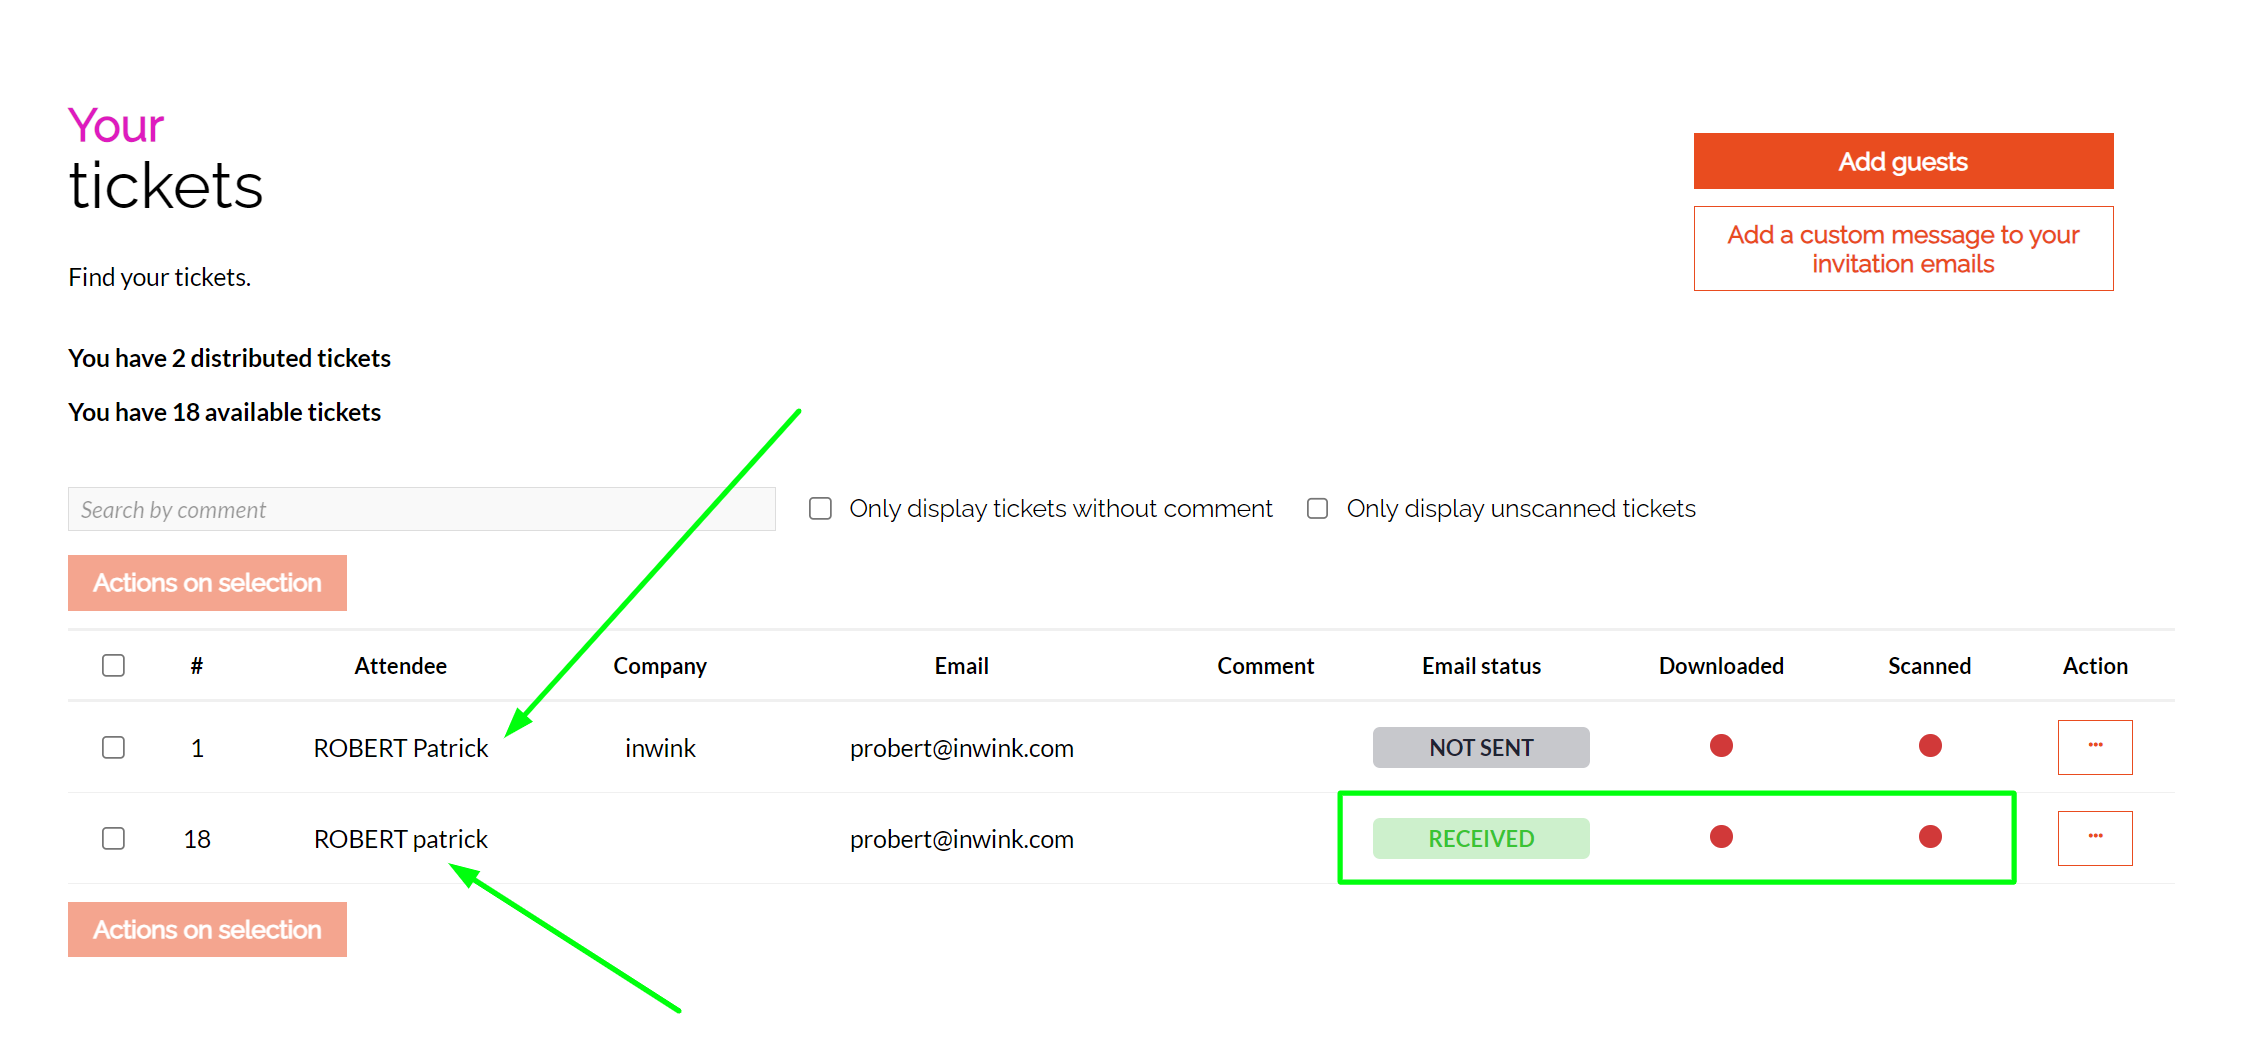
As a partner, you can follow the progress of the ticket. You can see :
- Email status (green if opened by the participant)
- Whether the ticket has been download (green)
- If the ticket has been scanned (green)
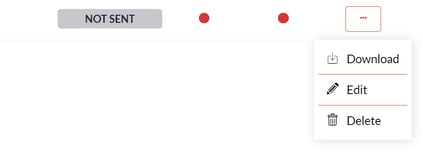
- Resend the email containing the badge/ download the badge/ modify the ticket/ delete it (by clicking on the 3 small dots)
⚠️ If you wish to delete a participant to whom you have assigned a ticket, you may do so. Note that the participant will no longer be counted as a participant (and his ticket will no longer be functional), only if he has not already downloaded it (if the dot in the "Printed" column is green, this means that the participant has already downloaded his ticket).
For a ticket to be downloadable, it must have a ticket template. To do this, go to the event back-office > ticketing > generated tickets > ... > See... > Set ticket template.