With the Make × inwink integration, you can connect inwink to your external tools (CRM, email platforms, billing software, spreadsheets, etc.), synchronize your data, and trigger automated actions.
Whether you want to create contacts, manage registrations, or trigger post-event actions, Make × inwink helps you efficiently automate your workflows.
1. Key Concepts
-
Make: An automation platform that allows you to connect inwink with external tools.
-
Webhook: A trigger point that sends data from inwink to Make.
-
Mapping: Matching inwink data fields with fields in the external tool (e.g., Google Sheets, CRM).
Common use cases:
-
Exporting inwink data (participants, members, orders, surveys) to an external tool for reporting or processing.
-
Importing external data (CRM, spreadsheets, forms) into inwink to automatically create participants or members.
2. Prerequisites
Before you begin, make sure you have:
-
An active account on both inwink and Make.
-
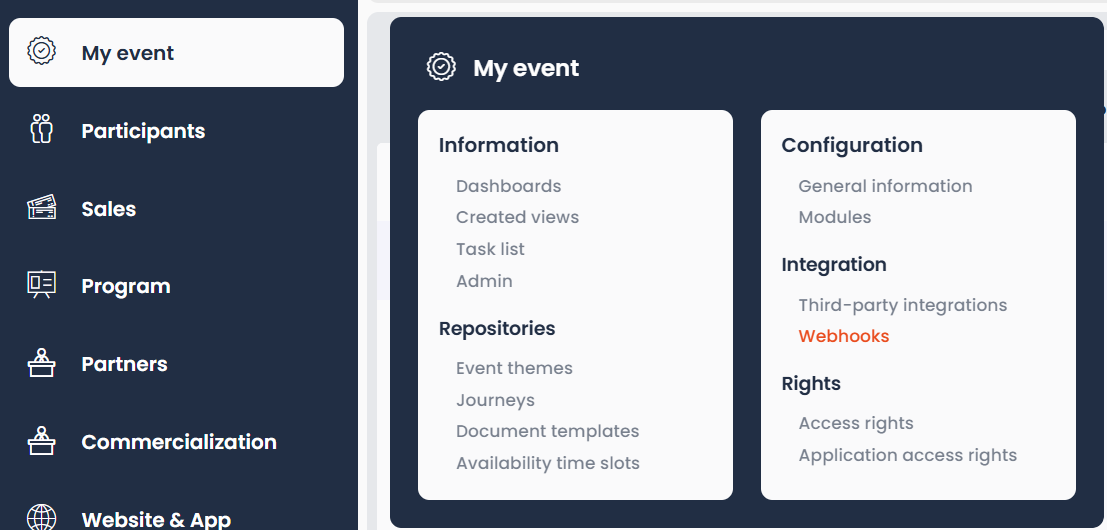
Access to the inwink back-office with permissions to create and view webhooks.
-
Access to the external tool you want to connect (Google Sheets, CRM, etc.) to authorize the connection.
-
Basic knowledge of Make (creating scenarios and configuring actions).
3. Example 1: Exporting Data from inwink to an External Tool
For example, each time a new participant registers for an event, a row is automatically added to a Google Sheet.
Steps to connect Make to inwink
-
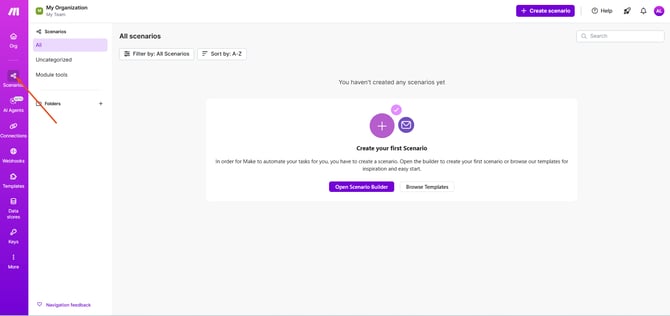
Log in to your Make account or create one here. The free plan is sufficient for basic automation.
-
For more advanced use or higher execution volumes, specific Make pricing may apply. Check the pricing [here].
-
-
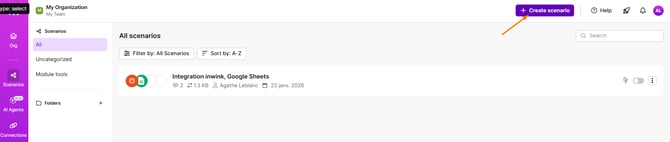
Create a scenario to automate the workflow.
-
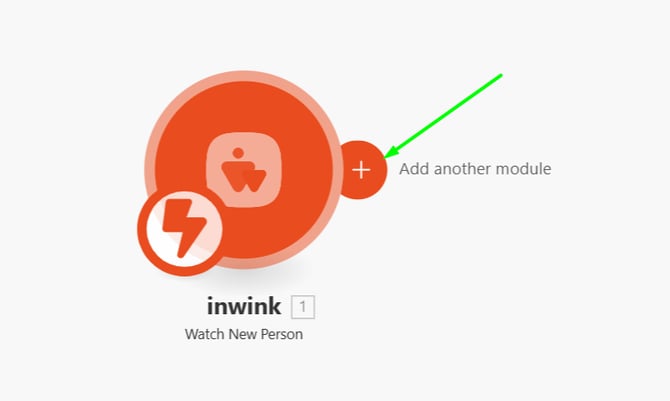
Click + to add a module.
-
Search for and select inwink.
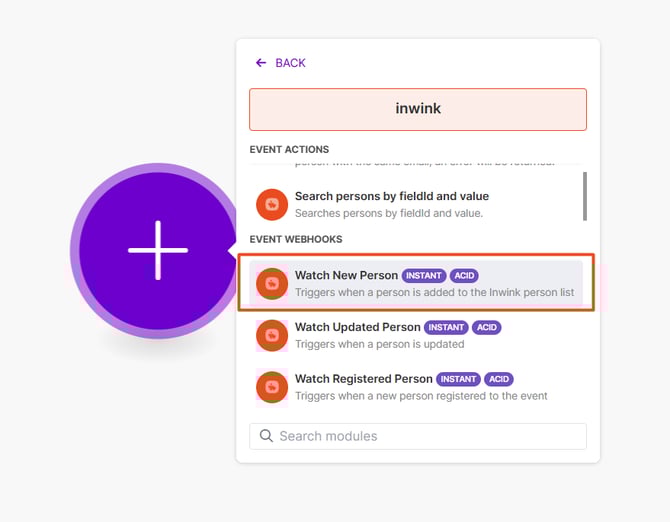
-
Choose the action corresponding to the data you want to retrieve (participant, order, survey, member, company).
-
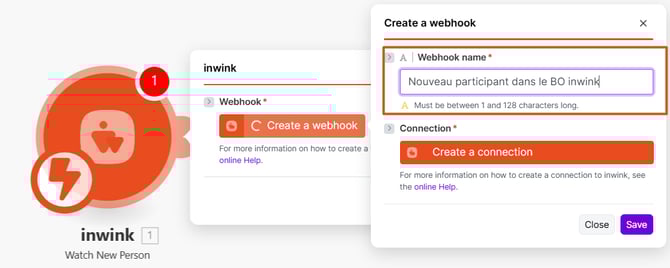
Click Create a Webhook.
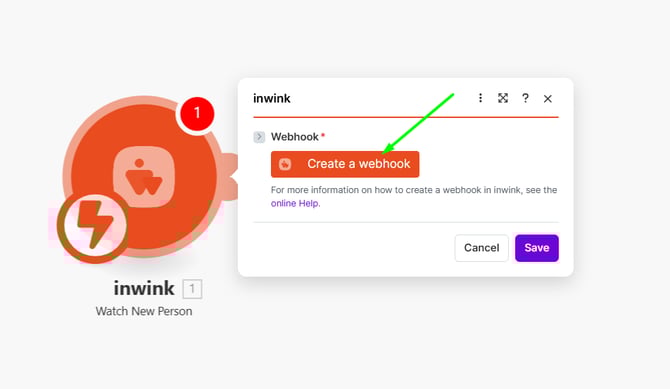
-
Enter a descriptive name for the webhook.
-
Click Create a connection and authenticate with your inwink account (as you would for the back-office).
-
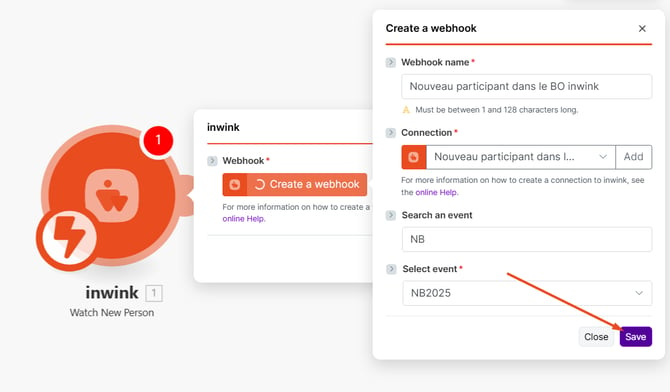
In Make, select the event that triggers the webhook.
➡️ Only events you are an admin of will appear in the dropdown. Select the one you need.

-
Save to create the webhook.
Steps to connect Make to an external application (e.g., Google Sheets)
-
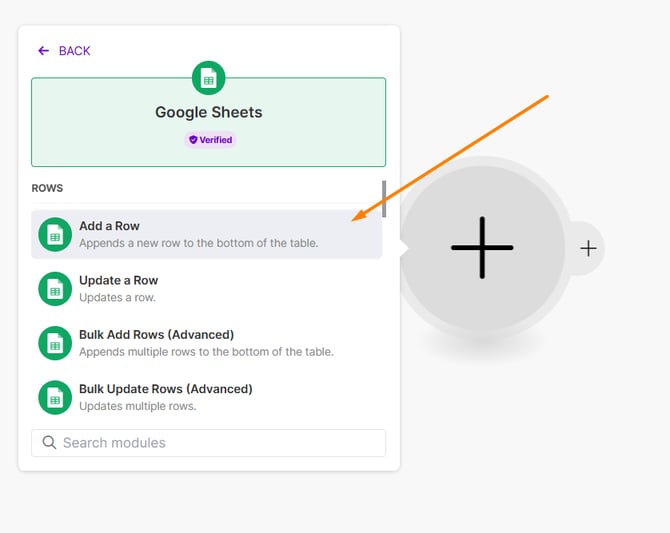
Click + to add a module.
-
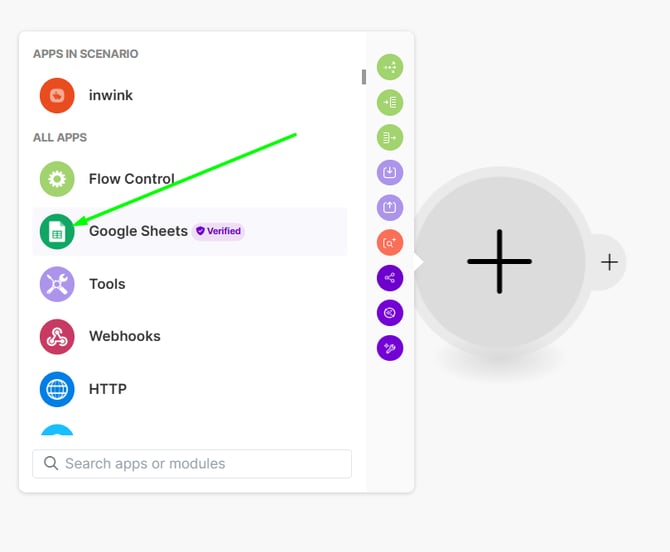
Search for and select Google Sheets.
-
Select the action Google Sheets should perform when the trigger is activated.
-
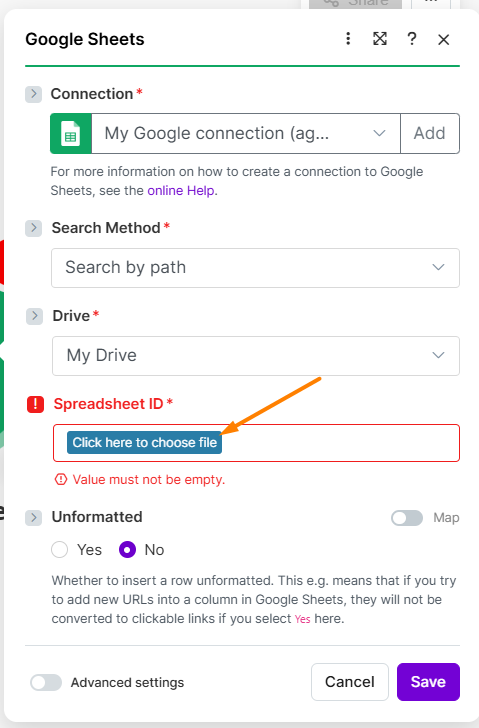
Click Create a connection and log in to your Google account.

-
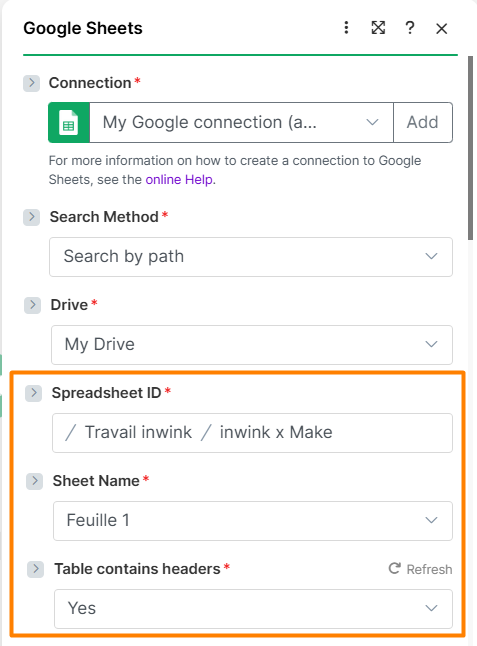
Back in Make, select the desired spreadsheet and worksheet.
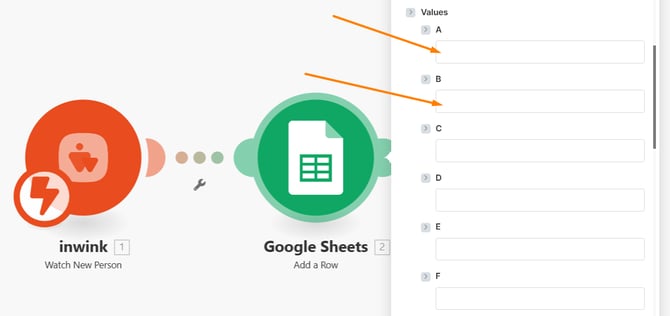
Steps to configure mapping in Make
Match inwink fields to the external tool’s columns (A, B, C, etc.).
-
-
Default fields correspond to standard inwink fields.
-
Each value entered corresponds to a row created in Google Sheets
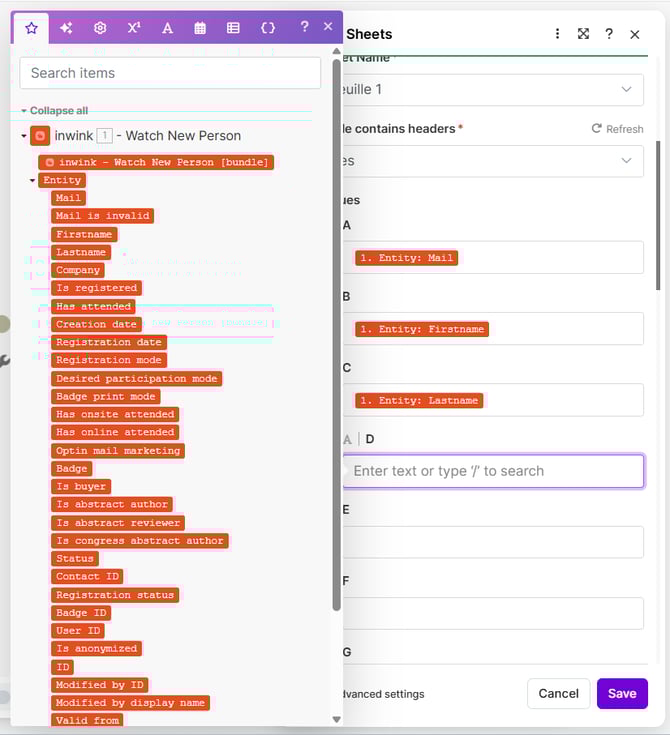
-
Example: Display the participant’s
-
-
Email
-
Last name
-
First name
-
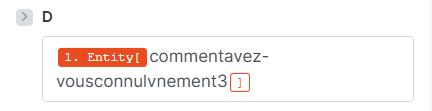
To add custom dynamic fields via their technical key:
-
Format:
where"testtextfield"is the technical key of the field.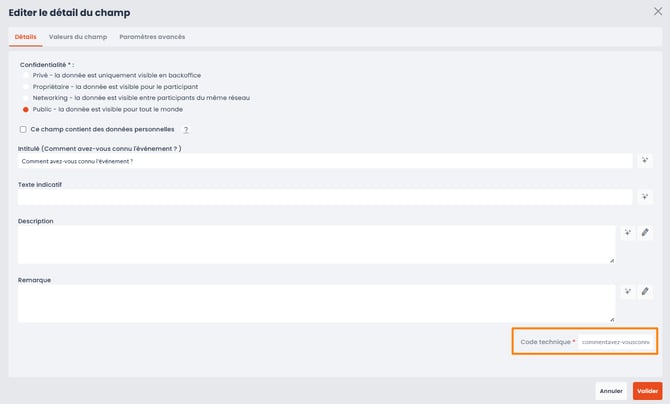
-
Retrieve the technical key from inwink.
-
Insert it into Make like:
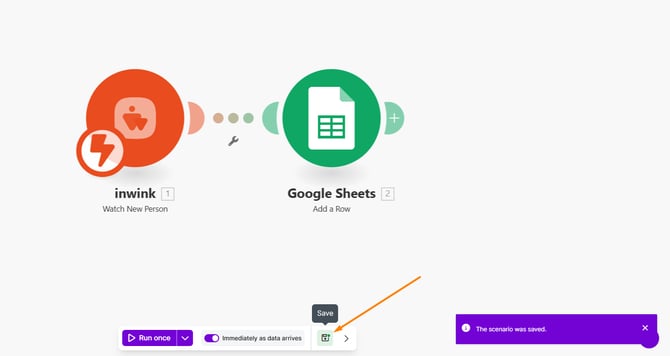
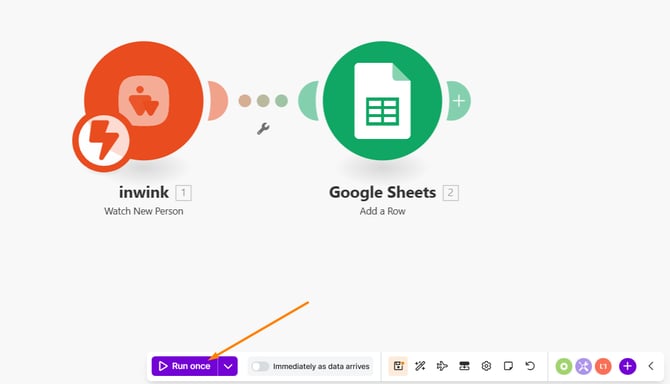
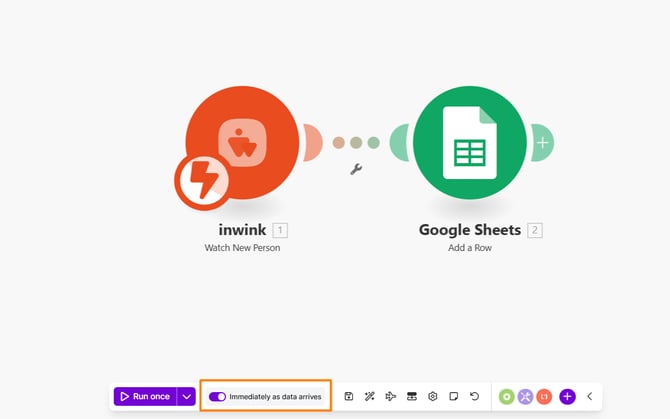
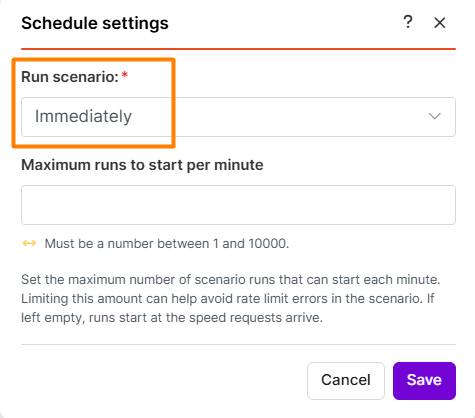
Steps to set Make execution frequency
-
Run once: Executes the scenario a single time.
-
Continuous execution: The scenario triggers automatically each time new data is received.
4. Example 2: Adding Data to inwink from an External Tool (e.g., CRM)
Steps
-
In Make, select inwink and create a scenario.
-
Under Action, choose the type of data to create in inwink (participant, member, company, etc.).
-
Connect the external application containing the data (CRM, Excel, Google Sheets).
-
Map the fields: external columns become inwink fields.
-
Test the scenario to ensure participants or members are correctly created in inwink.
-
Save and activate the scenario for continuous synchronization.
5. Tips and Best Practices
-
Always give clear names to your webhooks and scenarios to know which workflow they manage.
-
Regularly check Make logs for errors.
-
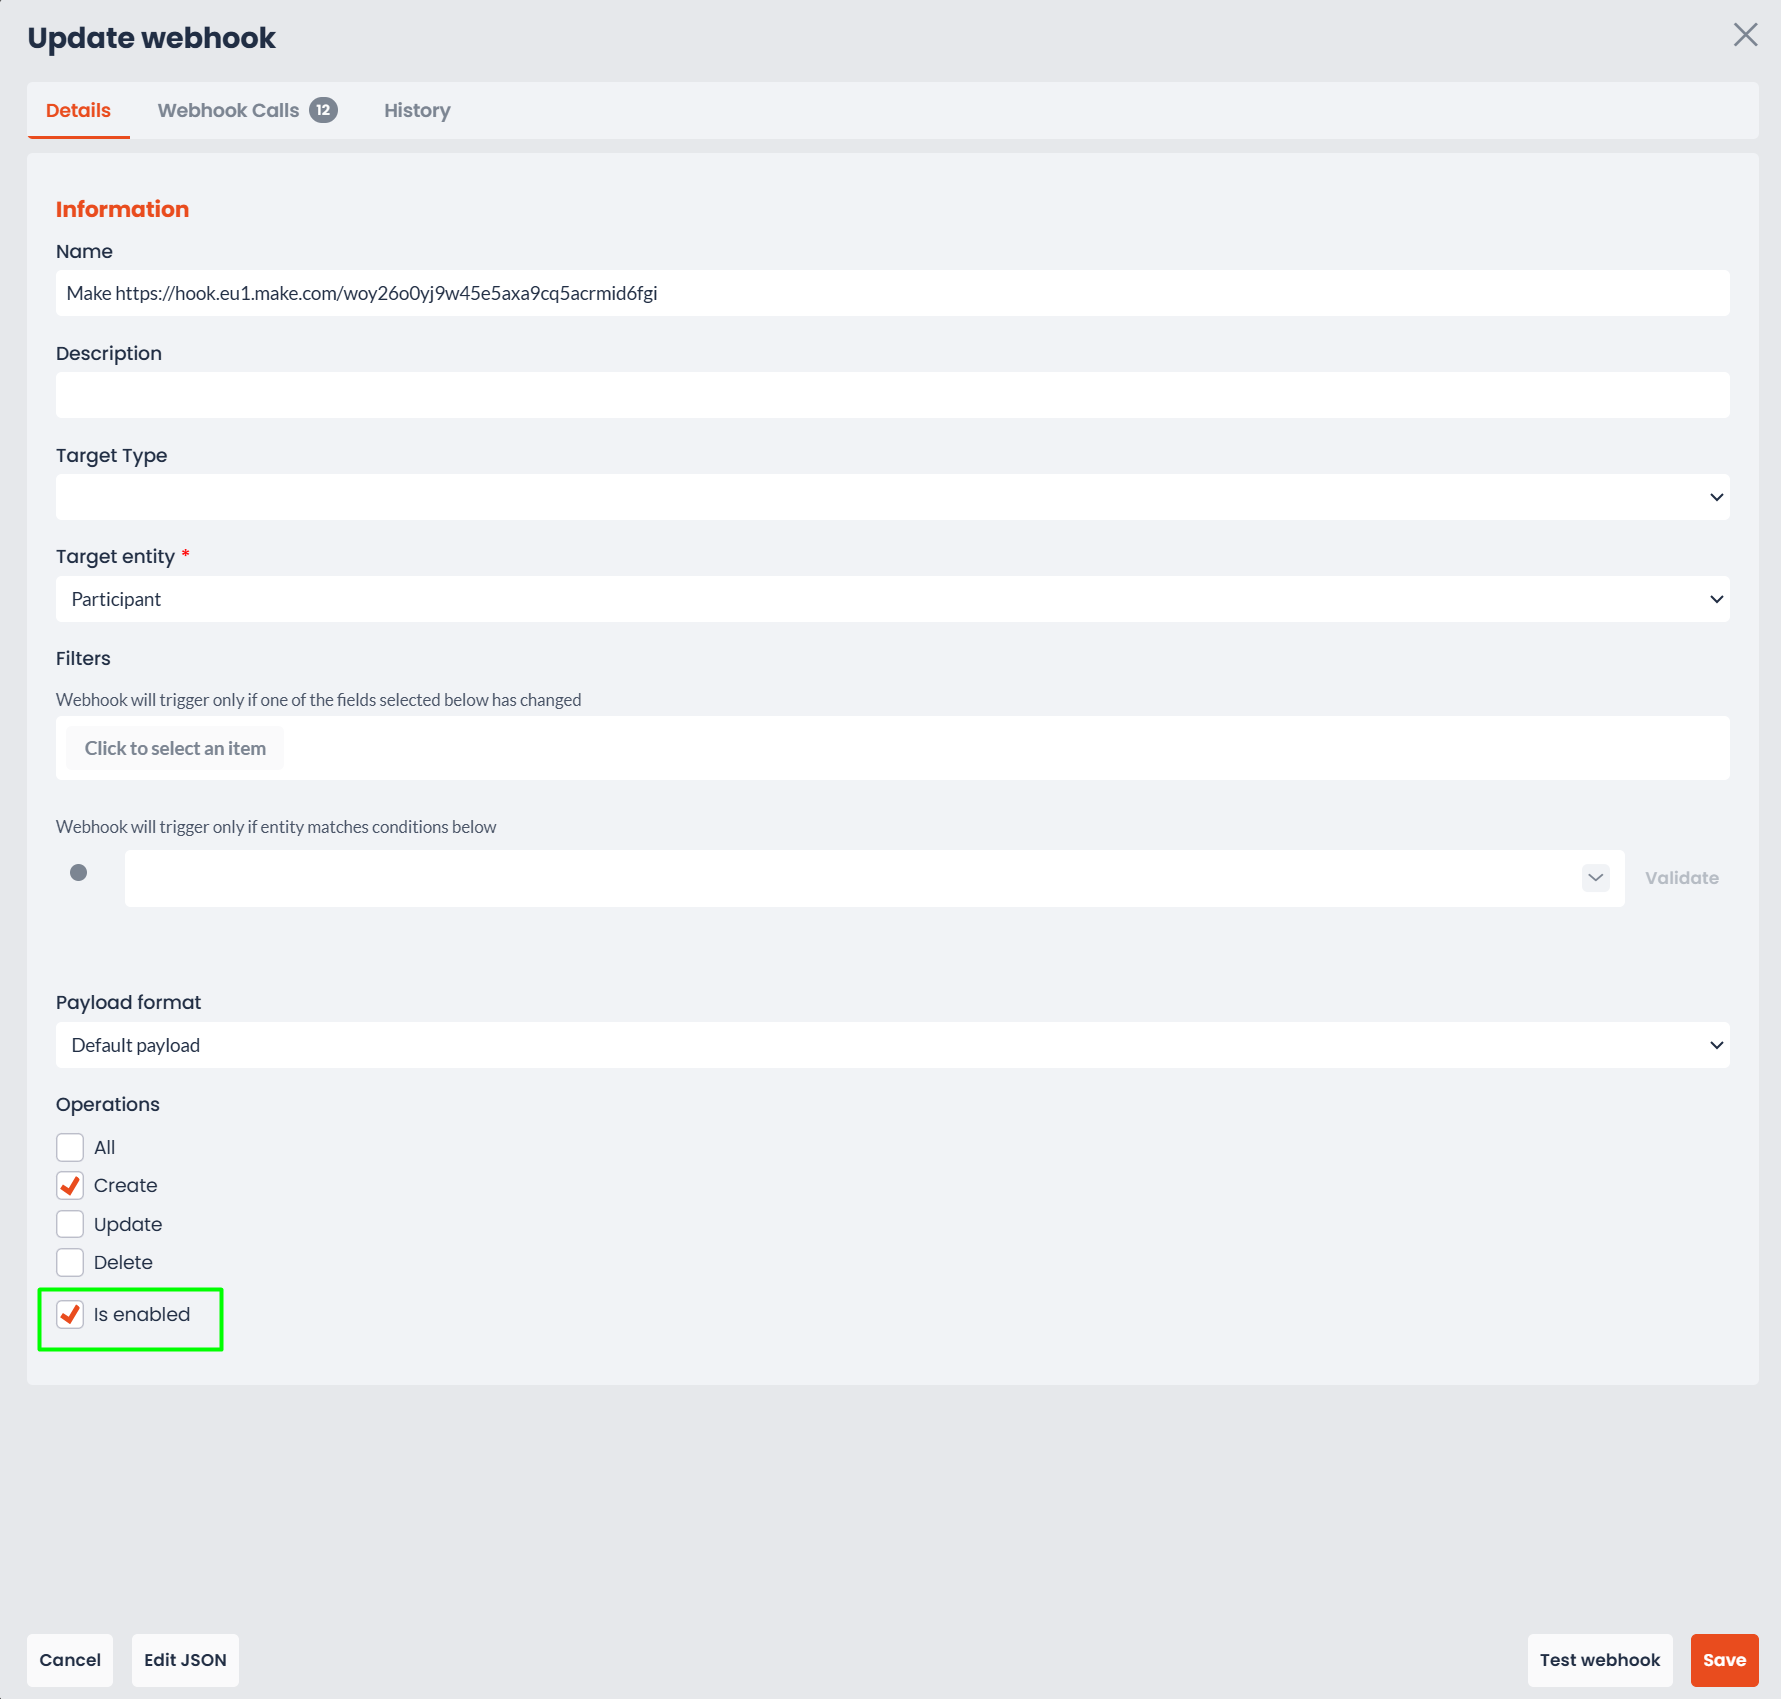
Do not modify webhooks directly from the inwink back-office if the scenario is in production.
-
All webhooks created in Make automatically appear in the inwink back-office:
-
To disable a scenario, disable the webhook in both Make and inwink:
-
In case of a scenario error, synchronization stops and the webhook creator is notified by email.
-
It’s recommended to create one scenario per webhook for easier tracking and maintenance:
-
After any scenario modification, always save your changes.