Prerequisites:
Having a Salesforce account and being administrator.
Configuration of the inwink app in Salesforce
It is necessary to create in Salesforce an app allowing inwink to send data to Salesforce in order to connect inwink to the Salesforce account.
Here are the different steps for the creation of the inwink app in Salesforce:
Step 1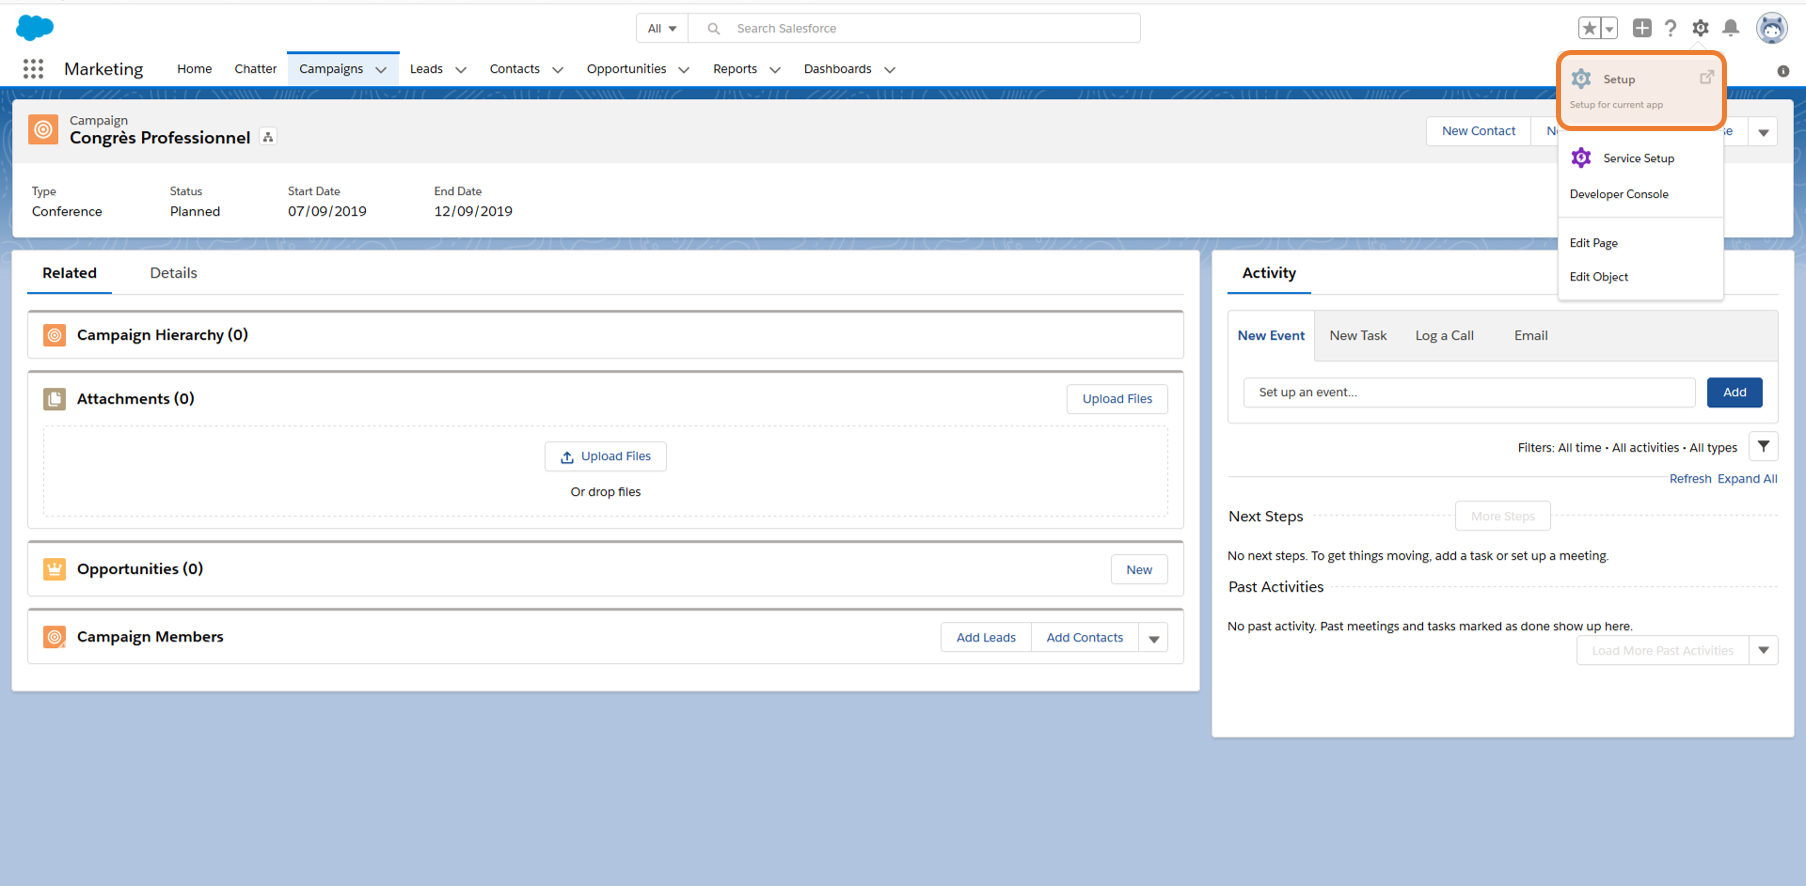 Go to the Setup thumbnail in Salesforce
Step 2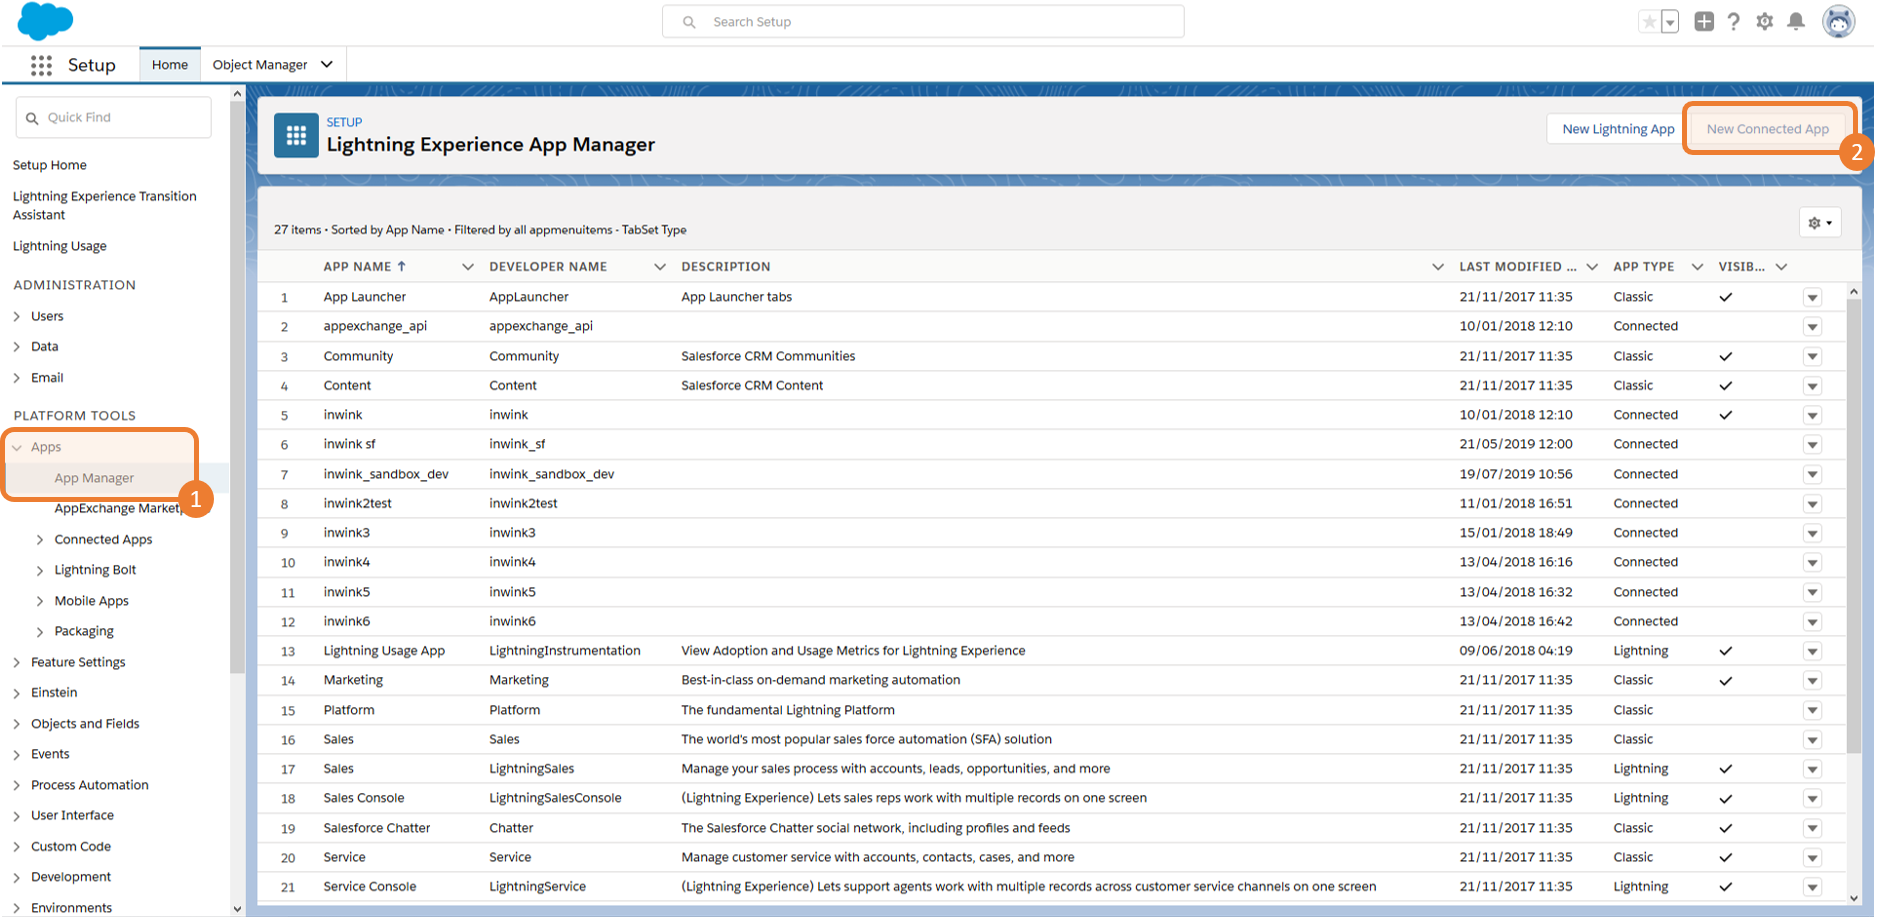 Go to App Manager and create a new connected app in Setup
Step 3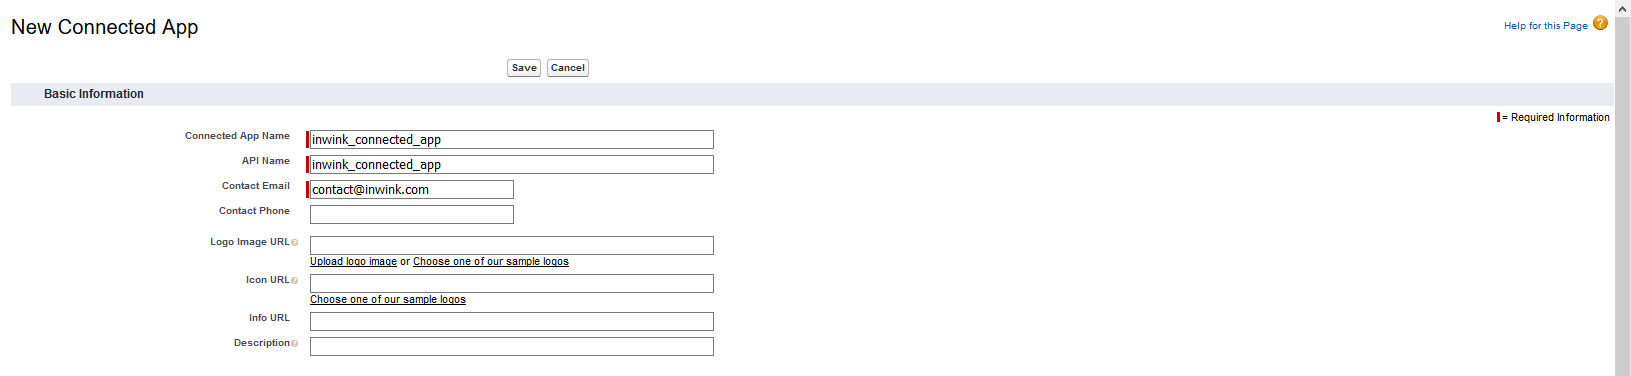 In Basic Information, name the app inwink_connected_app and fill in the email in Contact Email
Step 4.png?width=688&height=311&name=image%20(6).png) Activate the OAuth Settings in the API thumbnail (API Enable OAuth Settings), fill in the callback url underneath, and fill in the following Selected Oauth Scopes
Activate the OAuth Settings in the API thumbnail (API Enable OAuth Settings), fill in the callback url underneath, and fill in the following Selected Oauth Scopes
- Callback URL: https://api-event.inwink.com/thirdparty/salesforce/callback
- Selected OAuth Scopes
- Access and manage your data (api)
- Allow access to your unique identifier (openid)
- Perform requests on your behalf at any time (refresh_token, offline_access)
Save the app.
Go back to the list of apps in Step 1, click on the downward-pointing arrow on the right of the newly-created app, then on Manage and finally on Edit policies.
Step 5 Edit OAuth policies
- Permitted Users: Admin approved users are pre-authorized setup
- IP Relaxation: Relax IP Restrictions setup
- Refresh Token Policy: Refresh token is valid until revoked setup
Save
Step 6 OAuth Policies
Click on Manage Profiles in the Manage your application screen, under section profiles, and select System Administrator, then save.
Step 7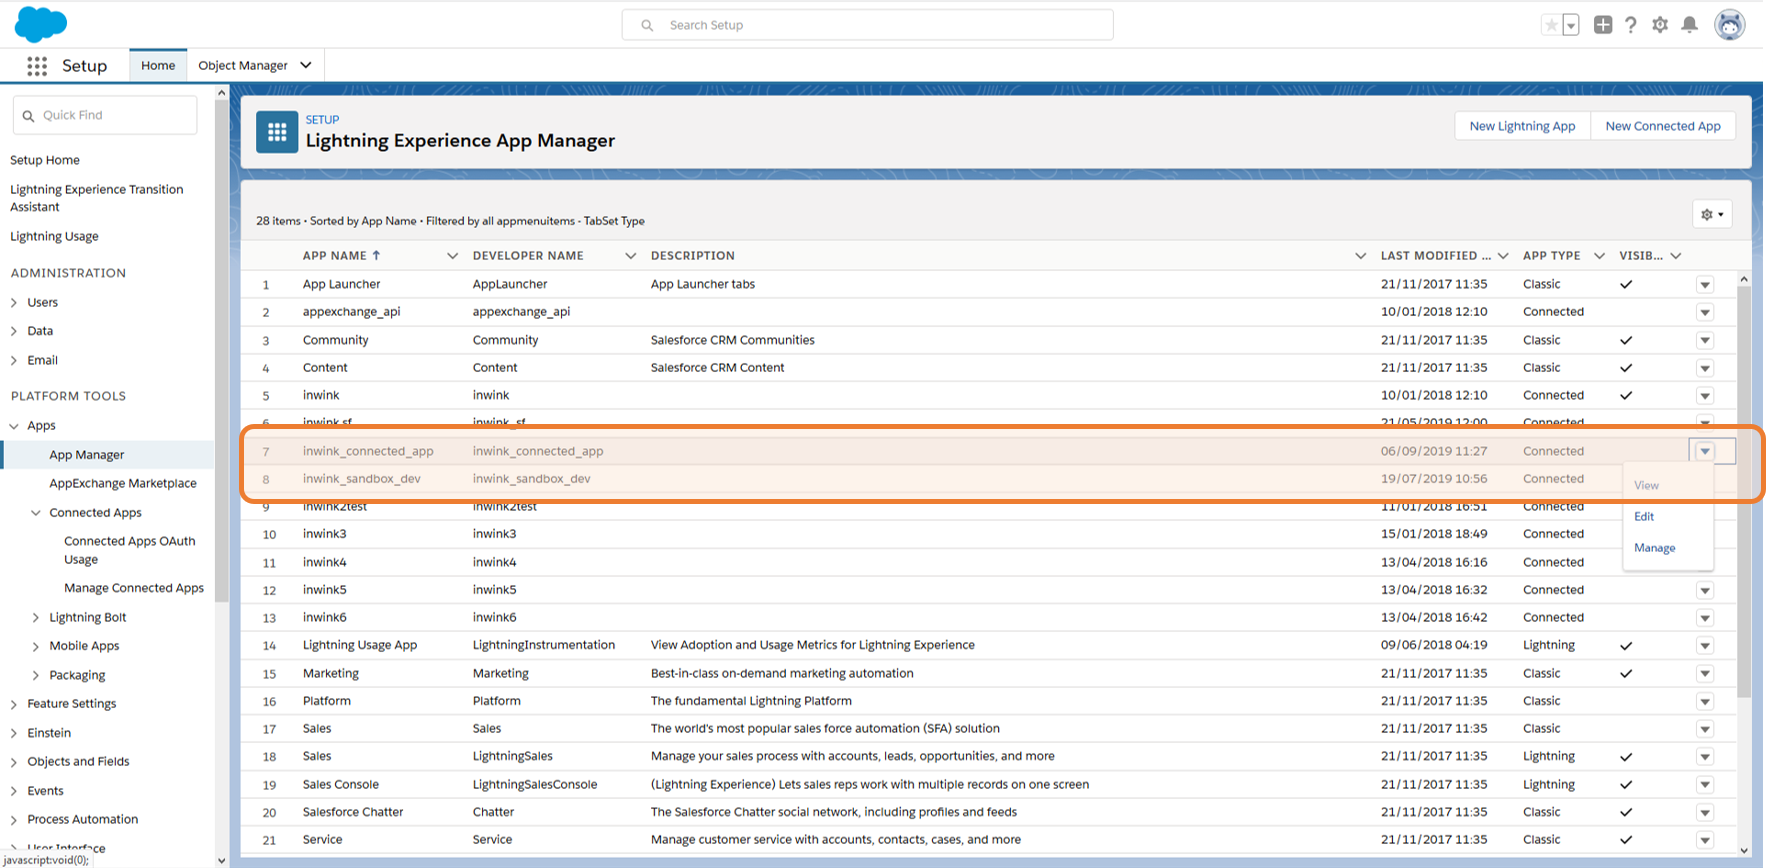 Click on View on the right of the inwink_connected_app line in the App Manager screen.
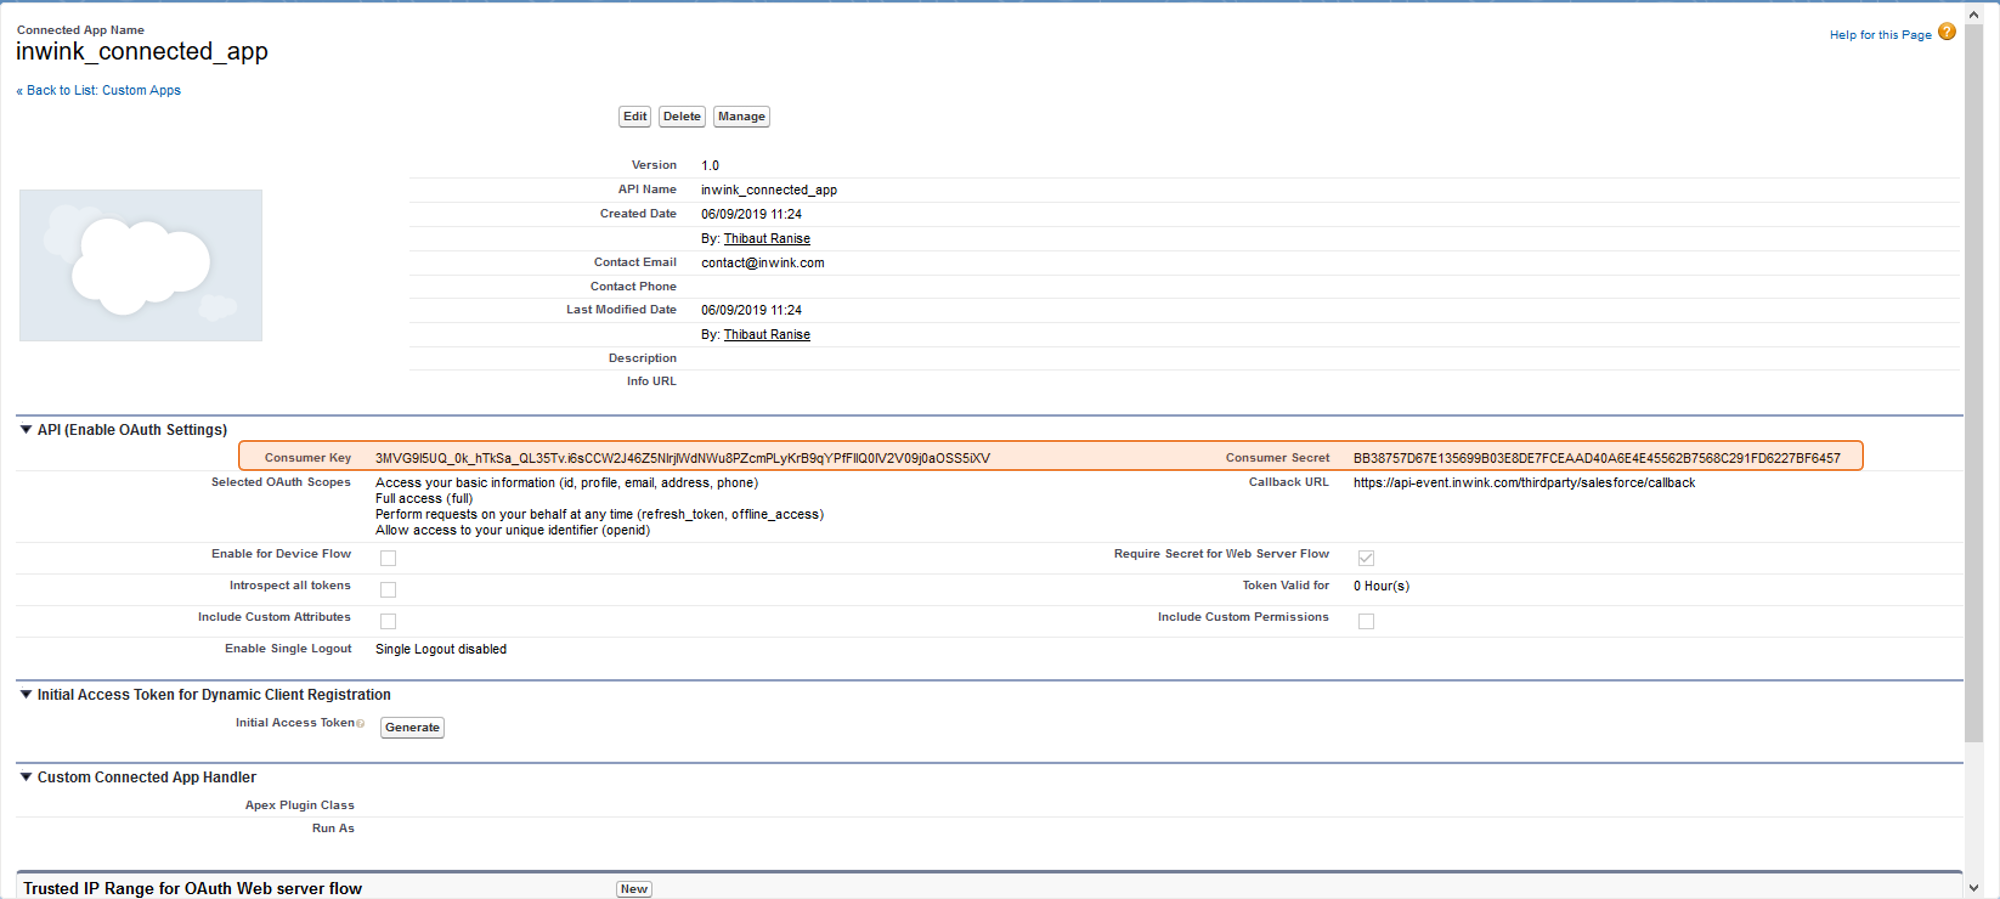 Keep aside Consumer Key and Consumer Secret. They will be necessary for the setup of the Salesforce connector in inwink.