Since November 2022, the HubSpot connector has been configured at audience level. The event-based connector is no longer to be used.
HubSpot Integration Overview
The HubSpot connector, scoped at the Audience level, uses OAuth 2.0 authentication, and can encompass all events and communities.
It automatically synchronizes the audience's contacts with HubSpot.
Integration features
This official HubSpot connector can be set up in minutes. It allows you a very complete integration of inwink: CRM Card, marketing events, Timeline events, Workflow actions...(to find out more, see this article: How to use inwink data in HubSpot).
- Event contacts are brought up in the inwink audience and then directly synchronized with HubSpot using the contact's email (or via a full manual synchronization).
The contact is added to HubSpot only if it does not already exist. If it already exists, then only the technical fields specific to inwink are updated.
- In HubSpot, you can view a contact's details as well as their latest activity.
- Marketing events corresponding to your inwink events and communities are automatically created in HubSpot, and contacts are linked to them indicating their status (registered, attended, cancelled).
- You can create custom lists (dynamic or static) by filtering contacts from Timeline or marketing events.
- Finally, you can integrate inwink into workflows by using Timeline events as triggers and/or inwink's personalized actions for adding or updating contacts from an inwink audience.
HubSpot's configuration with inwink
- Go to your back office, then to your Audience:
Configuration > Third Party Tools Integration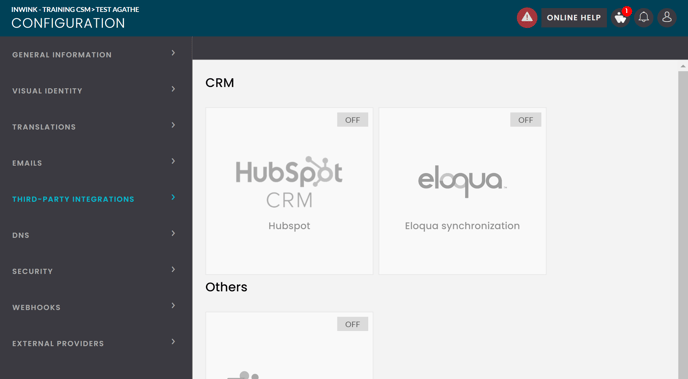
- Click on the "HubSpot" tile to start the configuration and activate the HubSpot connector for your Audience
- Click on the "Login to HubSpot" button
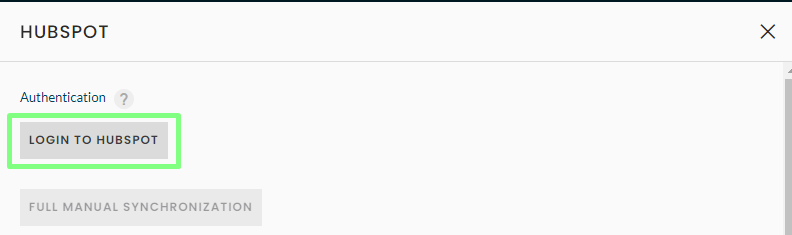
- A login pop-up will then open, to select your HubSpot account
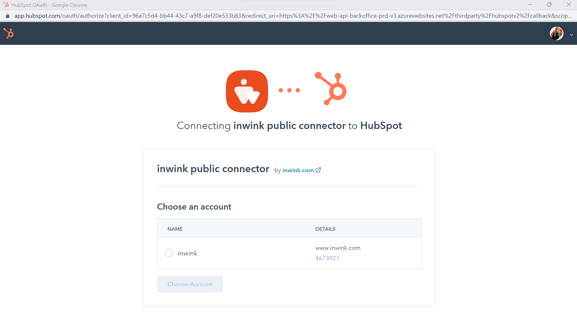
- Once you have selected your account, validate your choice. You will then be redirected to a new window to validate the permissions necessary for the connector to function (read and update contacts, read and update marketing events, timeline, etc.)
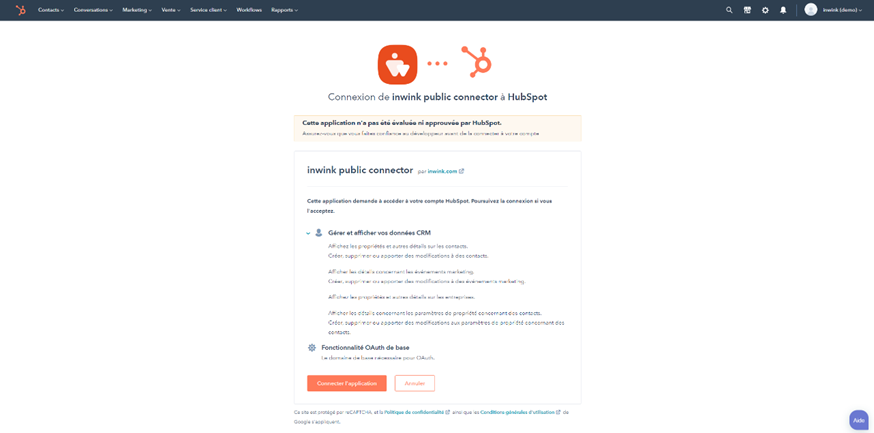
- Once this step has been validated, you will now be able to see within inwink that your sign-in has worked, and you can click "Validate" to confirm its activation. HubSpot is now connected to your Audience.

This configuration can also be done from the Marketplace, where you can obtain the HubSpot application and link it to inwink.
Synchronized fields
As a minimum, the fields synchronized between inwink and HubSpot are :Last name
- First name
- Company
- Job title
- Audience name
- Default language
+ personalized audience contact fields
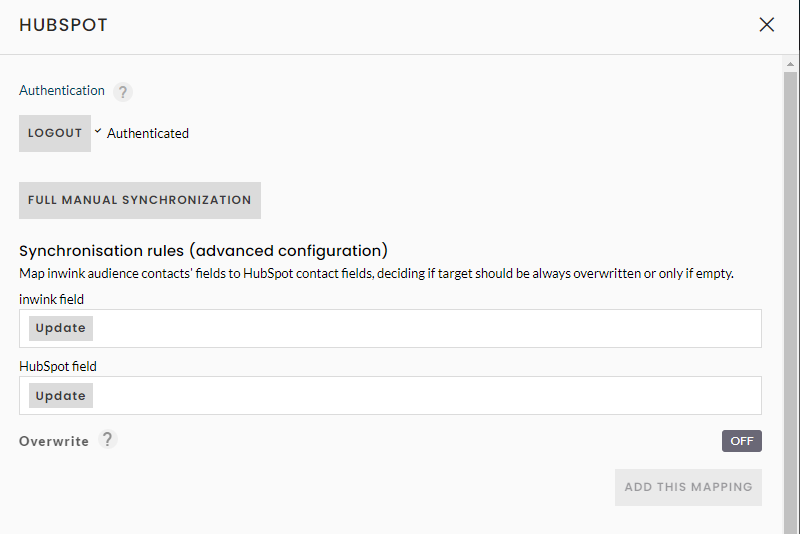
Synchronization rules (advanced configuration)
To go further, you can choose the associations to be made between inwink audience contact fields and HubSpot contact fields.
 ↔
↔ 
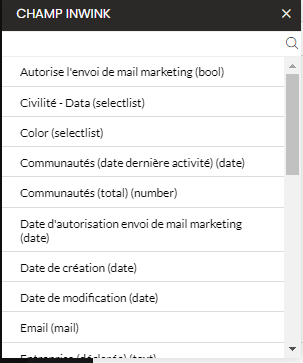
The list of inwink fields contains both preconfigured fields and custom fields created for audience contact records.
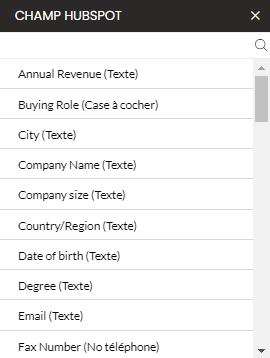
The list of HubSpot fields contains preconfigured fields and custom property fields in the application.
To be synchronized, an inwink custom field must have a match on the HubSpot side.
If you can't find the ideal match in the list of HubSpot fields, you may need to create a dedicated HubSpot property to add to the list.
To create a property, visit this HubSpot online help article: Create and edit properties
To associate fields :
- choose the source inwink field and the destination HubSpot field to associate
- Indicate whether the destination value should always be replaced, or only replaced if it is empty

- Click on Add this mapping

- A line is created as follows:

Repeat to create a new association.
Full manual synchronization
Synchronization between inwink and HubSpot takes place automatically when a new contact is created (event participant/community member) or when a change is made to an existing contact.
If required, a full manual synchronization can be performed.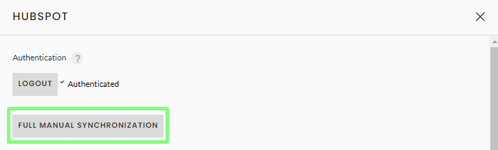
Note that this synchronization will involve all the contacts present on all the events and communities linked to the audience. In the case of many contacts, this may take some time.