Marketing/mass mailings
Marketing emailings will be sent manually from the audience's contact grid.
Create an email
To create a new email, go to the audience > Email templates > Click on ➕ > Contacts: Create a template
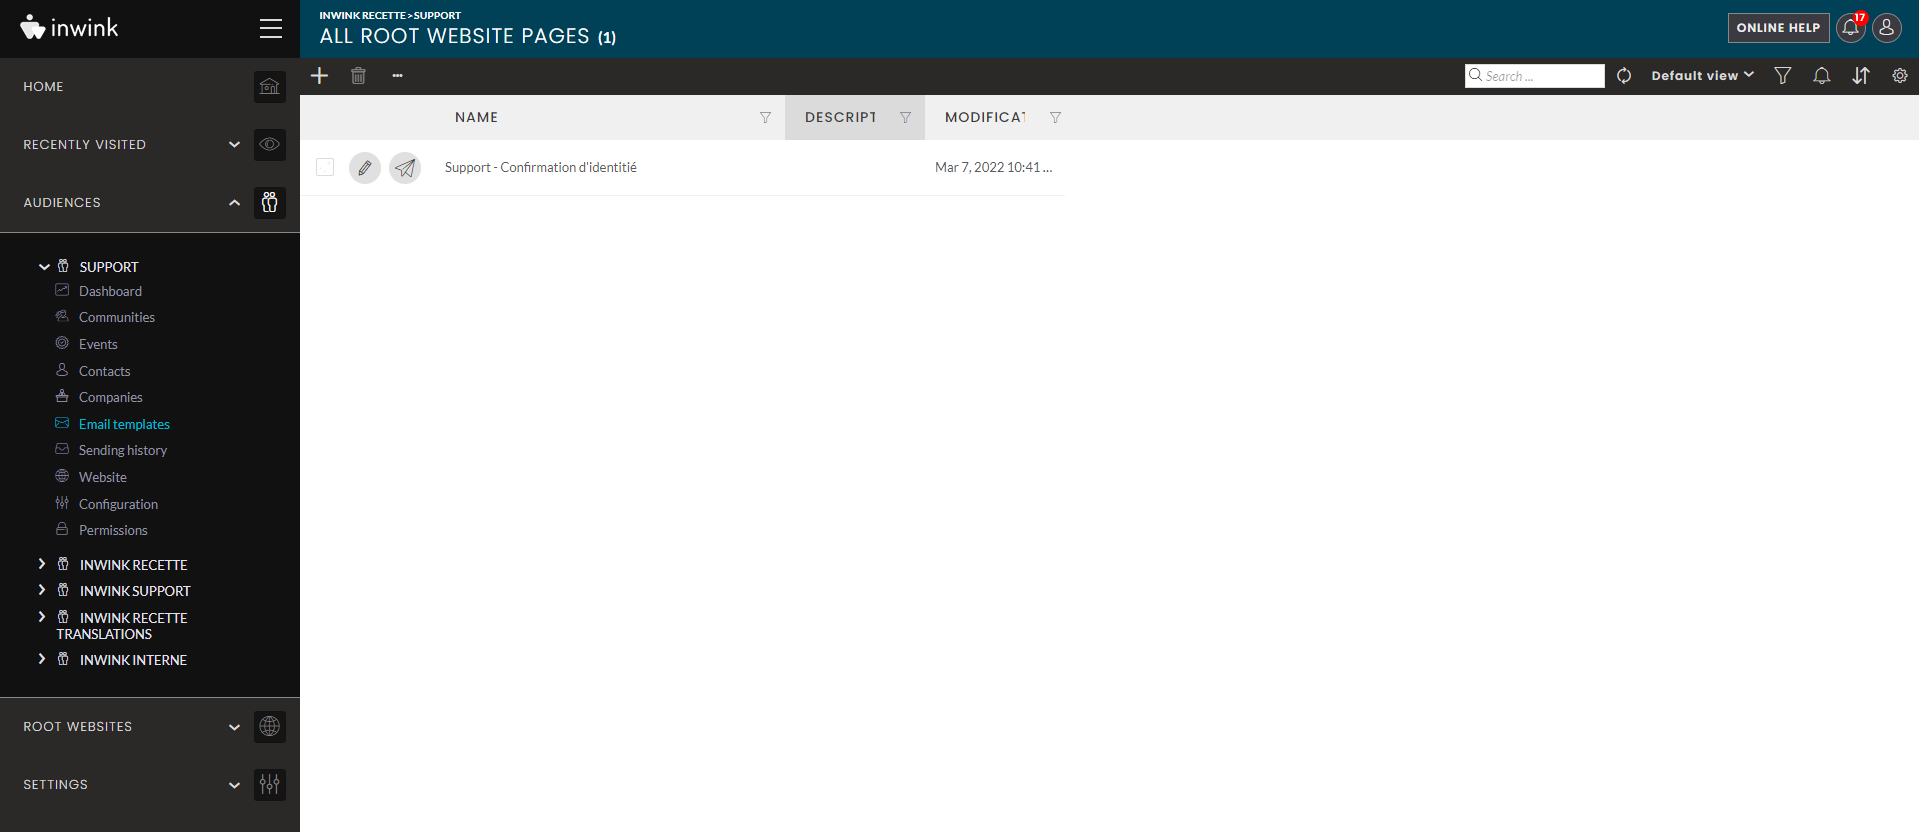 Email template grid
You can choose between two templates:
- HTML template
- Basic template
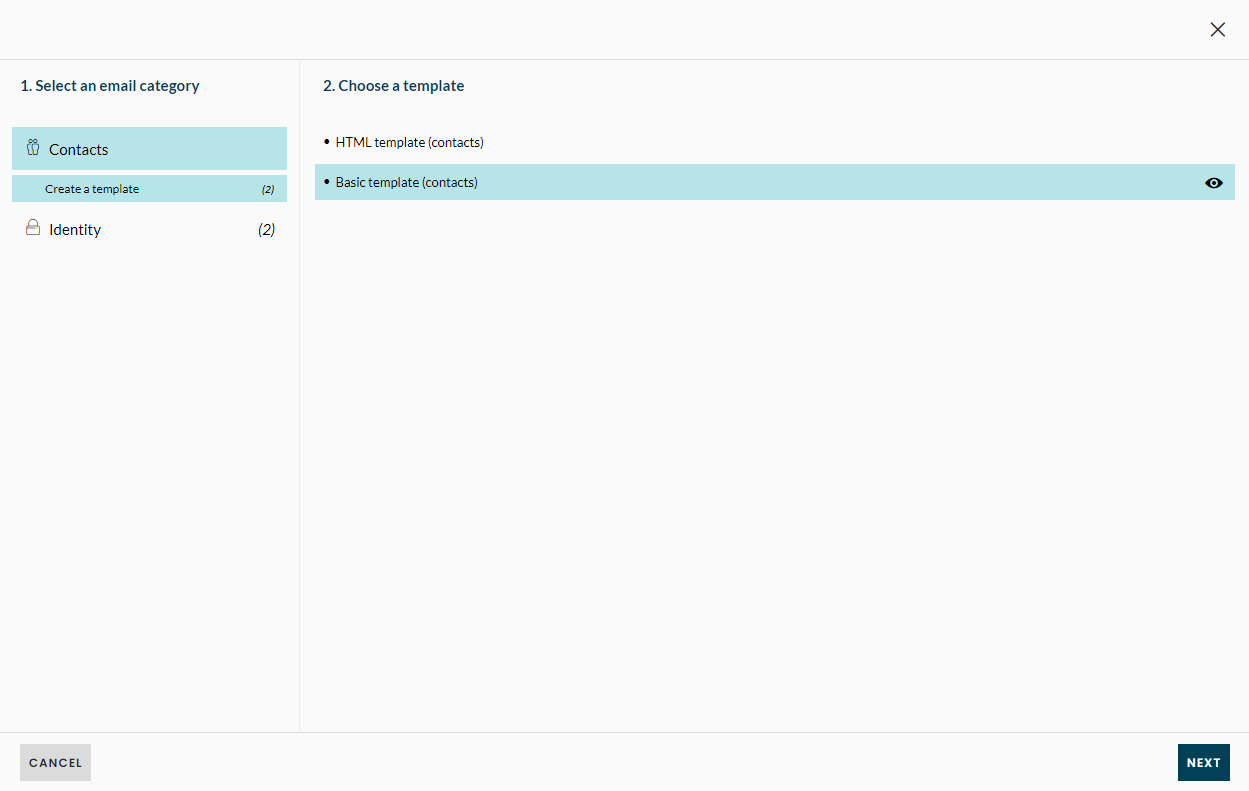 Choice of email template
Template parameters
When you create an email from the gallery / edit an email coming from the gallery, this pop-in appears:
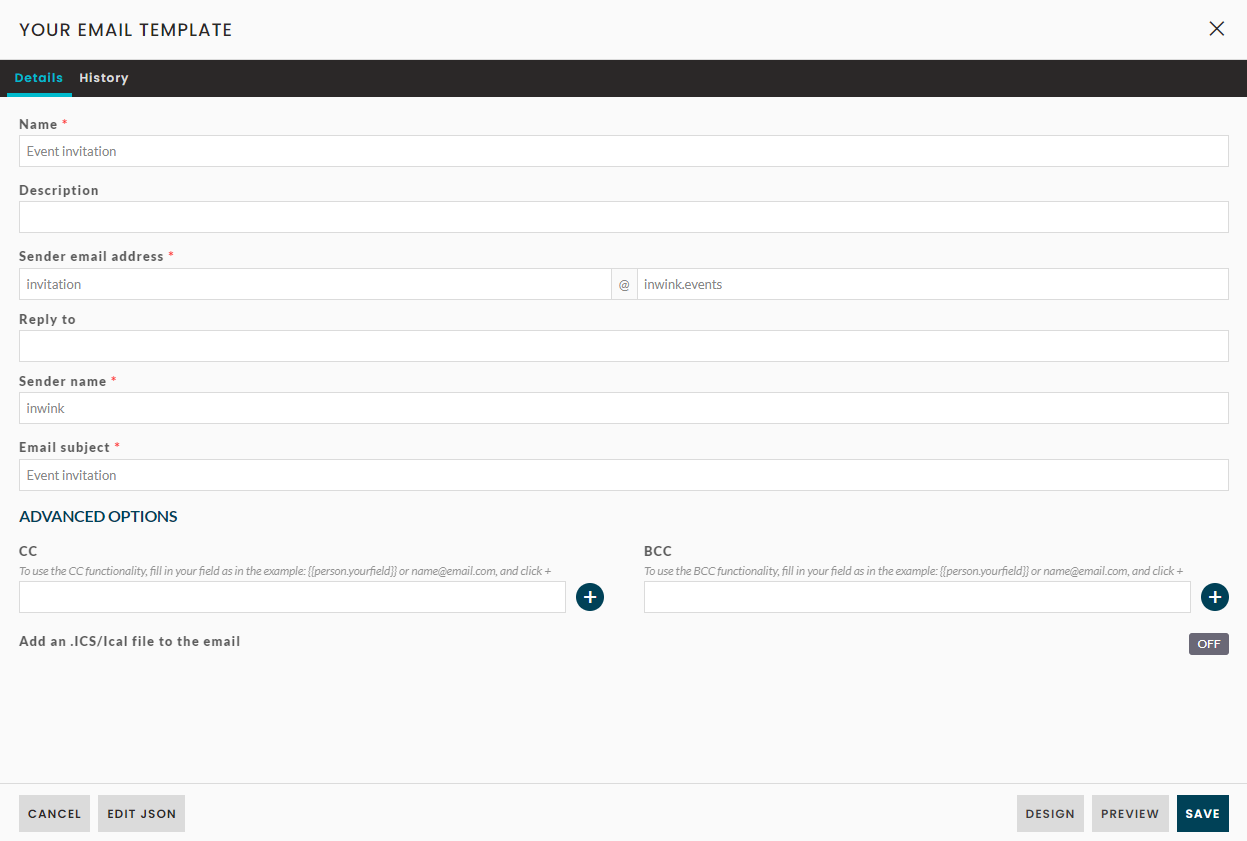 Emailing configuration
-
Template name (required): This field allows you to name your email template. This name will not be displayed in the email sent to your participants, it is intended for Back Office users.
-
Template description (optional): This field allows you to add information about the created email template. This description will not be displayed in the email sent to your participants, it is intended for Back Office users.
-
Sender email adress (required): this field allows you to enter your email address as sender. This is the address that the recipient will see when receiving the email.
By default, the @inwink.events domain name is validated.
To guarantee the deliverability of your emails and send emails in white label from inwink, it is necessary to perform a "whitelabelling of your domain name".
🔗 To understand how to whitelabel your emails, click here.
-
Reply email adress (optional): this field allows you to fill in the reply email address indicated in the email sent to the participants. Although optional, we recommend to fill in a valid contact email address to receive any questions from participants.
-
Sender name (required): This field allows you to specify a sender name for your emails that will be displayed next to the sender's e-mail address in most couriers.
-
Object of the email (required): this field allows you to enter the subject of the email.
-
CC (optional) : this field is used to add the email addresses of secondary recipients.
-
BCC (optional) : this field is used to add email addresses invisible to the recipients of the email.
-
Add an ICS/Ical file in the email (optional) : this option is disabled by default. By activating it, a .ics / ical file will be associated with the sending of your email. This file is a "calendar" invitation that the participant can add to his calendar.
Edit an HTML template
If you already have an HTML template coming from another solution than inwink and want to use it in inwink, you can import it in HTML by selecting an HTML template in the email template gallery.
For more details about editing an HTML template, click here.
Edit an inwink/basic template
When you select one of the templates suggested by inwink, or a basic template, and click on the DESIGN button at the bottom right corner of the email template configuration window, the inwink email template editor opens.
The identity confirmation emailing is the email that will be used when identity verification is required, such as when confirming the creation of an account, or a forgotten password.
This emailing should include an authentication code allowing the user to confirm their identity.
For more details on editing a basic template, and on the different blocks available, click here.
Create an email
To create a new email, go to the audience > Email templates > Click on ➕ > Identity > Verification > Account verification
Email template grid
In the Identity email category, select the Account Verification template.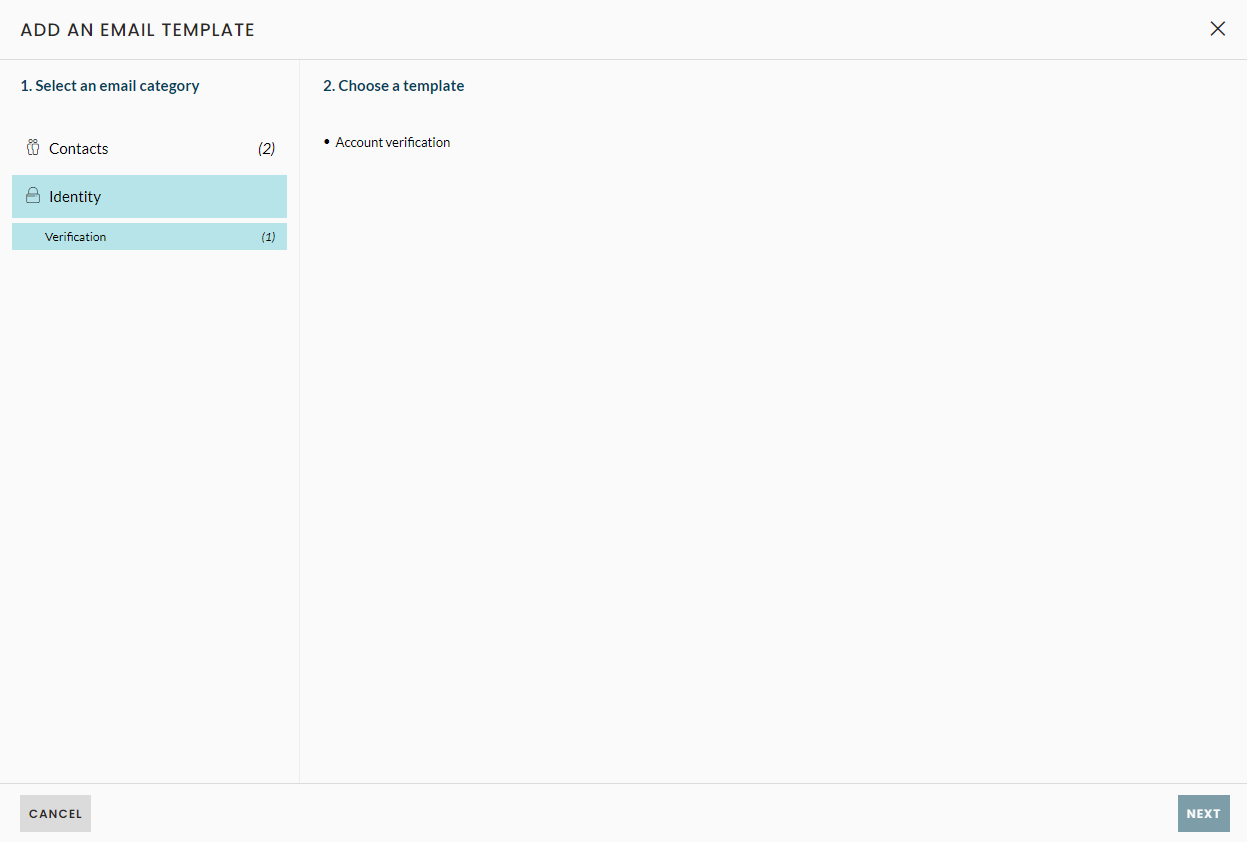
Template parameters
When you create an email from the gallery / edit an email coming from the gallery, this pop-in appears:
Emailing configuration
-
Template name (required): This field allows you to name your email template. This name will not be displayed in the email sent to your participants, it is intended for Back Office users.
-
Template description (optional): This field allows you to add information about the created email template. This description will not be displayed in the email sent to your participants, it is intended for Back Office users.
-
Sender email adress (required): this field allows you to enter your email address as sender. This is the address that the recipient will see when receiving the email.
By default, the @inwink.events domain name is validated.
To guarantee the deliverability of your emails and send emails in white label from inwink, it is necessary to perform a "whitelabelling of your domain name".
🔗 To understand how to whitelabel your emails, click here.
-
Reply email adress (optional): this field allows you to fill in the reply email address indicated in the email sent to the participants. Although optional, we recommend to fill in a valid contact email address to receive any questions from participants.
-
Sender name (required): This field allows you to specify a sender name for your emails that will be displayed next to the sender's e-mail address in most couriers.
-
Object of the email (required): this field allows you to enter the subject of the email.
-
CC (optional) : this field is used to add the email addresses of secondary recipients.
-
BCC (optional) : this field is used to add email addresses invisible to the recipients of the email.
-
Add an ICS/Ical file in the email (optional) : this option is disabled by default. By activating it, a .ics / ical file will be associated with the sending of your email. This file is a "calendar" invitation that the participant can add to his calendar.
Edit email template
When you select the template, and click on the DESIGN button at the bottom right corner of the email template configuration window, the inwink email template editor opens.
Note: It is important to keep the authentication code in this email template. Without the authentication code, users will not be able to validate their account creation or reset their password.