The connector
The connector allows your participants to pay online using Adyen.
Participants enter the information on the inwink ticketing system and as a final step, they can pay for their ticket via the Adyen integration.
Connecting the Adyen payment provider from an inwink event requires the configuration of the Adyen environment.
This guarantees that Adyen will accept inwink session creation requests, and notify inwink of payment authorization (via a webhook).
This configuration allows you to retrieve four elements needed to connect the inwink event to Adyen:
- a Client Key
- an API Key
- a HMAC Key
- a Merchant Account
- a Live URL prefix
API Key and Client Key retrieval
You must have an Adyen company account.
- Go to the company account of your customer Area
- In the left menu, go to the Developers tab > API Credentials
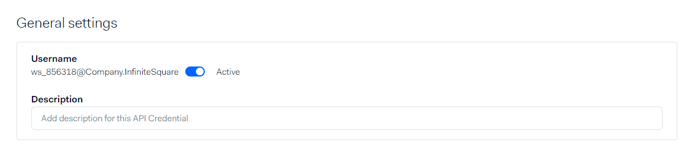
- Select an API Credential:
- Either you use the existing: ws@Company.<CompanyName>
- Or you create a new one by clicking on "Create new credential" > Credential type : Web service user

- In the Credential API:
- Check that the API is activated
- In the Server settings part > Authentication section: Get and keep the API Key. This one is essential to configure the connector in inwink
- In the Client settings part > Authentication section: Generate a client key if it does not exist by clicking on the "Generate client key" button. Then, get and keep it. This key is essential to configure the connector in inwink.
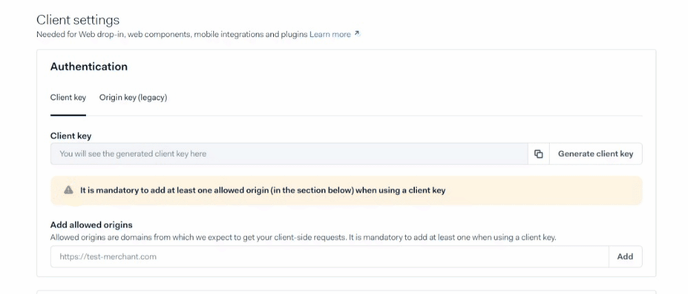
- In the Client settings part > Authentication part : Add in "Add allowed origins" the domain name of your event and the url https://preview.inwink.com/
- Save your changes by clicking on "Save changes".
- Check that the API is activated
Retrieving the MerchantAccount
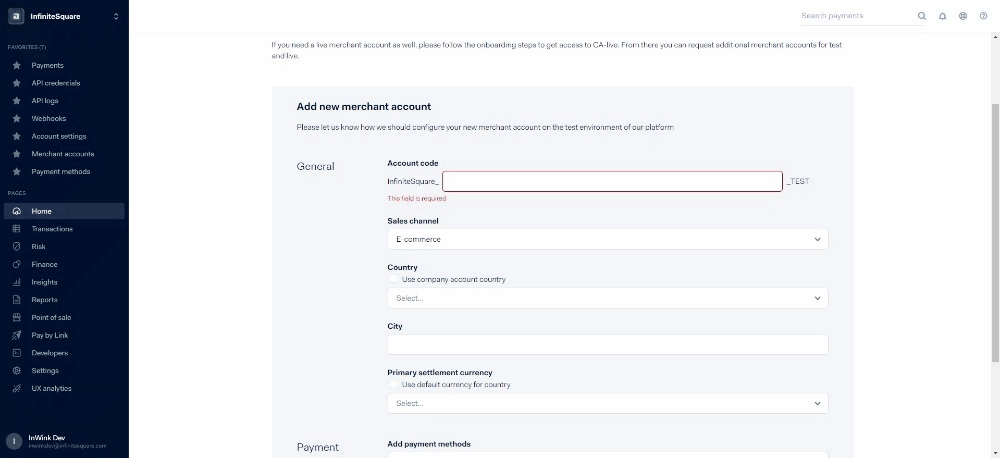
If you do not have a Merchant Account yet, please create one. To do so, click here:
- Go to the company account of your customer area
- In the left menu, go to the Settings tab > Merchant accounts
- Click on "Request New Merchant Account"
- Define if your merchant account is only for testing or not
- Choose an account code. Keep the account code, which is necessary to configure the connector in inwink.
- Choose your currency and payment methods
- Click on "Create account"
If you have already created a Merchant Account and wish to use it:
- Go to the company account of your customer area
- In the left menu, go to the Settings tab > Merchant accounts
- In the list of merchant accounts, get and keep the account code of the one you want to use. This one is essential to configure the connector in inwink
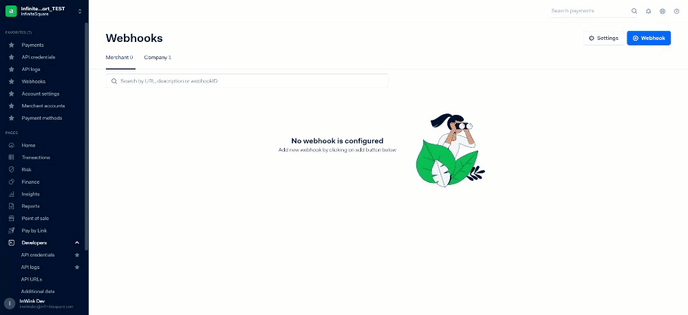
Adding a webhook and retrieving the HMAC Key
- On your company account, in the drop-down list at the top left > choose the Merchant account you want to use
- In the left menu, go to the Developers tab > Webhooks
- Click on "+ Webhook" to add a new Webhook
- Select "Standard notification"
- Activate the webhook:

- In the General section > Server configuration, enter the following url : https://api-front.inwink.com/callback/adyen/notify and click on Apply
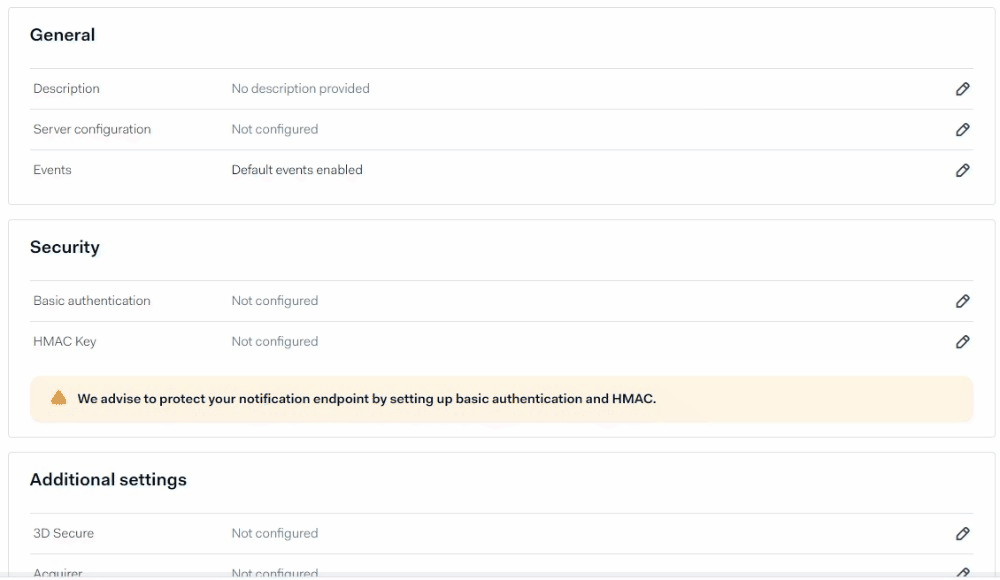
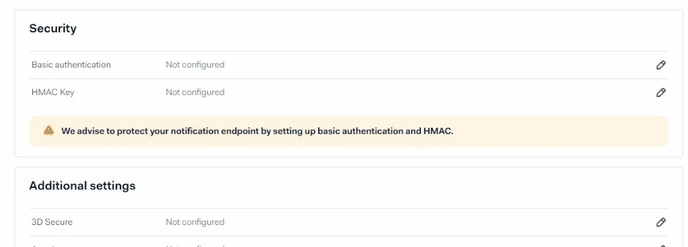
- In the section Security > HMAC Key, click on the edit pencil. Then, generate an HMAC Key by clicking on the Generate button. Click on Apply
- Get and keep the HMAC Key. This is essential to configure the connector in inwink
- At the bottom of the page, click on Save changes
Retrieving the Live URL Prefix
Required : be connected in Live mode
- Go to your company account (from Live Mode)
- In the left menu, go to Developers > API URLs > Prefix
- Get and keep the prefix. This is essential to configure the connector in inwink.
Configure the Capture Delay
By default, when you create a Merchant Account, the capture delay is 3 days. This means that there is a bank order delay of 3 days. We recommend that you set it to immediate.
To do this:
- On your company account, in the drop-down list at the top left > choose the Merchant account you want to use
- In the left menu, go to Settings > Account settings
- Click on the Capture delay to change the delay
- Click on Save
Adyen/inwink configuration
Once you have configured Adyen and retrieved the following items:
-
- a Client Key
- an API Key
- a HMAC Key
- a Merchant Account
- a Live URL Prefix (for the live version)
- Go to the back office of your inwink event
- In the menu on the left, click on the Configurations tab > Third Party Integration
- Click on Adyen and fill in the elements retrieved from the Adyen configuration (Client Key, API Key, HMAC Key, Merchant Account and a Live URL Prefix)
- Don't forget to activate the "Live" mode if you are no longer in the testing phase.