
Important: installing your Android app in beta testing requires you to join the testing program via Google Play before you can download the app.
This guide explains how to accept the invitation, install the app, and access preview mode so you can test your event before it goes live.
Step 1 — Receive the invitation link
You will receive an invitation to join the test for your Android app.
This invitation can be sent to you in two ways:
- via a Google Play email containing a link to join the testing program
- via a direct link to the app page on Google Play, sent by your inwink contact.
In both cases, keep this link: you will need to open it from the smartphone on which you want to install the app.
If you have not received the invitation:
- check your Spam or Junk folder
- contact your inwink representative so they can resend the link.
Step 2 — Open the link from your smartphone
Important: open the invitation link directly from the Android smartphone on which you want to install the app.
From your phone:
- Open the email or message containing the link
- Tap the link you received
- If it does not open automatically, copy and paste it into your browser
- Make sure you are signed in with the Google account you want to use to access the test.
Step 3 — Accept the testing invitation
Once the Google Play page opens, a message similar to the following appears:
“You're invited to test [App name]”
To join the testing program:
- Tap Accept invite (blue button)
- Wait a few seconds for confirmation
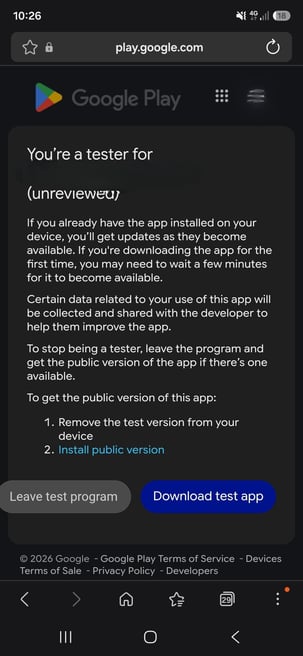
- The message “You're a tester” appears to confirm your registration
- Then tap Download test app.
Step 4 — Install the app
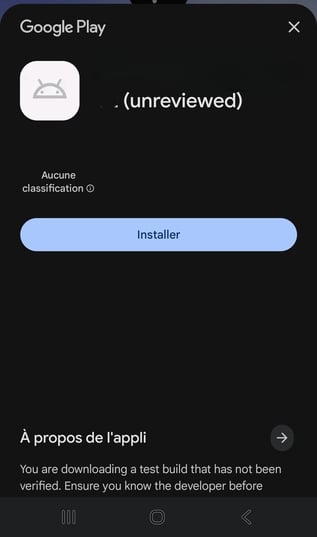
Your app page then opens in the Google Play Store.
To install the app:
- Tap Install
- Wait for the download to complete (the progress is displayed)
- Once the installation is complete, tap Open.
Tip: use a Wi-Fi connection when downloading the app.
Step 5 — Prepare access to preview mode from the back office
Before you can enable preview mode in the app, you need a participant with the appropriate permissions.
From your event back office:
- Go to Participants > All participants
- Click the + button to create a new participant, or open an existing participant you want to use for testing
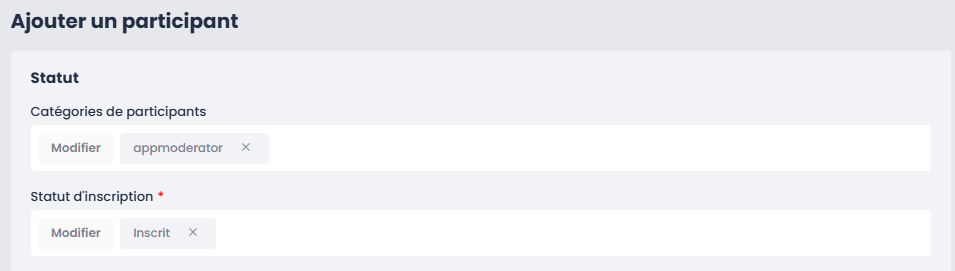
- Assign them the participant category App moderator.
- If this category does not exist yet, create it and assign it the lowest priority
- Make sure the participant’s registration status is set to Registered
➡️ You can then use this participant to log in to the app with the permissions required to access Admin mode.
Step 6 — Log in to the mobile app
Once the app is installed, open it and log in with the participant configured in the previous step.
From the app:
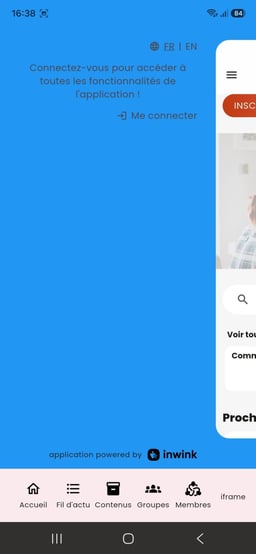
- Open the burger menu
- Select Log in or Participant login
- Log in using the participant you have just created.
Step 7 - Access preview mode
Once you are logged in with your App moderator profile:
- Open the burger menu again
- Select Admin
- Tap Switch to preview.
Your app is now displayed in preview mode.
A red banner appears in the app so you can easily distinguish preview mode from production mode.

Step 8 — Test your changes in preview mode
Once preview mode is enabled, you can continue configuring your event from your inwink back office and check the result directly in the app.
Changes made to your content can therefore be viewed in the app throughout the configuration and testing phases.
Key takeaways
To install and test your Android app in beta:
- open the testing invitation link from your smartphone
- accept the invitation on Google Play
- install your app
- configure a participant with the App moderator category in your back office
- log in to the app with this participant
- enable preview mode from the Admin menu.
You can then test your app and check your content before publishing it to production.