
inwink lets you integrate Sparkup into your webinars to offer your members more interactive and engaging live sessions.
From a webinar created in your community, you can enable Sparkup and access its configuration interface directly to customize your live session, prepare your speakers, and set up the different interactions available to your audience.
Prerequisites
To create a webinar with Sparkup, you need to have credits available.
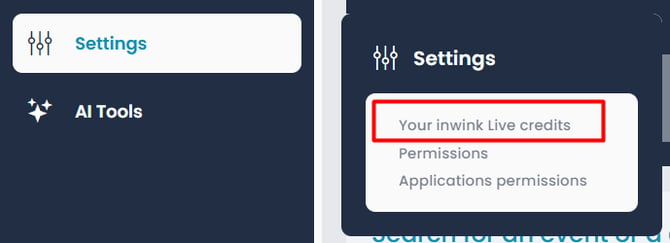
You can check your available credits from your client back office under Configurations > Your inwink live credits.
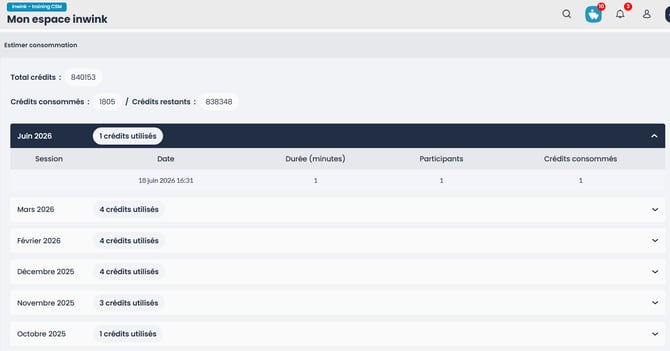
You can then see the credits already used and those still available to create new Sparkup live sessions. The credit system and Sparkup integration work in the same way as for Event sessions.
Create a Sparkup webinar in your community
From your community back office, go to Content > All events.
Then click Add an event and select the Webinar type.
Enter the main information for your webinar:
- title
- start date
- end date.
➡️ Once this information has been entered, the Enable Sparkup webinar button becomes available and is no longer greyed out.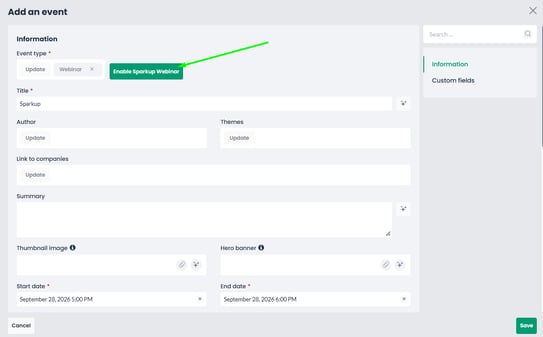
Click this button to enable Sparkup for your webinar.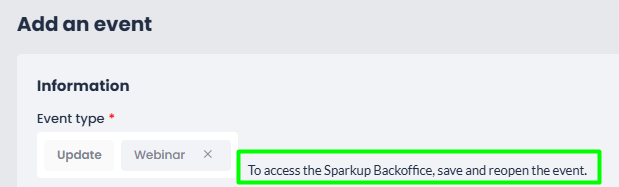
After activation, save your webinar and then reopen it to access the Sparkup back office.
Access the Sparkup back office
Once your webinar has been saved and reopened, the button allowing you to access the Sparkup back office becomes available.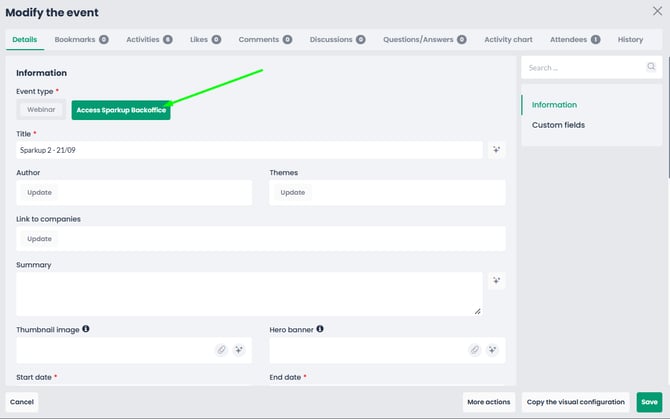
Click it to open the Sparkup interface associated with your webinar.
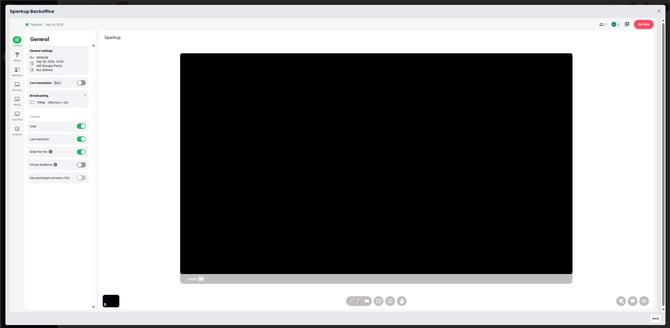
You will automatically land on the General tab of your live session.
Configure your live session in Sparkup
The menu on the left-hand side of the Sparkup back office lets you prepare the different elements of your live session: general settings, branding, speakers, media, banners and interactive activities.
General tab — Configure the live session settings
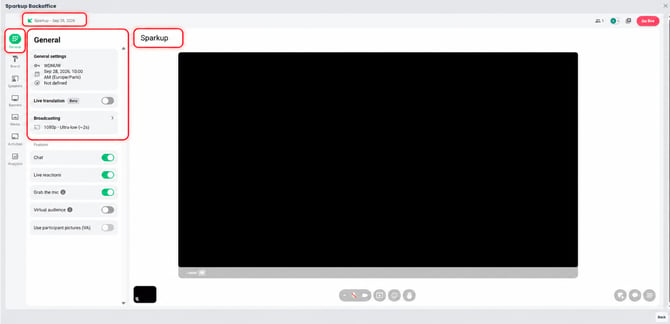
In the General tab, you will find the main information about your webinar, including:
- its title
- its start date
- its start time
- its estimated duration (and once the live session has ended, the total duration of the live).
You can also choose which features are available during the live session.
Depending on your needs, you can enable or disable:
- chat
- live reactions
- participant speaking
- virtual audience features
- live captions.
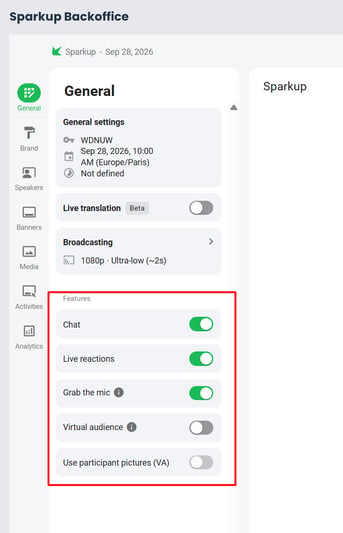
These options allow you to adjust the level of interactivity to suit your webinar format.
All of these settings can also be changed during the live session.
Brand tab — Customize the appearance of the live session
The Brand section lets you adapt the Sparkup interface to your visual identity.
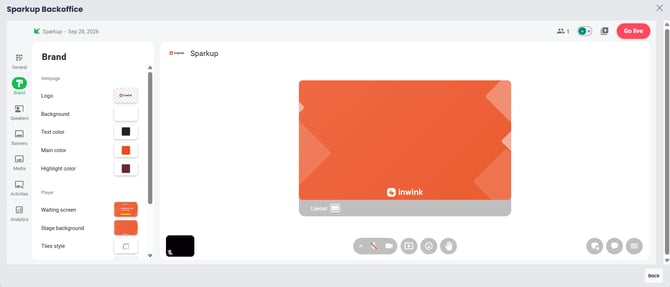
You can customize, among other things:
- the logo
- the background
- text color (black or white)
- the primary color
- the secondary color (used for buttons in pop-ups and notifications)
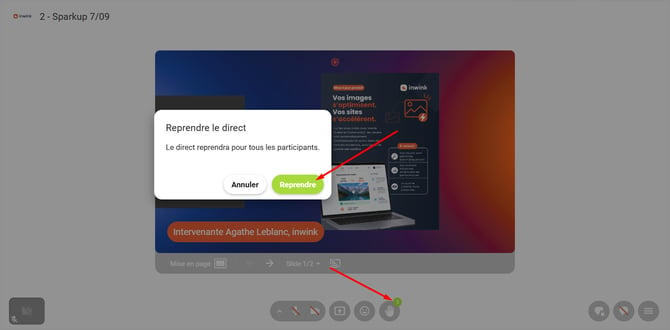
- the waiting screen (displayed when you pause the live session or when a speaker does not have a profile picture)
- the stage background
- tile styles
- banner styles
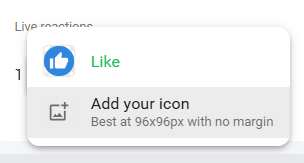
- the appearance of live reactions.
These different settings allow you to provide an experience that is consistent with the visual identity of your event or organization.
You can therefore create a specific visual identity for each Sparkup webinar.
You can also define a specific visual identity for each Sparkup session directly from the Sparkup back office.
If you prefer to keep the same visual identity across all your Sparkup live sessions, you can create a dedicated template session. Configure your theme once there: colors, logo, background, tile style, banners, etc.
From this template session in the inwink back office, when editing the session, a button then lets you reuse this theme as a reference for the other Sparkup sessions you create.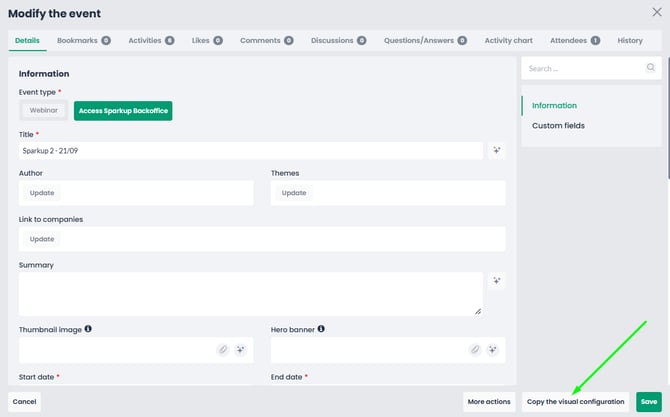
This means you do not have to reconfigure the visual identity for every new session while still ensuring a consistent look across all your live sessions.
Speakers tab — Manage speakers
The Speakers section lets you manage the people present during your live session.
You can see the people currently connected as well as their status.
Several statuses may appear:
- no status: participant
- Backstage: moderator
- On stage: speaker.
From this area, you can also invite someone to join the stage or remove them from the live session.
Banners — Display information during the live session
The Banners section lets you prepare graphic or text elements to display during the webinar.
For example, you can use them to show:
- a speaker’s name
- important information
- a message for participants
- a call to action.
You can prepare your banners in advance and then display them at the appropriate time during the live session.
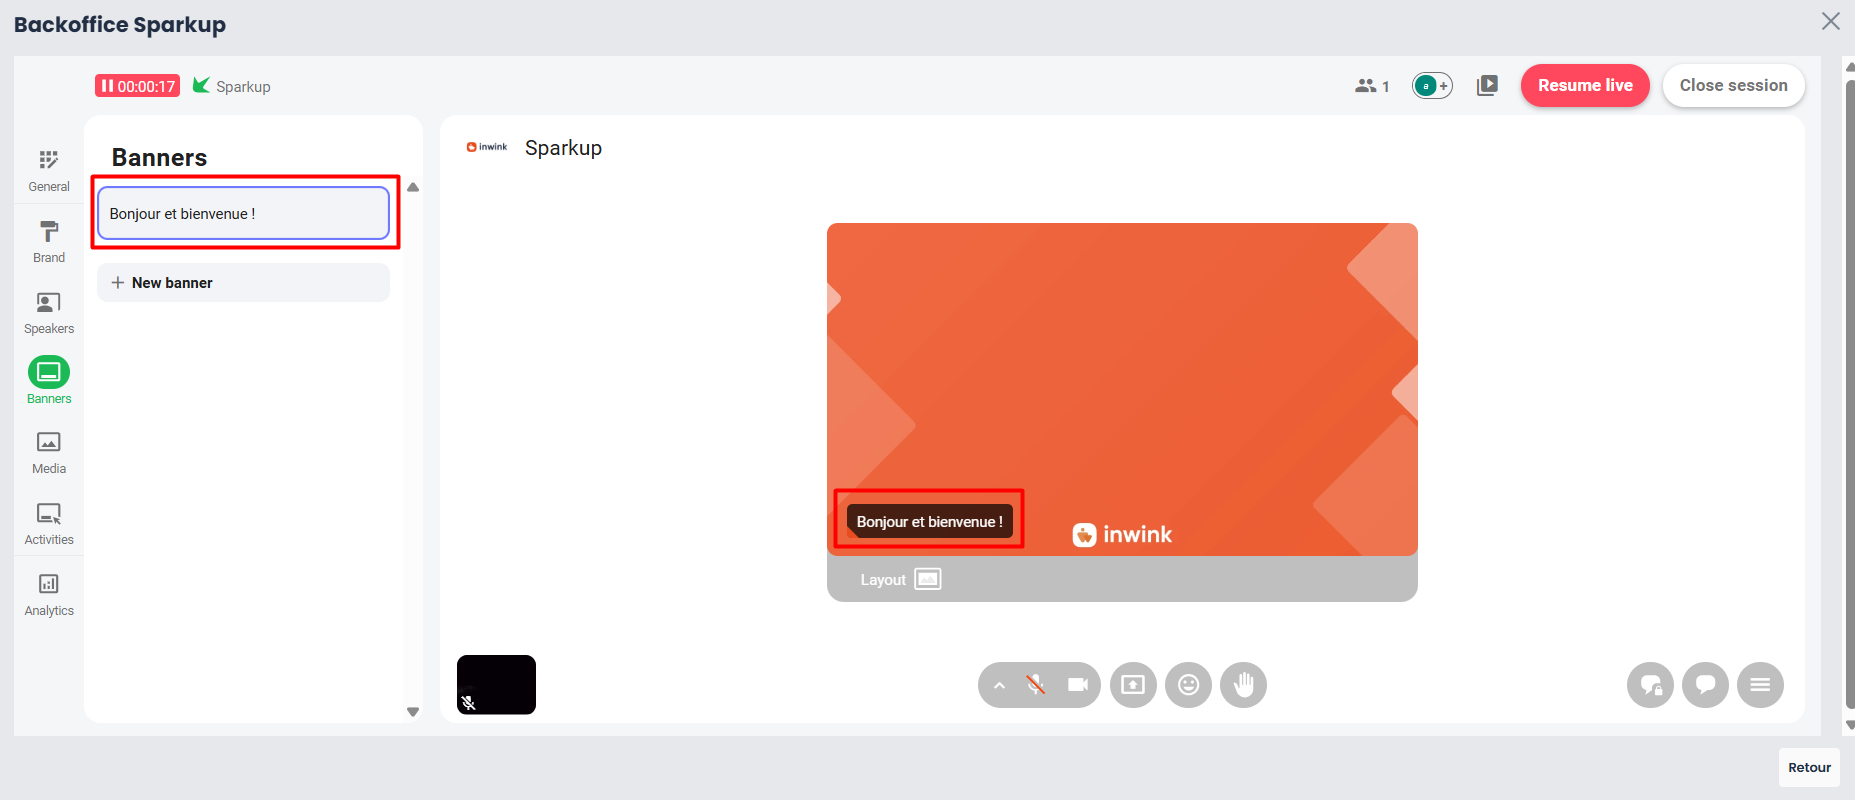
They can also be created directly during the broadcast if you want to adapt your presentation in real time.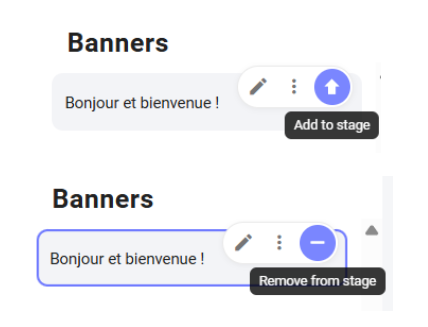
Media — Prepare the content you want to display
The Media section lets you add the content you want to use during your webinar.
You can import, for example:
- documents
- videos.
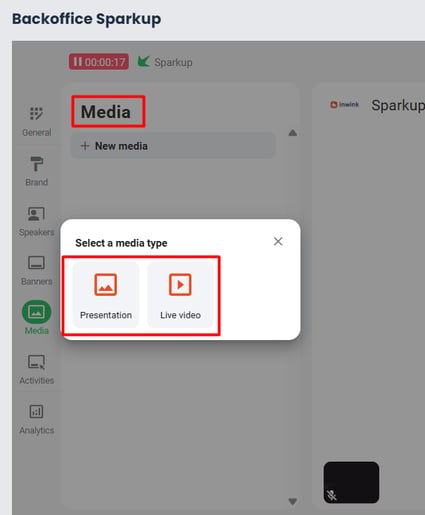
By preparing them before your live session, you can then display them directly from the Sparkup interface whenever needed.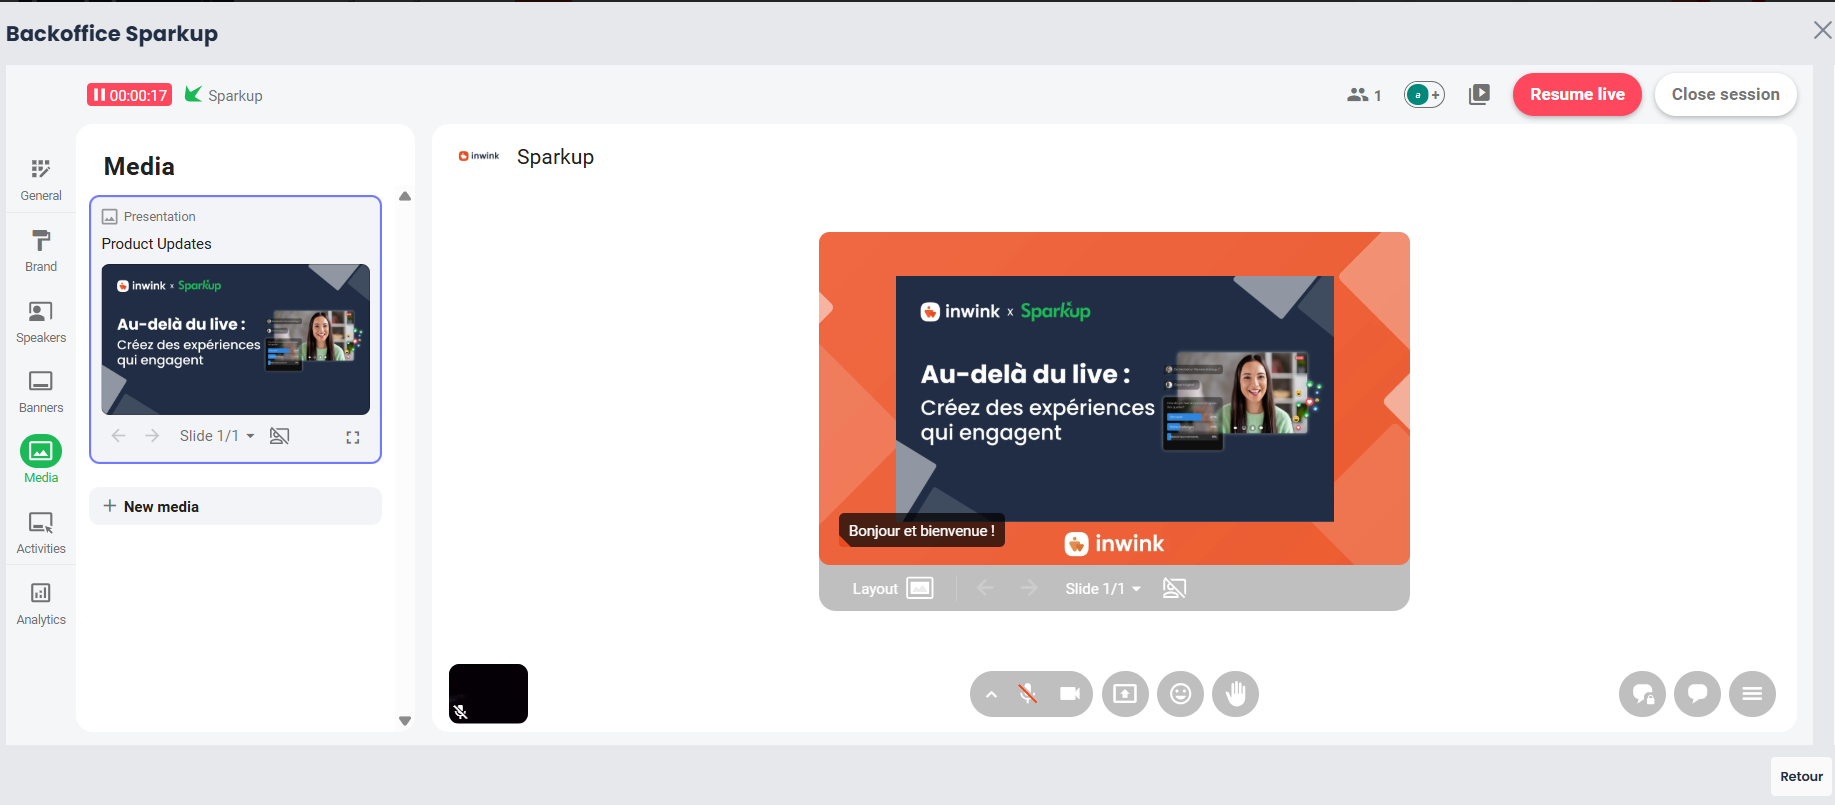
Activities — Engage your audience
The Activities section lets you prepare the interactions that will be offered to participants.
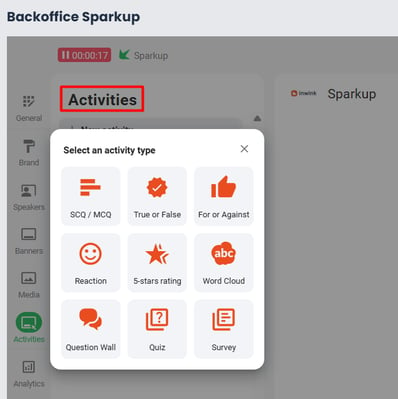
Several formats are available, including:
- Multiple choice
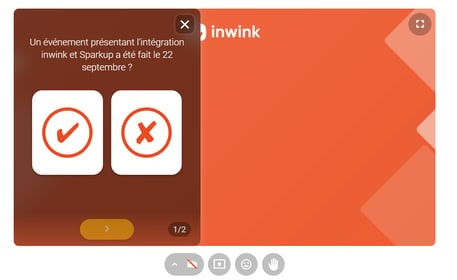
- True or False:
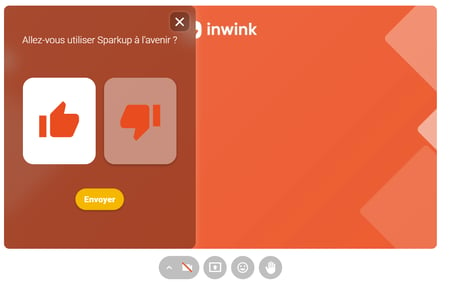
- For or Against:
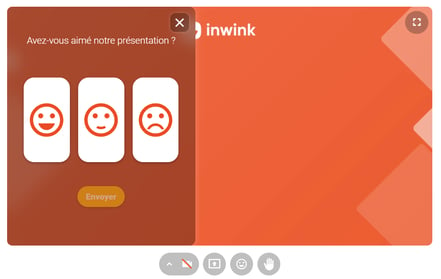
- Reaction:
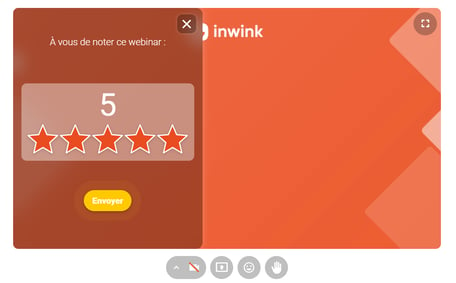
- 5-star rating:
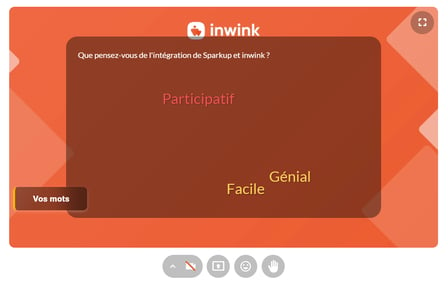
- Word cloud:
- Question wall
- Quiz
- Survey.
You can prepare your activities before your webinar to structure your session in advance.
You can also create them during the live session to react to the discussion and adapt your facilitation to your audience.
Test your live session
Before the day of the webinar, you can test your live session and run a full rehearsal.
From the Sparkup back office, you can check, among other things:
- speaker display
- media
- activities
- banners
- interactions
- layout.
The test view is the same as the live view, but your webinar is not yet accessible to participants until you start the broadcast.
You can therefore run a complete rehearsal before your webinar.
Run your live session on the day
Your live session does not start automatically at the time set in inwink.
Even if the webinar start date and time have been entered, you must manually start the broadcast from Sparkup by clicking Go live.
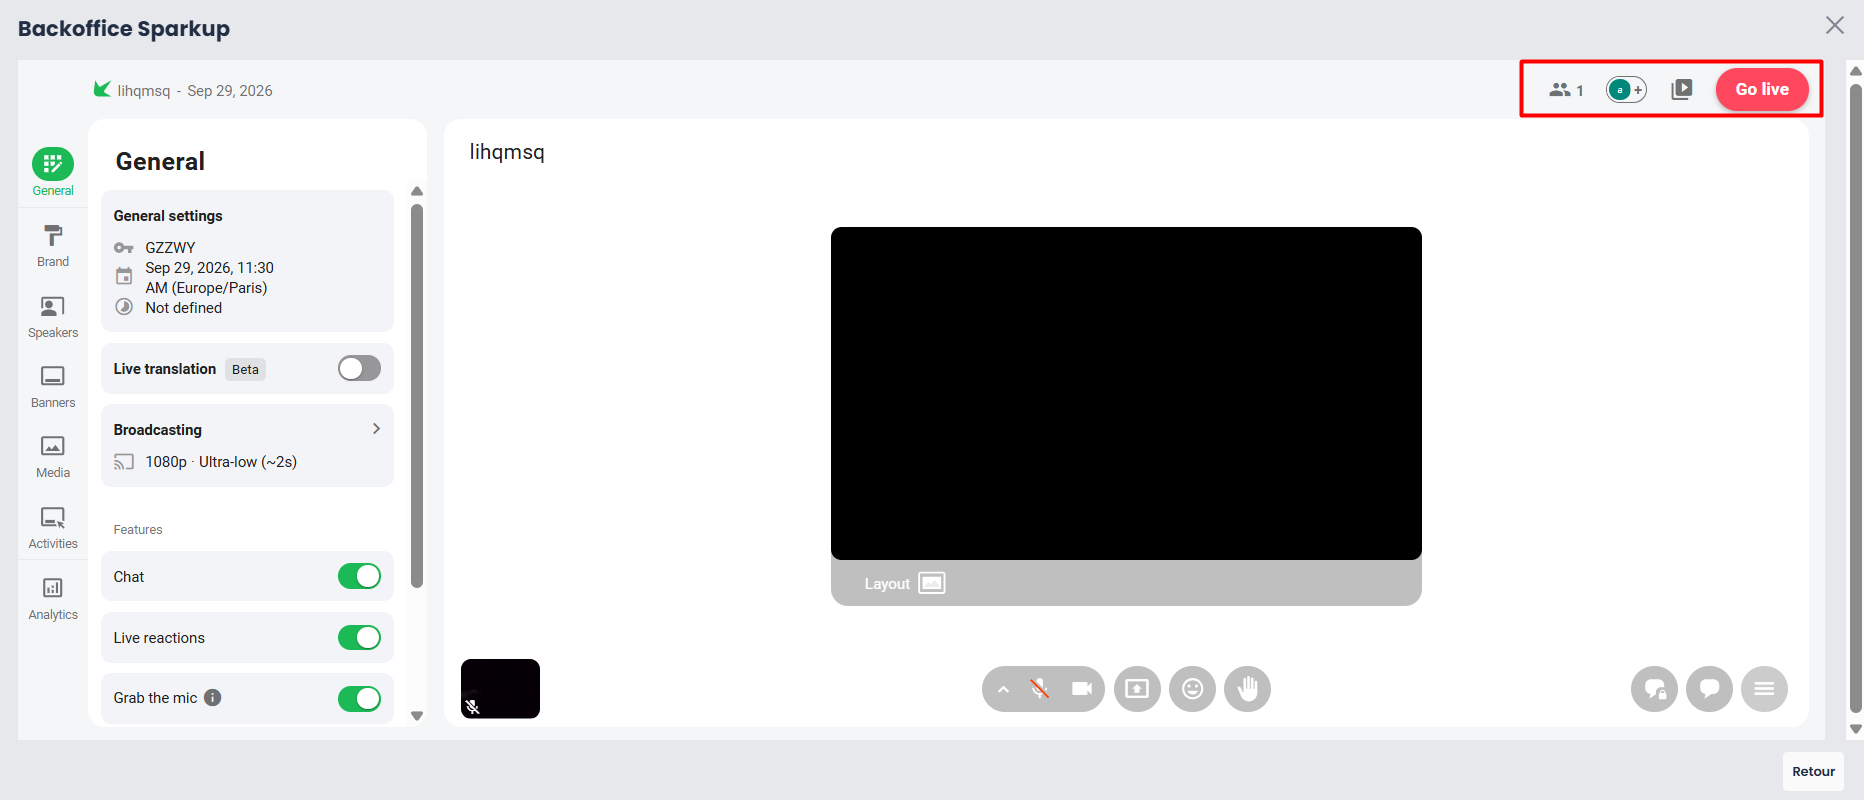
Before starting the live session, you can:
- enable or disable your microphone
- enable or disable your camera
- share your screen
- send a reaction
- raise your hand.
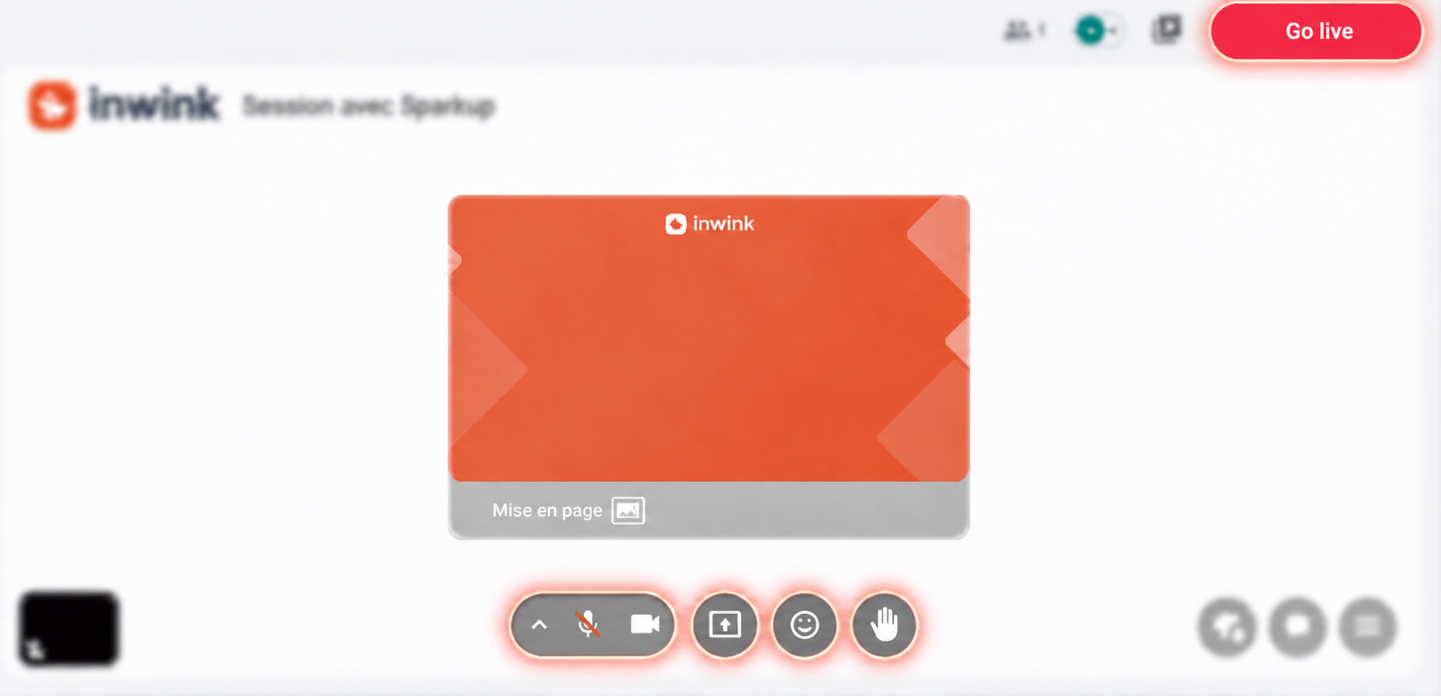
You can also see who is currently connected to the live session.
Once everything is ready, click Go live.
Pause the live session
Once the live session has started, you can pause it at any time.
During the pause, participants see the waiting screen that you configured in the Brand tab.
On the organizer side, the video sequence recorded from the start of the live session up to the pause is saved.
You can then resume the live session whenever you want.
What happens after my live session?
Once your live session has ended, its replay is automatically generated in the webinar record when you edit it from the inwink back office.
In the Sparkup back office, you can find the different recordings in the Recordings tab:
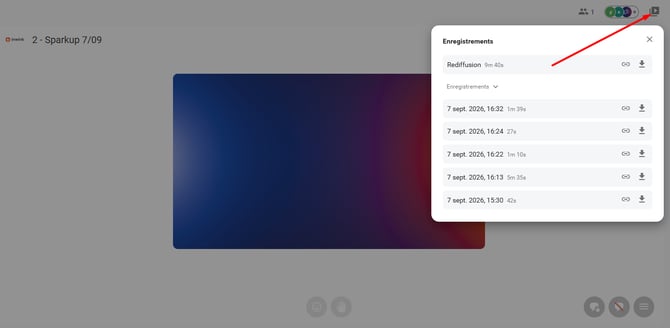
If you paused the live session several times, each part of the broadcast appears as a separate sequence in Sparkup.
Analyze the results of your live session
Once the webinar has ended, you can still access its Sparkup back office to review the results.
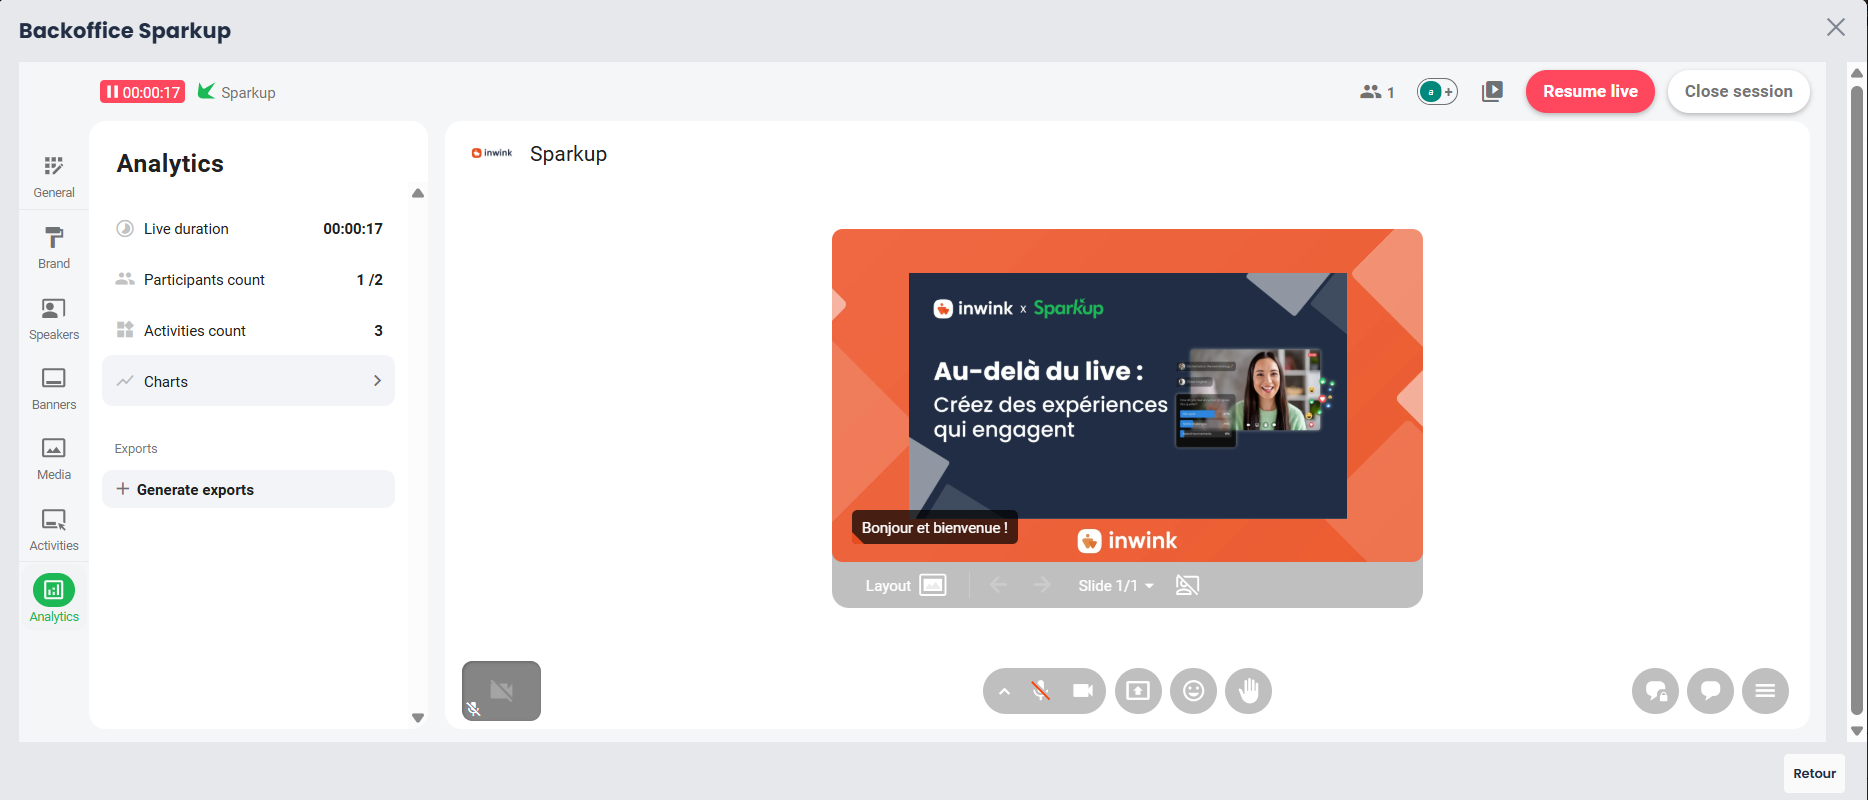
The Analytics tab allows you to:
- download an Excel export containing participant details
- view responses to activities offered during the live session
- export interaction results
- view how the number of connected participants changed throughout the webinar.
This gives you an overall view of participation and engagement generated during your live session.