Note: A tutorial video is available at the bottom of this page.
The font of websites generated by inwink is by default Google Font Lato: https://fonts.google.com/specimen/Lato
In the back-office > Website > Visual identity, you can add a new font to use.
To define a font for which you have files :
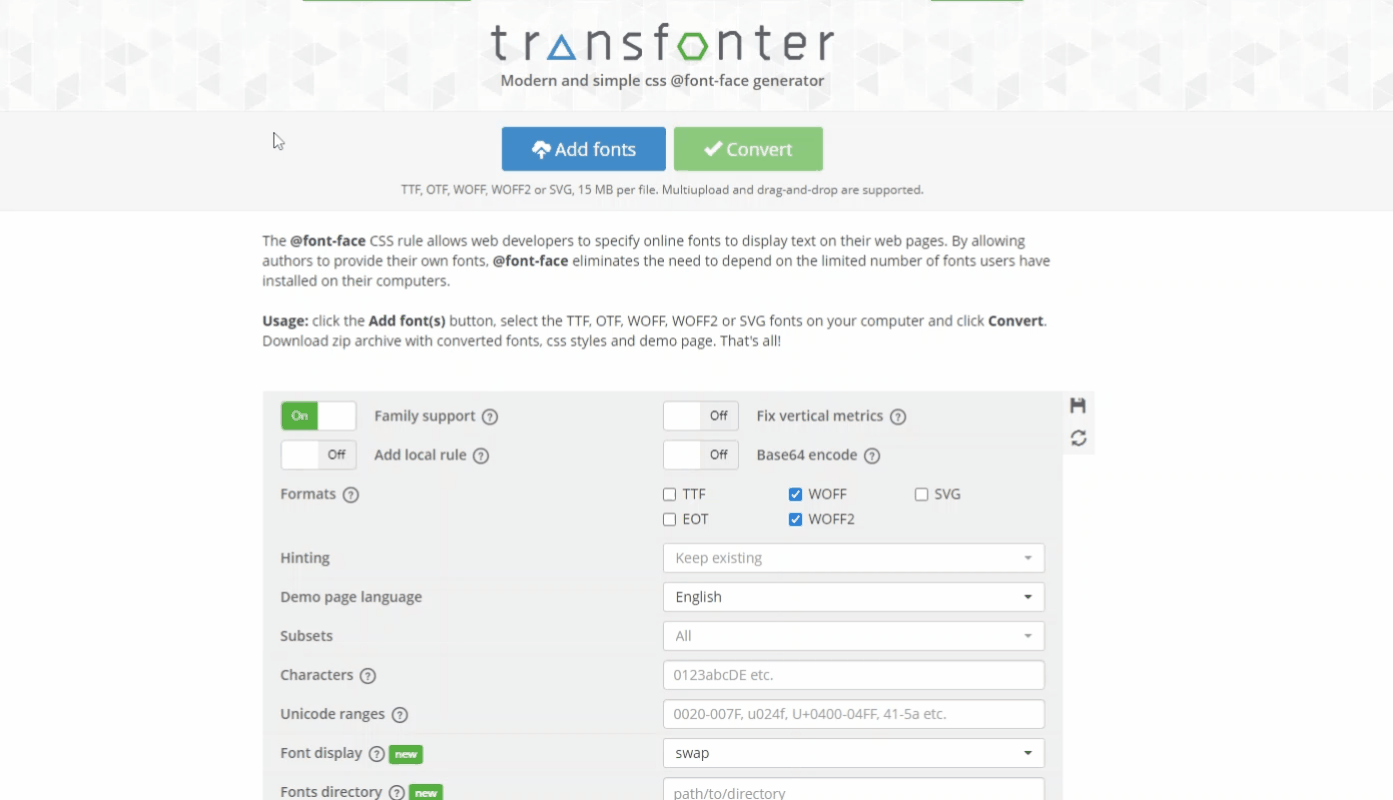
- Go to the Transfonter site. This site will allow you to upload all your font files in a single file, in a good format.
- Upload the files by clicking on the "Add fonts" button
- Select the WOFF2 format
- Click on the "Convert" button
- Download the zip file
- Unzip the file loaded from Transfonter. You will find a file named "stylesheet", and your font files in woff2 format
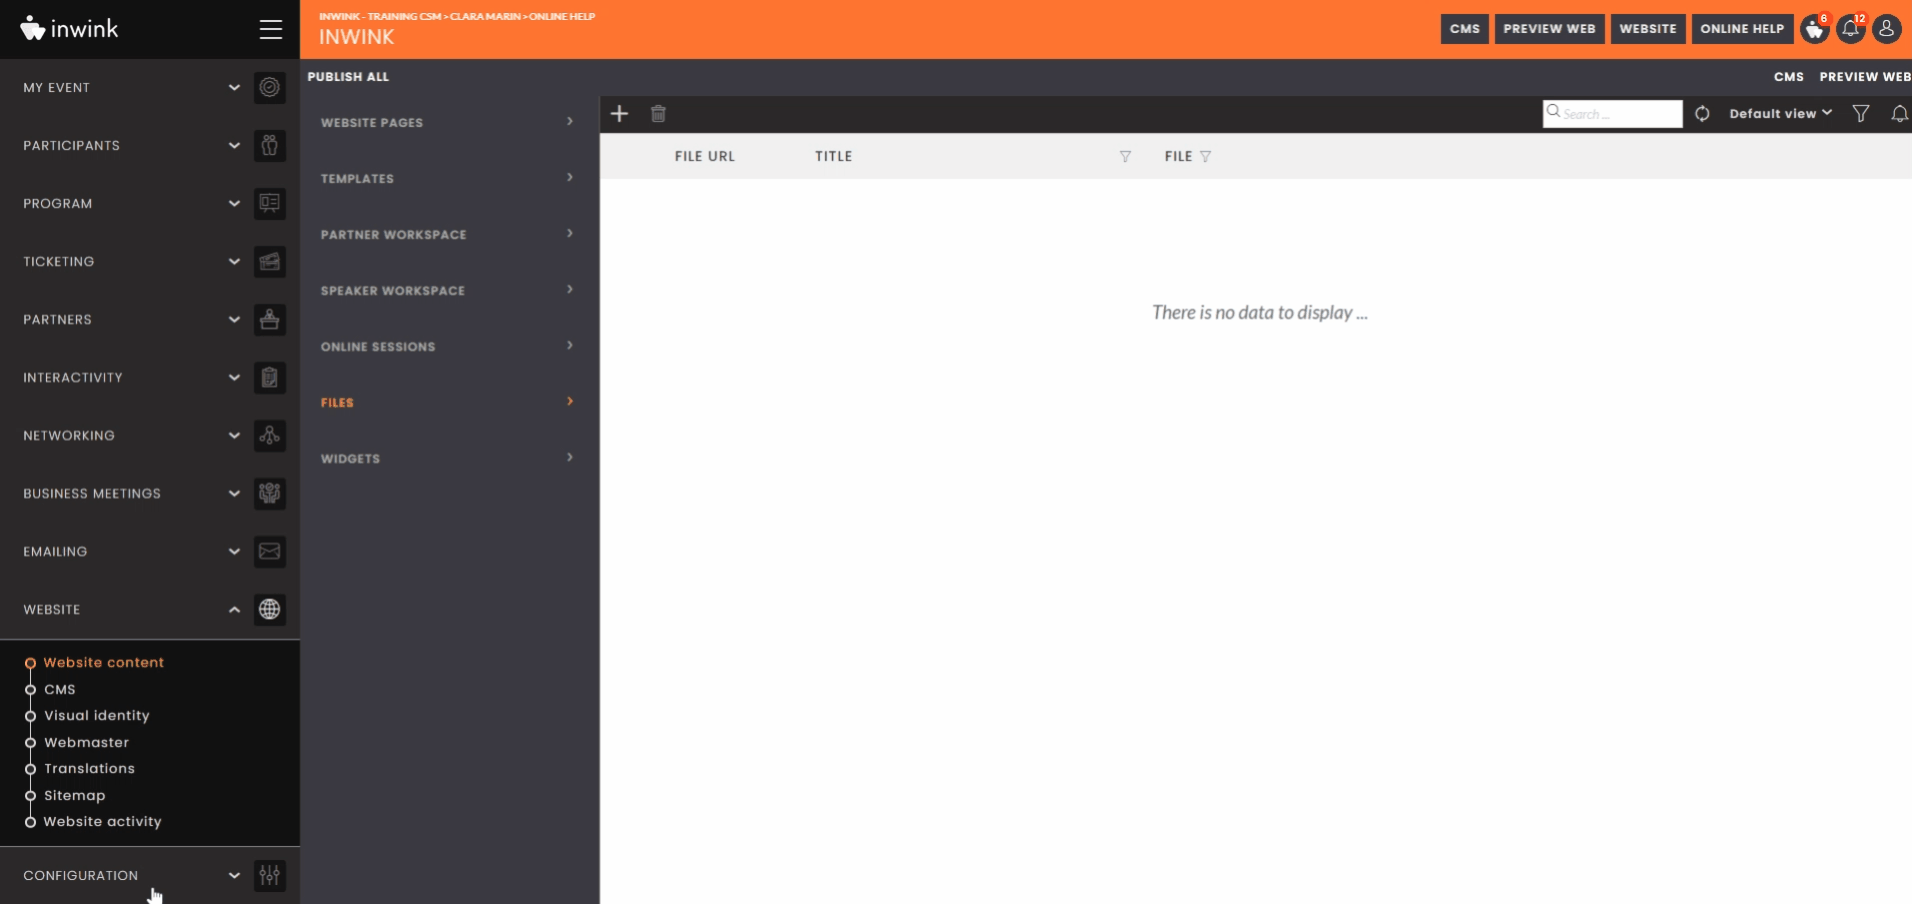
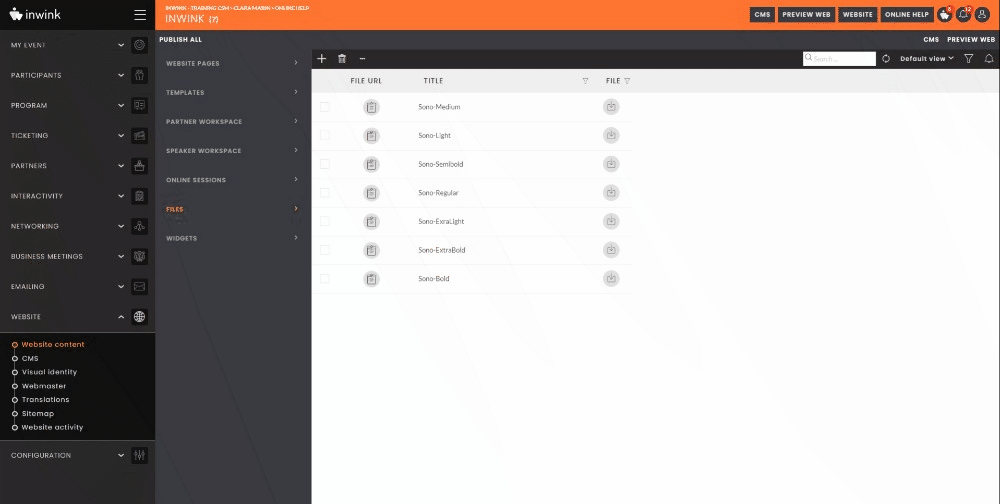
- Go to the inwink back-office of the event/community > Website > Site content > Files > Click on the + button to load one by one the files of your font extracted from Transfonter (.woff2 files)
- Open the "stylesheet" file extracted from Transfonter. In this file, you will find one paragraph per font size (regular, bold, etc.)
You will need to replace the font name below, with the URL of the font loaded in inwink: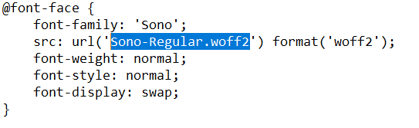
To retrieve the URL of the font loaded in inwink, go to the back-office > Website > Site content > Files > Click on the button located next to the font fat corresponding to the name indicated in the line src: URL (nameoffont.woff2)
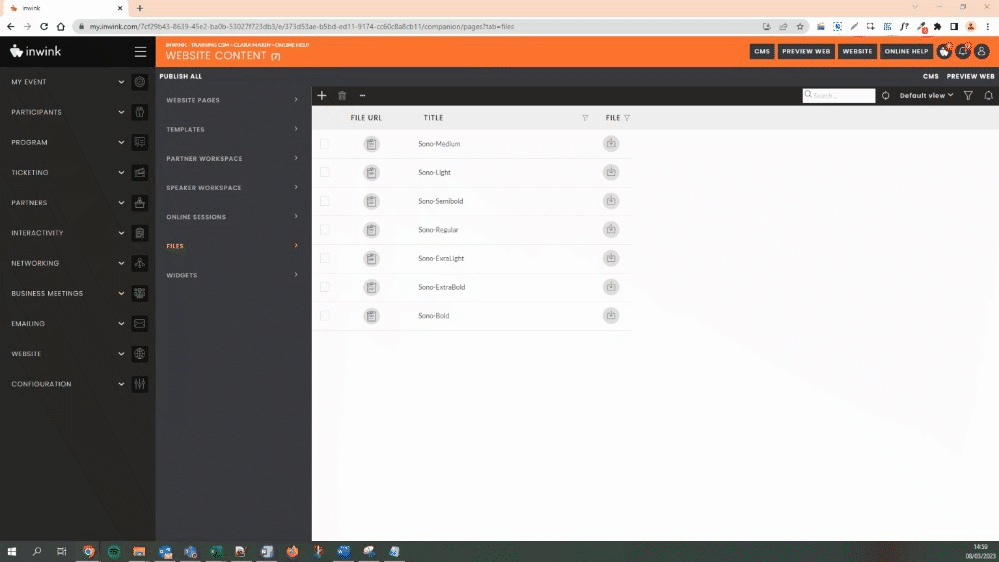
Do this for each size. - Save this file (stylesheet) in .css format
- Upload this stylesheet.css file to the back office > Website > Site content > Files
- Retrieve the URL of this file by clicking on the button

- Go to the back office > Website > Visual Identity > Fonts > Add a font > Paste the URL in the "Font URL" field
In the "Font Name" field, add the name of your font. The name of the font is the one indicated in your CSS file, in the "font-family" line. Then click on Save.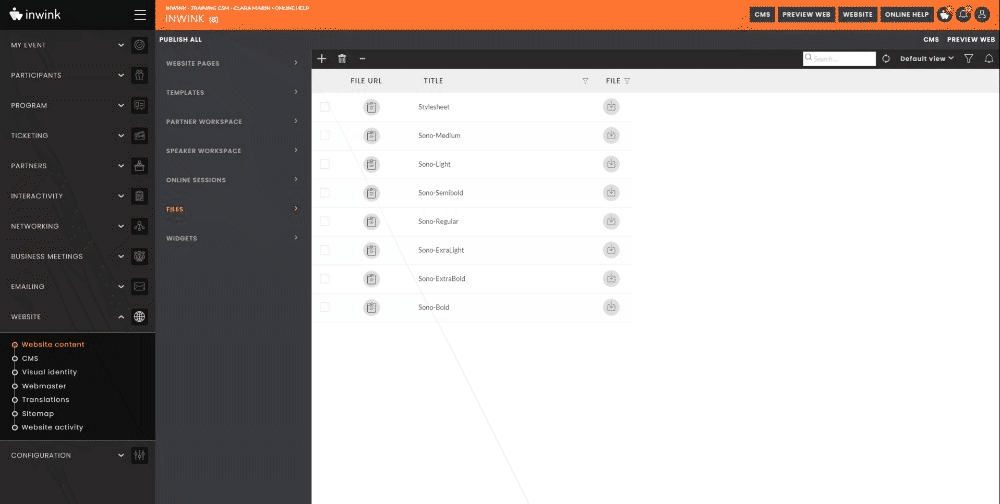
Your font is now added to your back office.
-
While hovering the card, an editing pencil allows the modification of the URL and the name of the font. There is also a trash can in order to cancel the font.
Once all the desired fonts are created, fill in their assigned names in the two following fields:
Default font: the font used on all the elements on the website that are not titles (descriptions, paragraphs, and so on)
Default title font: the font used on all the elements that are titles on the website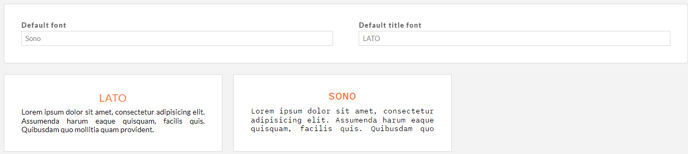
Then, click on on the top right of the screen.
In the visual identity, you will be able to choose the desired fatness (for example, a title in bold). For any specific need, we invite you to make custom CSS directly in the block in question or in the global styles.
To add a web font to your site, consult this online help.